Christmas Wall Art {Holly Bloggy Christmas Crafts}

Today we are sharing Christmas Crafts for the Holly Bloggy Christmas. You can link up your project with Nicholette and Vanessa at Craft Envy.

I think you’ll find my project very interesting. I had created this really cute Christmas display in my kitchen, but unfortunately it was set right in front of this apple sign, which as cute as it is, has nothing to do with Christmas. I didn’t really want to take it down, and I didn’t have anything I could replace it with either. So I got to thinking of ways that I could cover it up temporarily during the Christmas season. (After all, how can I share my cute Christmas display with my bloggy friends if there’s a picture behind it that doesn’t even match. Haha!)
So after going through a few ideas in my head, I came up with this idea that resulted in the piece of art that you see here. In my tutorial, you’ll see how I created this temporary piece of art with my favorite office supply (tape), but I’ll also give you some instructions to help you create a more permanent (and I would also say, a bit more conventional) piece of Christmas art!
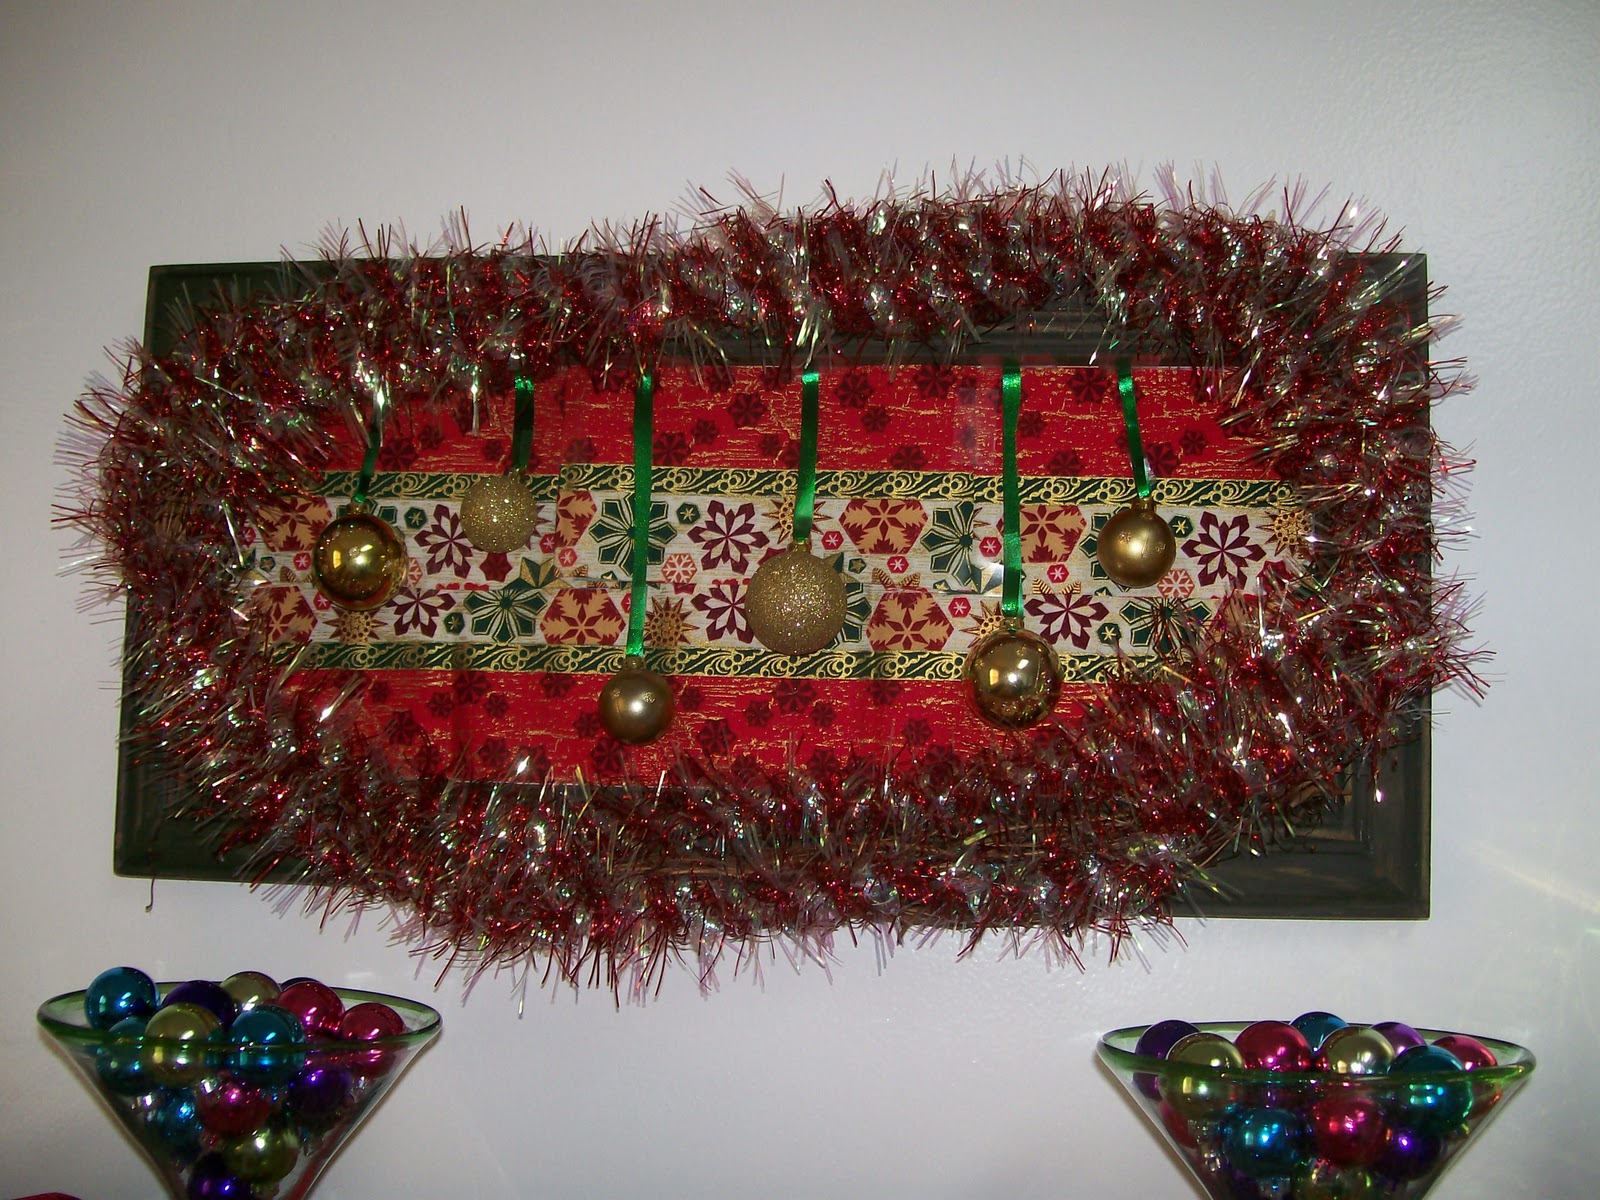
What You Need:
Wall Art, Sign, or Picture Frame
Fabric or scrapbook paper
Ribbon
Christmas Balls
Garland
Scissors
Glue, tape, and/or hot glue
Wire & wire cutters (optional)
Step 1 – Find a piece of art to cover. This may be something that’s already in your house, which you will cover temporarily. Or you can find something to cover permanently. A picture frame or old piece of art that you don’t want would be great. And you can always find something cheap to use from the thrift store. It doesn’t matter what it looks like because you are going to cover it anyway.

Step 2 – Measure your fabric or scrapbook paper to fit the center of your frame or piece of art. Then attach it to the piece of art. Use mod podge or glue stick to create a permanent piece of art or use tape to create something temporary.

Step 3 – Next add your garland. For my particular piece, I put the garland around the brown vine on my sign. To attach it to the vine, it used little pieces of wire and tied it around the garland and the vine. But more than likely you’re piece will not have this vine. So your best option would be to use hot glue to bond the garland to the frame itself. (But if you’re like me and don’t want to permanently alter your piece of art, I’d suggest skipping this)

Step 4 – Cut out some ribbon. This will be used to hang the balls on your piece of art. You’ll need to cut them in varying lengths. You’ll want some of the balls to hang near the middle, while some will be higher, and others will be lower. Use your piece of art to get a good idea of what sizes you need.
Step 5 – Now loop the ribbons through the balls. To attach them you can either tie a small knot or you can use hot glue or tape to affix the ribbon to itself once it is looped through.

Step 6 – Attach the balls to your piece of art. Again for my temporary piece, I simply used tape to attach the ribbon to the frame. And I was able to place it in such a way that you can’t even tell that it’s taped. But if you want something permanent, you should attach the ribbons with hot glue.

Now you should have a fun piece of Christmas wall art that you can use year after year (or just for this year)!
I’m also linking up to these weekly parties.

Photobucket

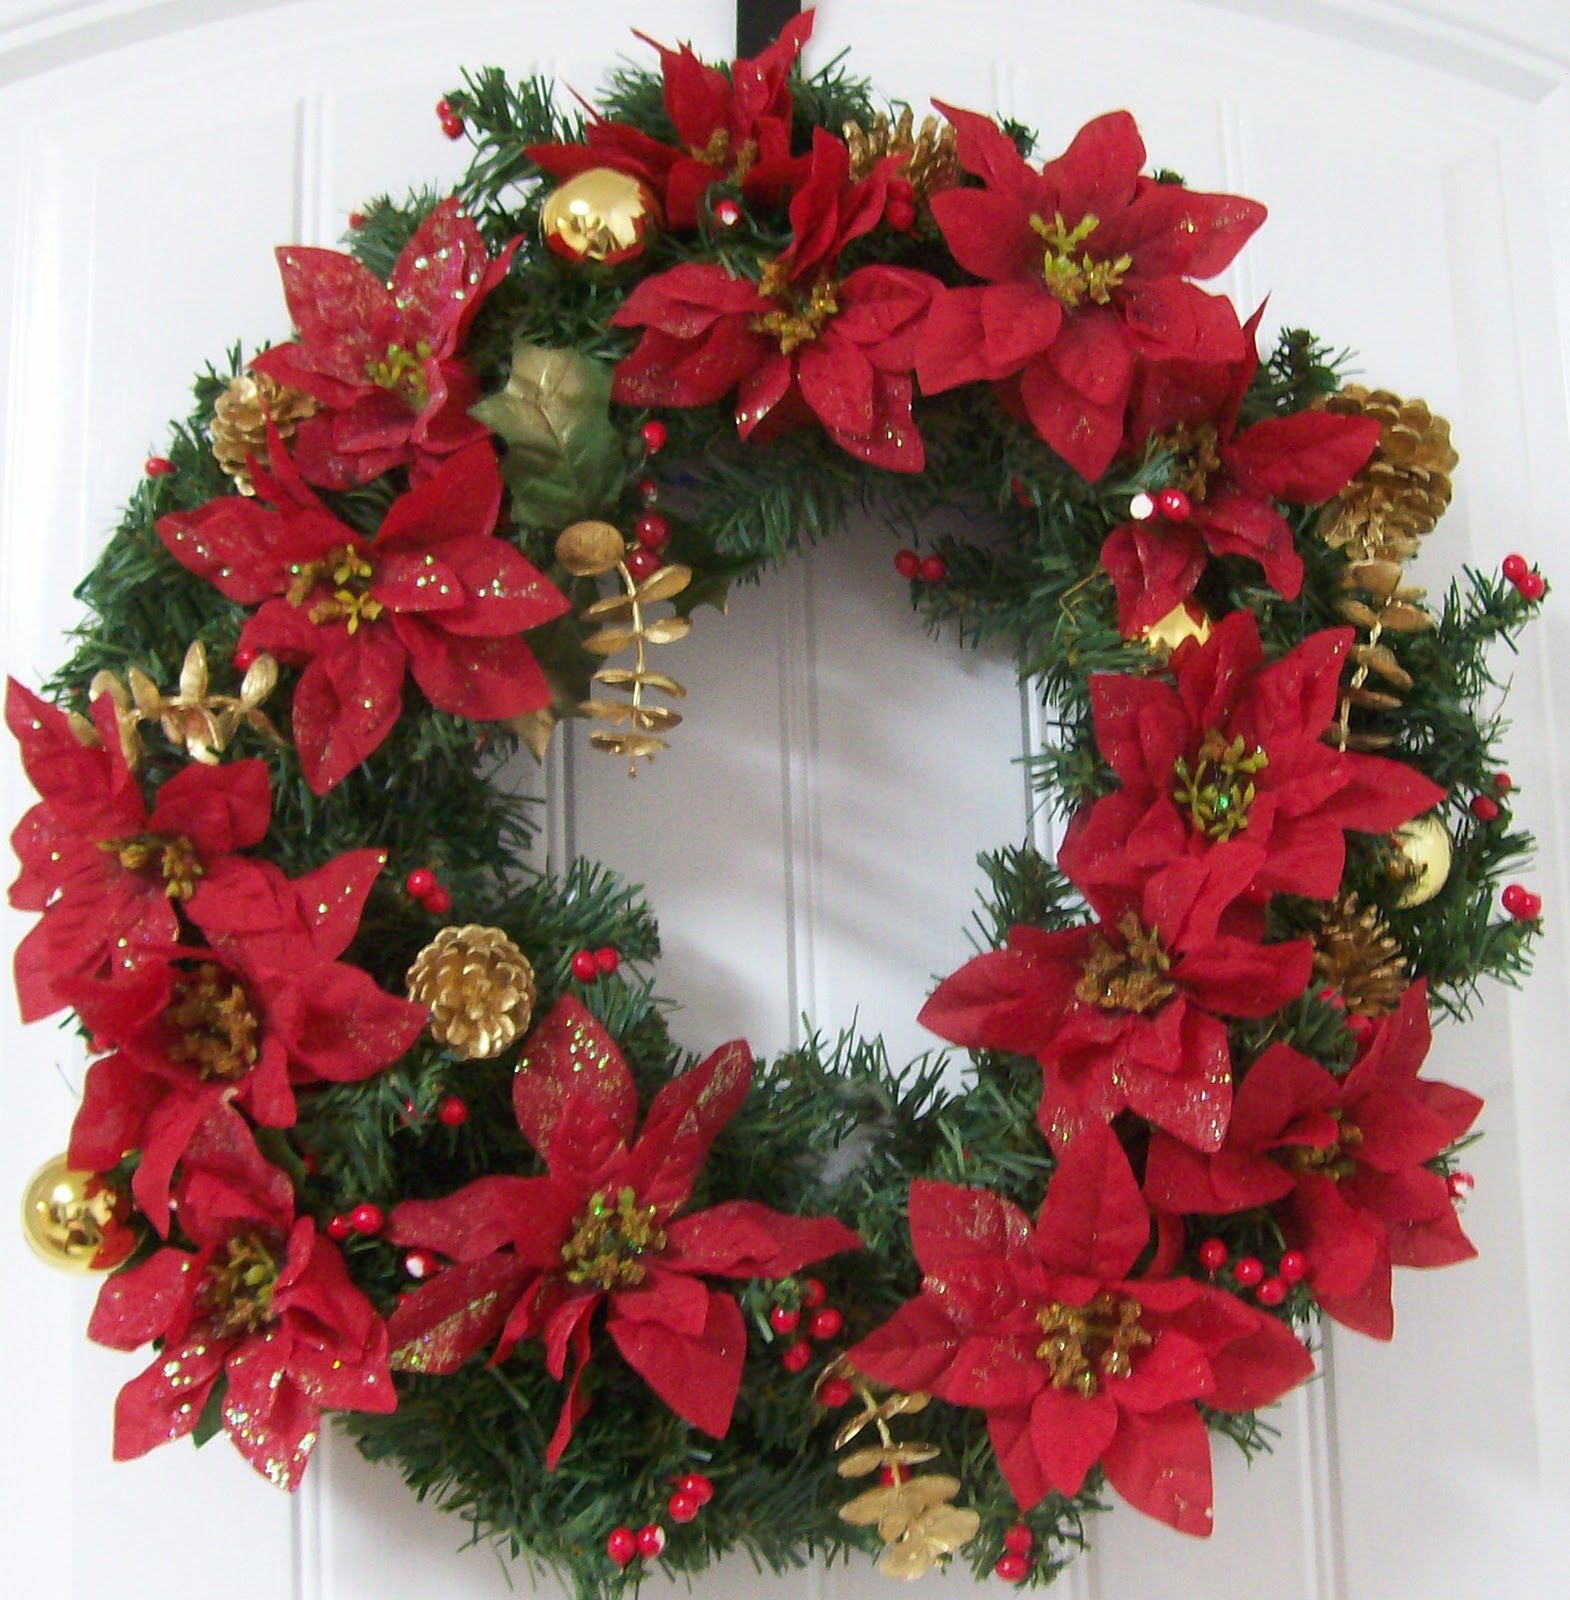
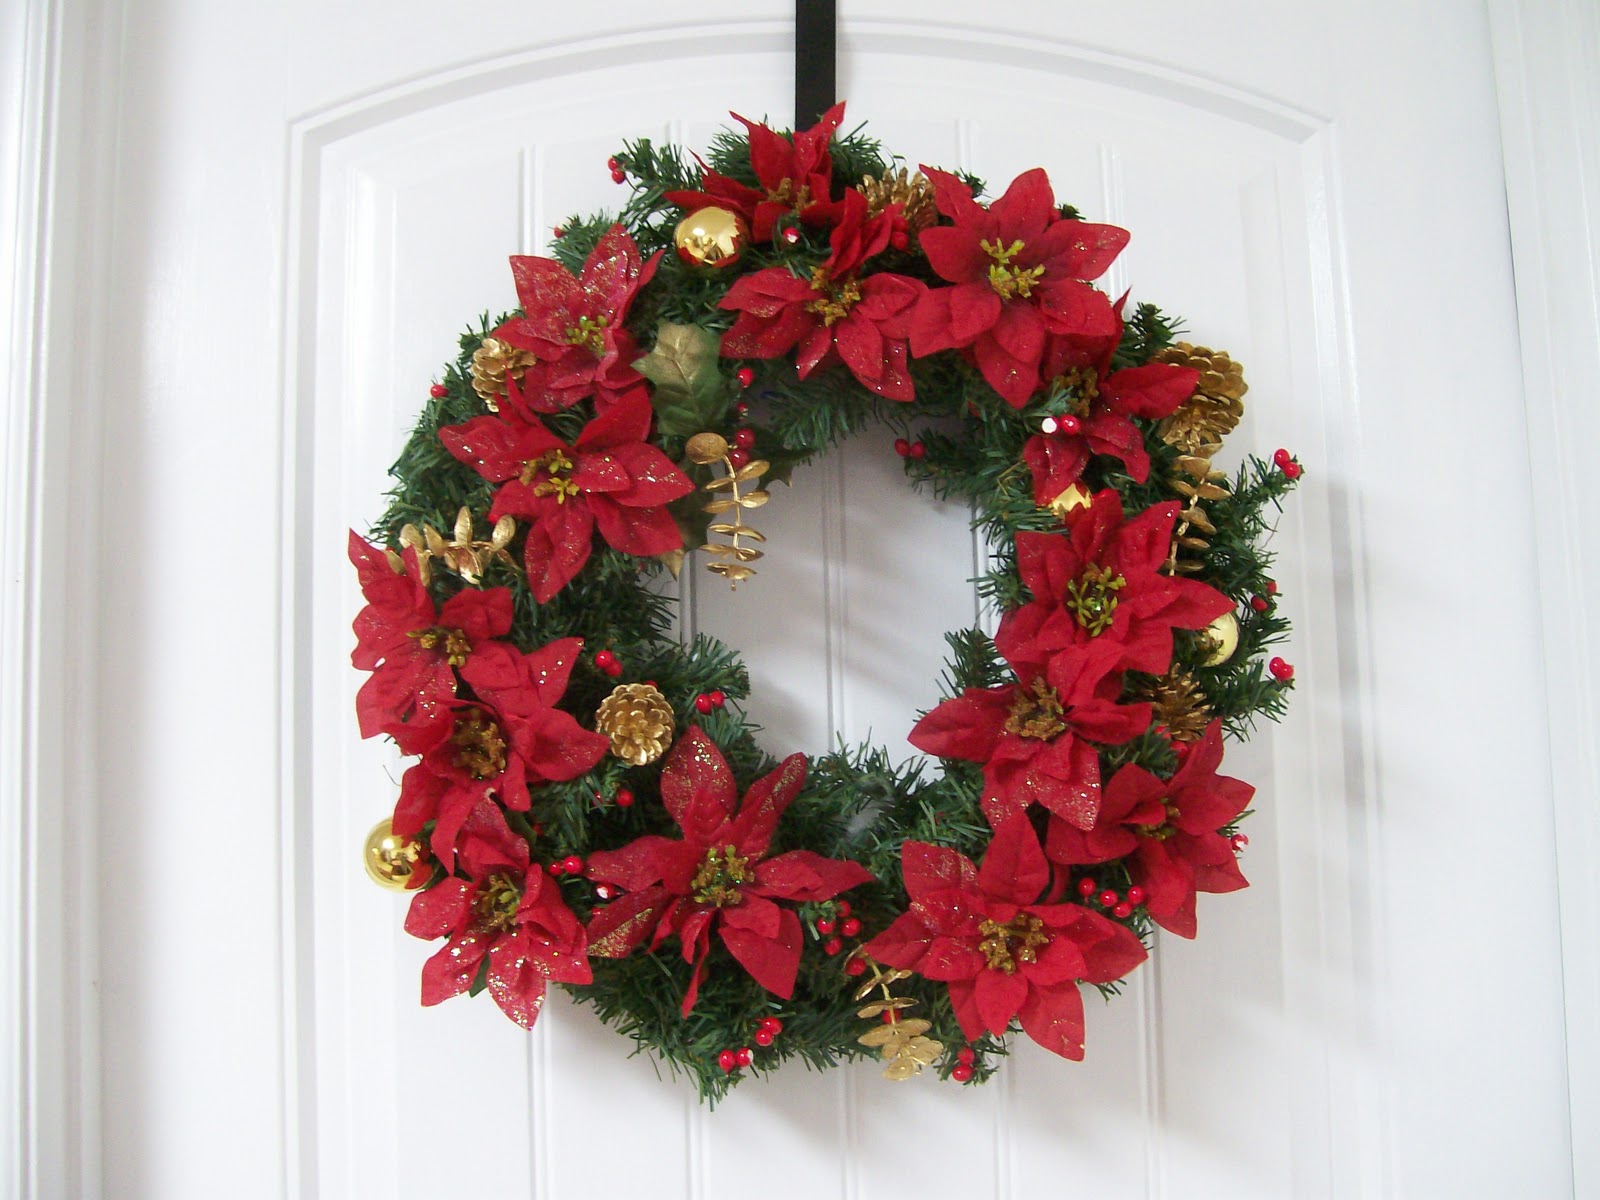
Christmas Wreath Upcycle

Wreath’s may very well be my favorite year round decor.  Today I’m sharing this wreath that I put together a few days ago.  This wreath has actually been seen here before in different forms.  Originally my mom made the wreath with a bar theme for the restaurant where she worked, but when they downsized on their Christmas decor, she gave it to me, so I transformed it into a Mouse themed tree (because I collect mouse ornaments).  But last year instead of the ornaments, I decided to just add some gold elements. 
Then this year when I got the wreath out (with the gold stuff still attached), I just felt that it looked so plain, so I added some poinsettas that I just happened to have, and we now have a beautiful, new wreath, without me having to spend any additional money! 
I could hardly believe my own eyes when I looked back at the old wreaths.  Check out the tranformations:
The Bar Wreath:

Mouse Wreath – For 2008:

Gold Wreath – For 2009:

And finally Red & Gold Wreath – For 2010:

Wreath Tutorial

To make your own wreath like this, simple by some simple gold ornaments.  The ones I used are gold balls, pine cones and leaves.  I got these off of a predecorated tree that I bought at Walgreens a few years ago.  But I’m sure you can find something simple like this at Hobby Lobby or even the dollar store.
To add the ornaments, use ornament hooks or bead wire, and loop it through the ornament.  Twist the wire a few times to make sure the wire is secure on the ornament.  Then weave the wires through the wreath, and twist the two ends of the wire together to secure the ornament in place.

For the flowers, I simply took two bunches of poinsettas that I got for 94 cents each at Walmart.  Cut the flowers from the bunch and then just stick them through the wreath.

No glueing involved, so there’s no mess, and you can always change the wreath up later!

I’m linking up at this week’s parties.

Photobucket

Christmas Traditions Event

I was honored when Elizabeth at Twelve Crafts Till Christmas asked me to be a guest contributor for her Twelve (plus) Days of Christmas Traditions event!
For this event, I’ll be sharing a tree trimming tradition called “The Christmas Keys.” It’s a very fun and meaningful tradition that we’ve started since we got married, and I think you will enjoy it.
Please head over to Elizabeth’s blog to check out my guest post.  And keep visiting throughout the month, as there will be lots of guest recipes and tutorials through December 3!
Big Thanks to Elizabeth for hosting this!

Photobucket

Pink Party for Cancer Awareness

I was very excited about the opportunity to host a get together from Pssst and General Mills.  As you all know, October was Breast Cancer Awareness Month, and there were many promotions on television and online to help raise awareness and raise money for Susan G. Komen For the Cure.
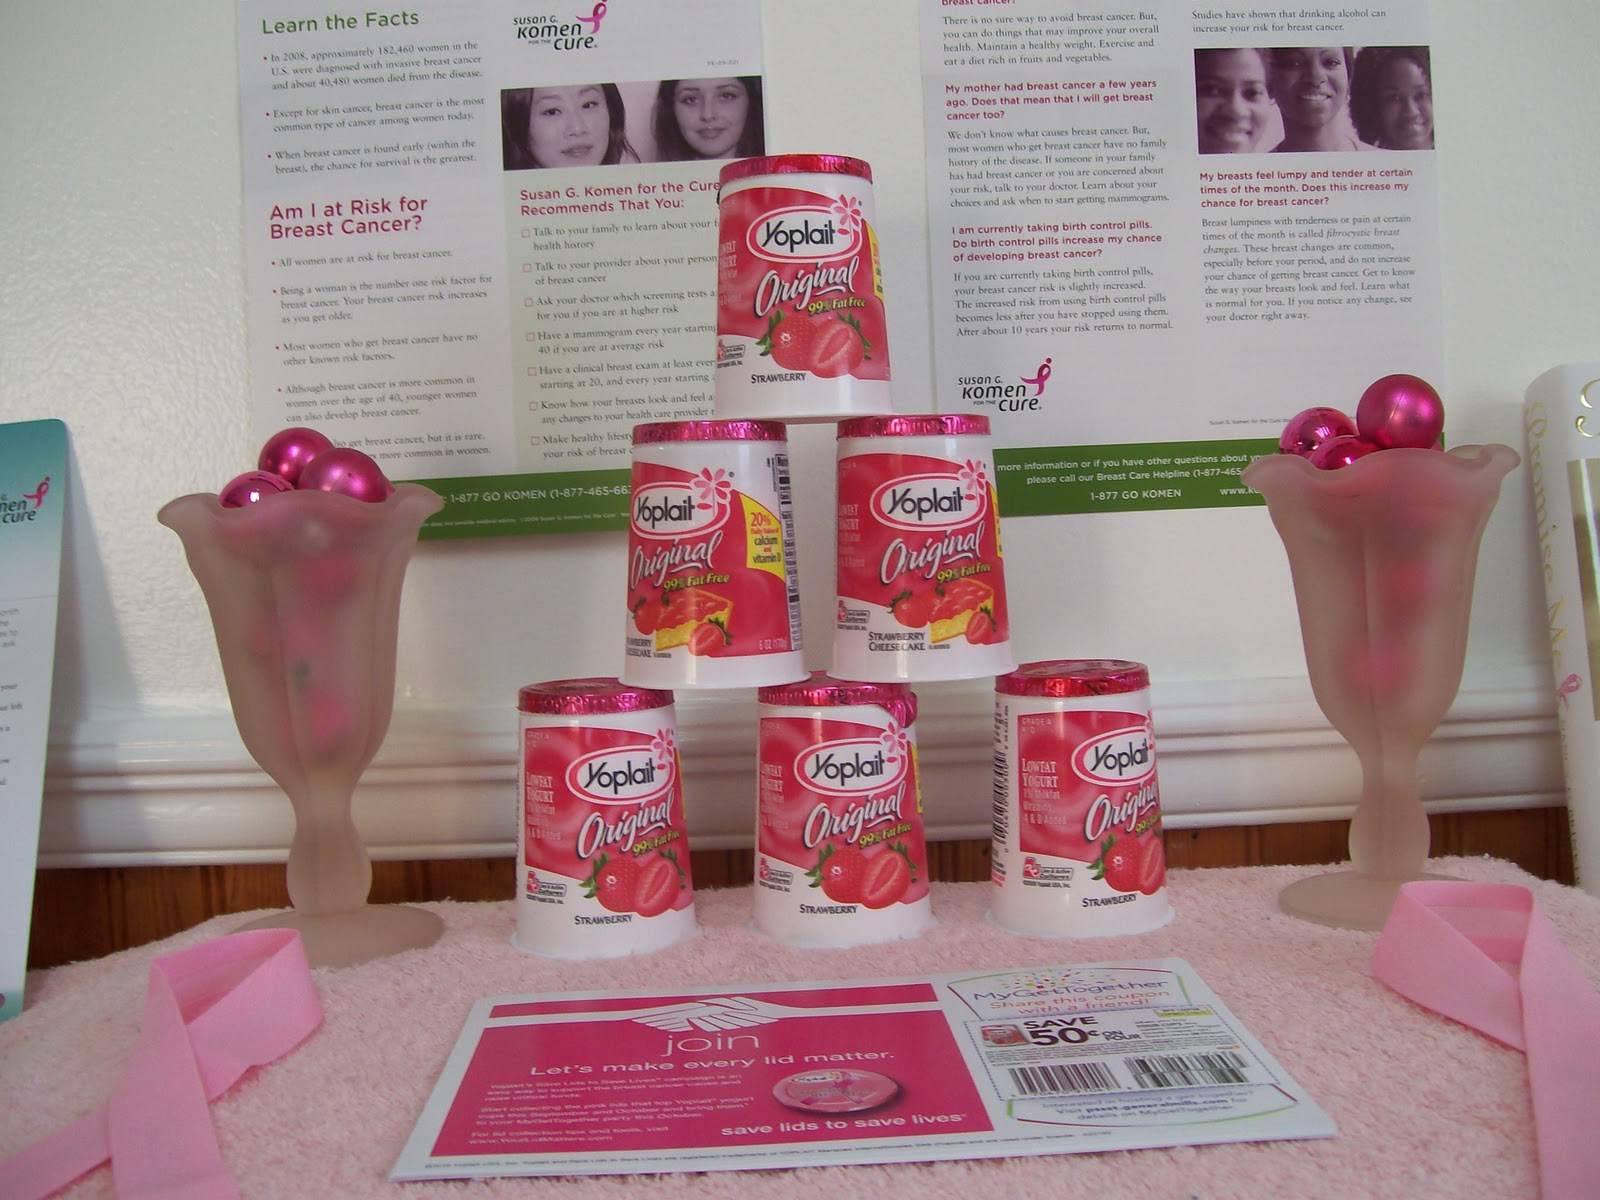
A lot of great companies were also involved, including General Mills and Yoplait Yogurt.  For every pink lid you send by December 31, 2010, Yoplait will donate 10 cents to Susan G. Komen for the Cure, now up to $1.6 million. And they guarantee a donation of at least $500,000.  For more information, please visit Save Lids to Save Lives.
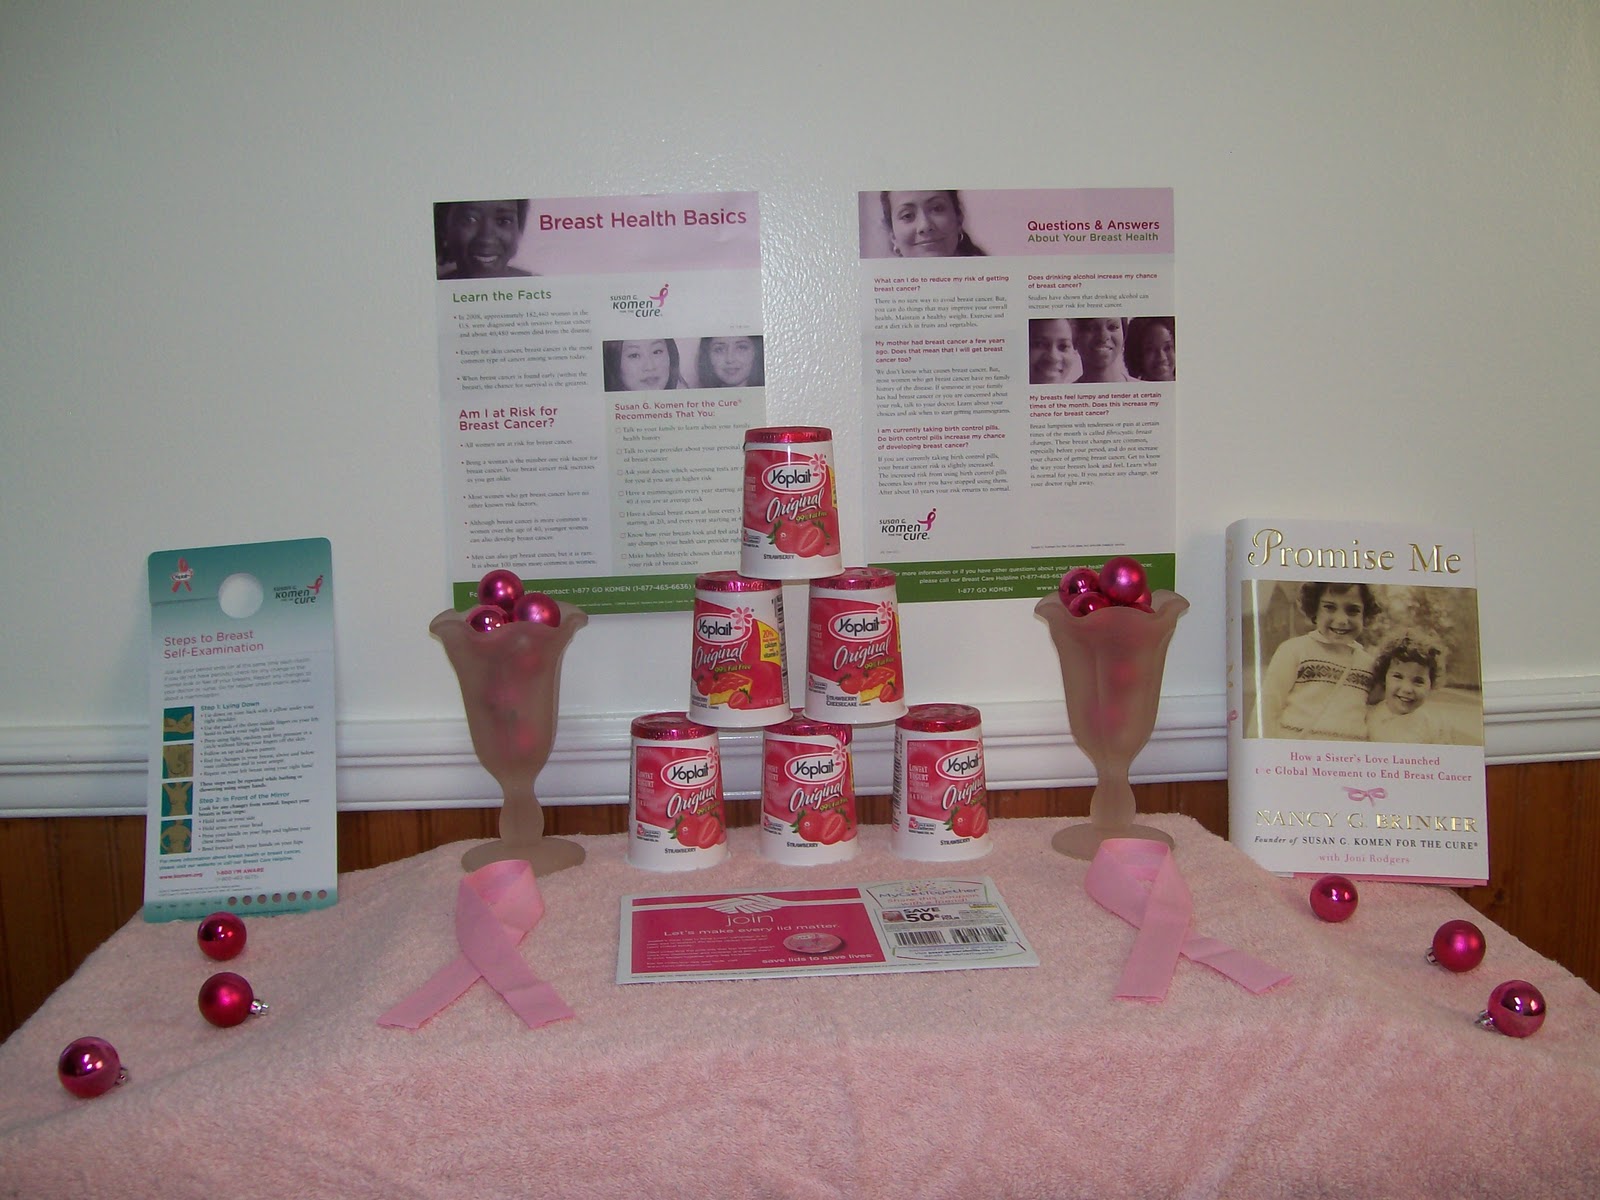
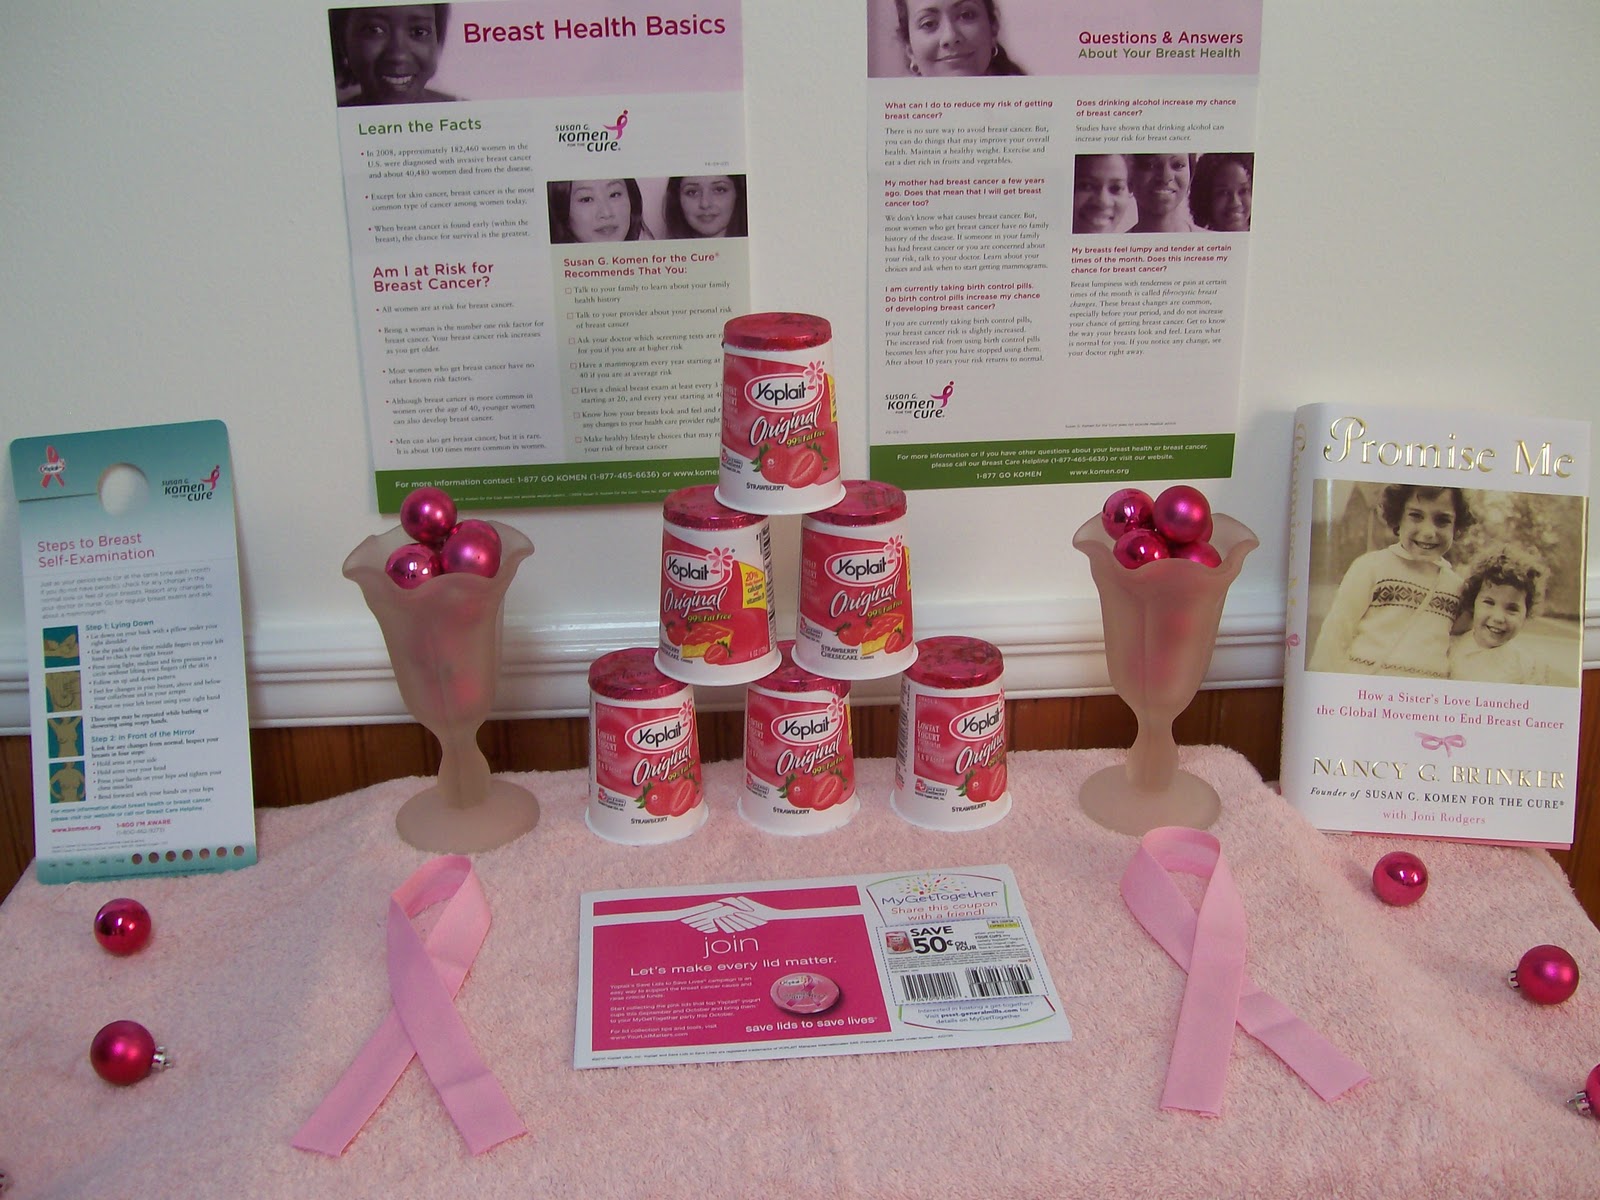
I was invited to host a get together where I would serve Yoplait yogurt, collect pink lids to send in for the Save Lids to Save Lives campaign, and raise everyone’s awareness of breast cancer and breast health.
I haven’t  personally had any close family members diagnosed with breast cancer, but I have had family members and friends, including my late grandmother, who were diagnosed with other types of cancers.  And I also became aware of just how prevalant cancer is when my husband was working for an insurance company that specialized in cancer policies.  Everyone that he talked to had at least one person in their immediate family who had been affected by cancer.  So it’s a cause that I feel very strongly about.
For the get together, I was given a hostess kit which included the following items:
-a $15 Visa giftcard, to purchase Yoplait Yogurt for the party.
-a stack of coupons for Yoplait Yogurt
-a stack of breast health information sheets
-a self-exam shower hanger
-a pink bookmark
-and a copy of Promise Me by Nancy G. Brinker, founder of the Susan G. Komen for the Cure
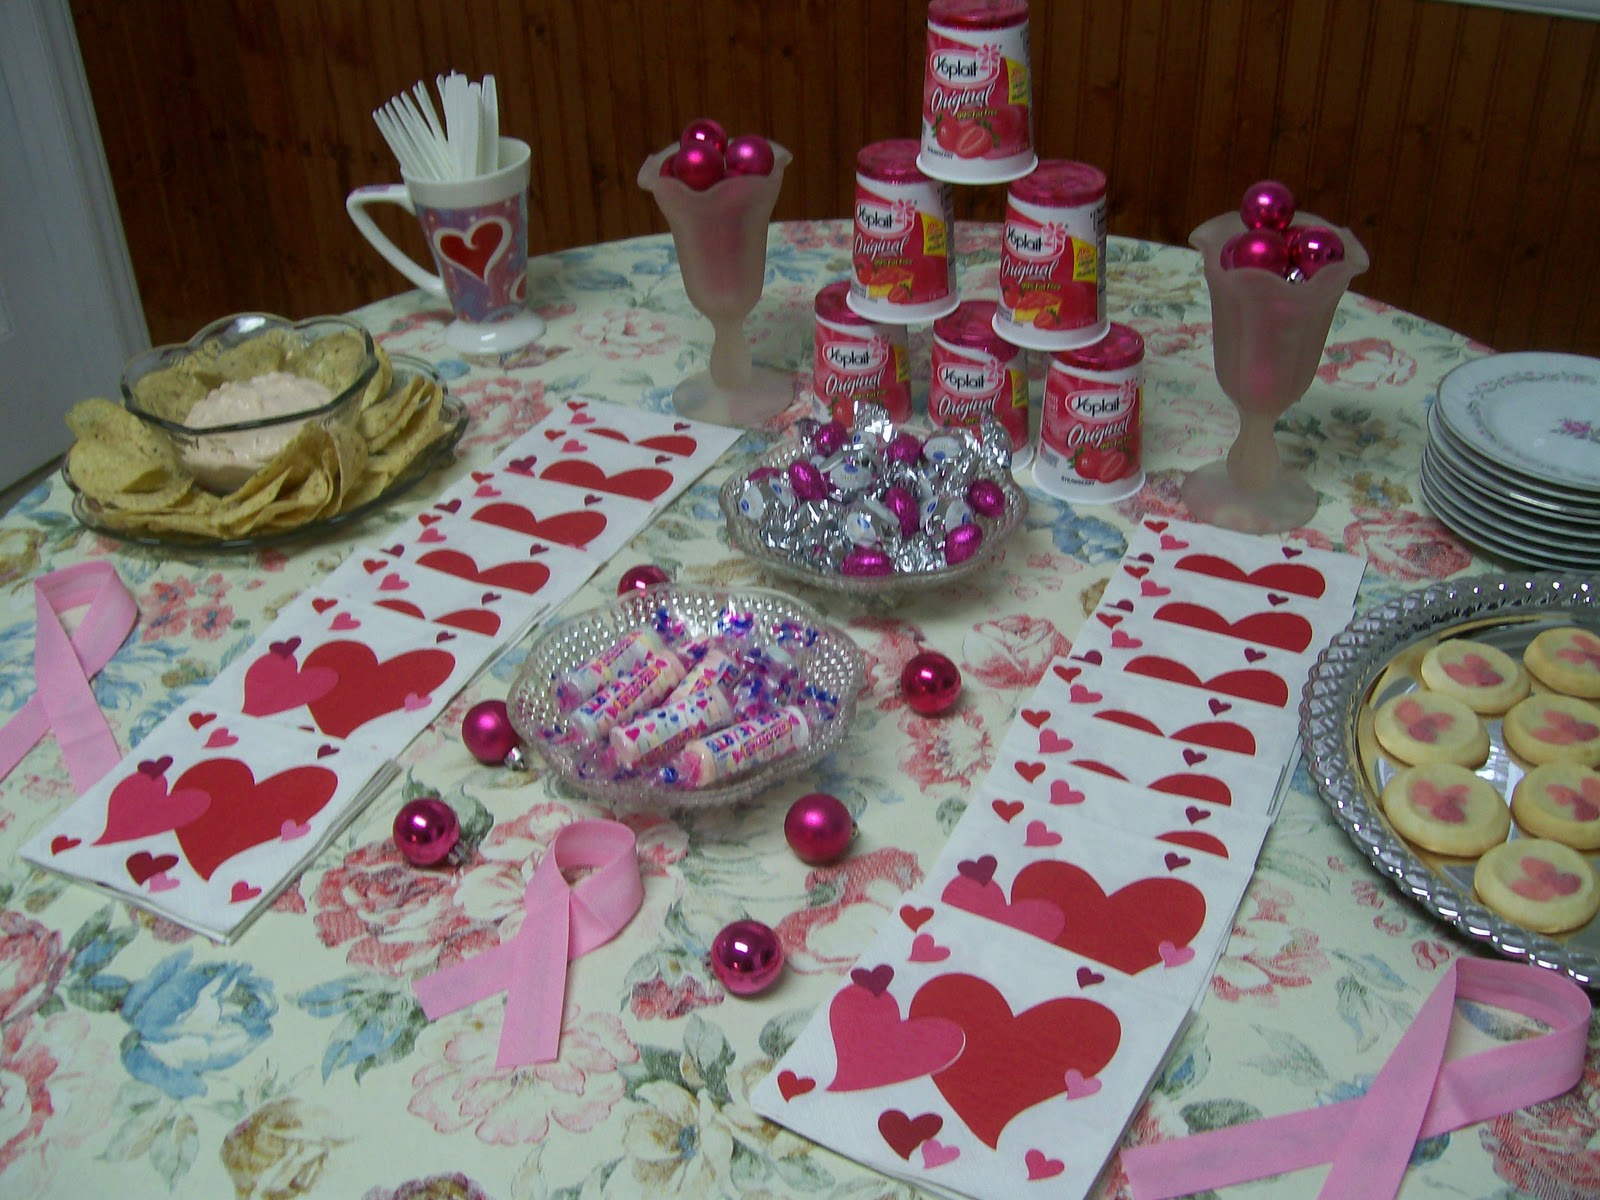
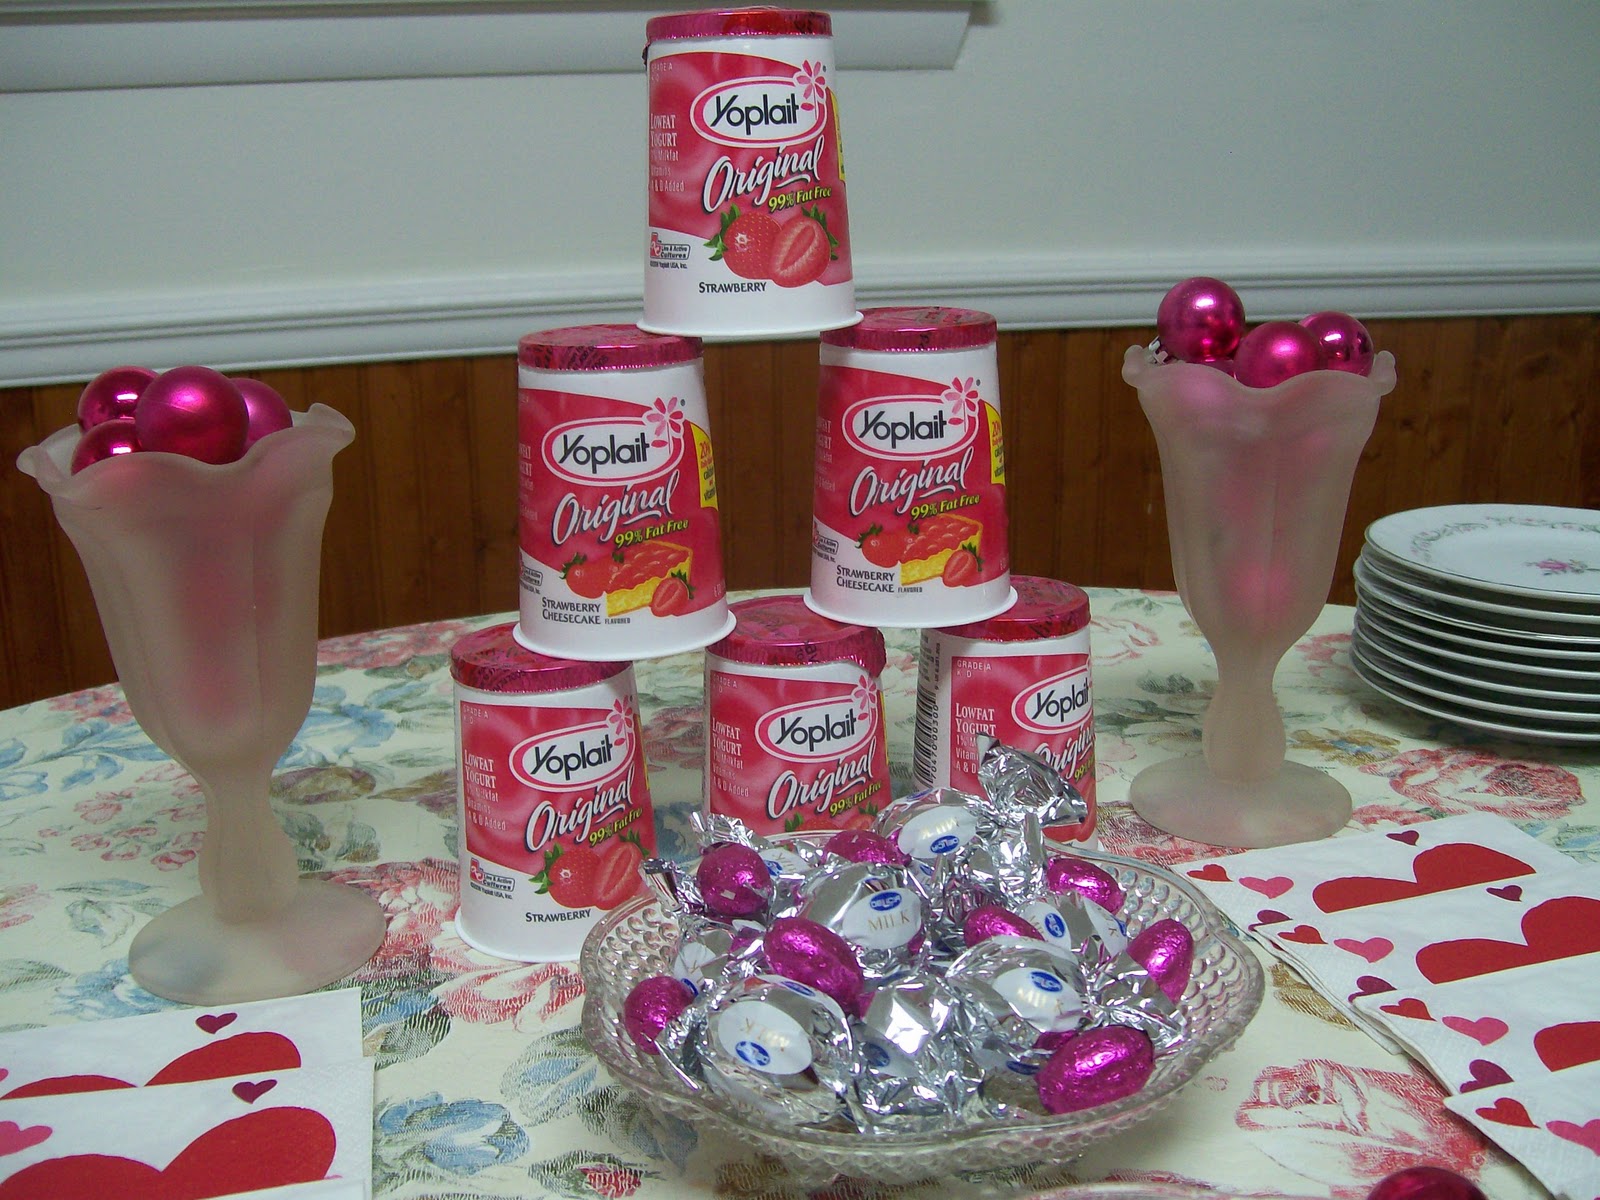
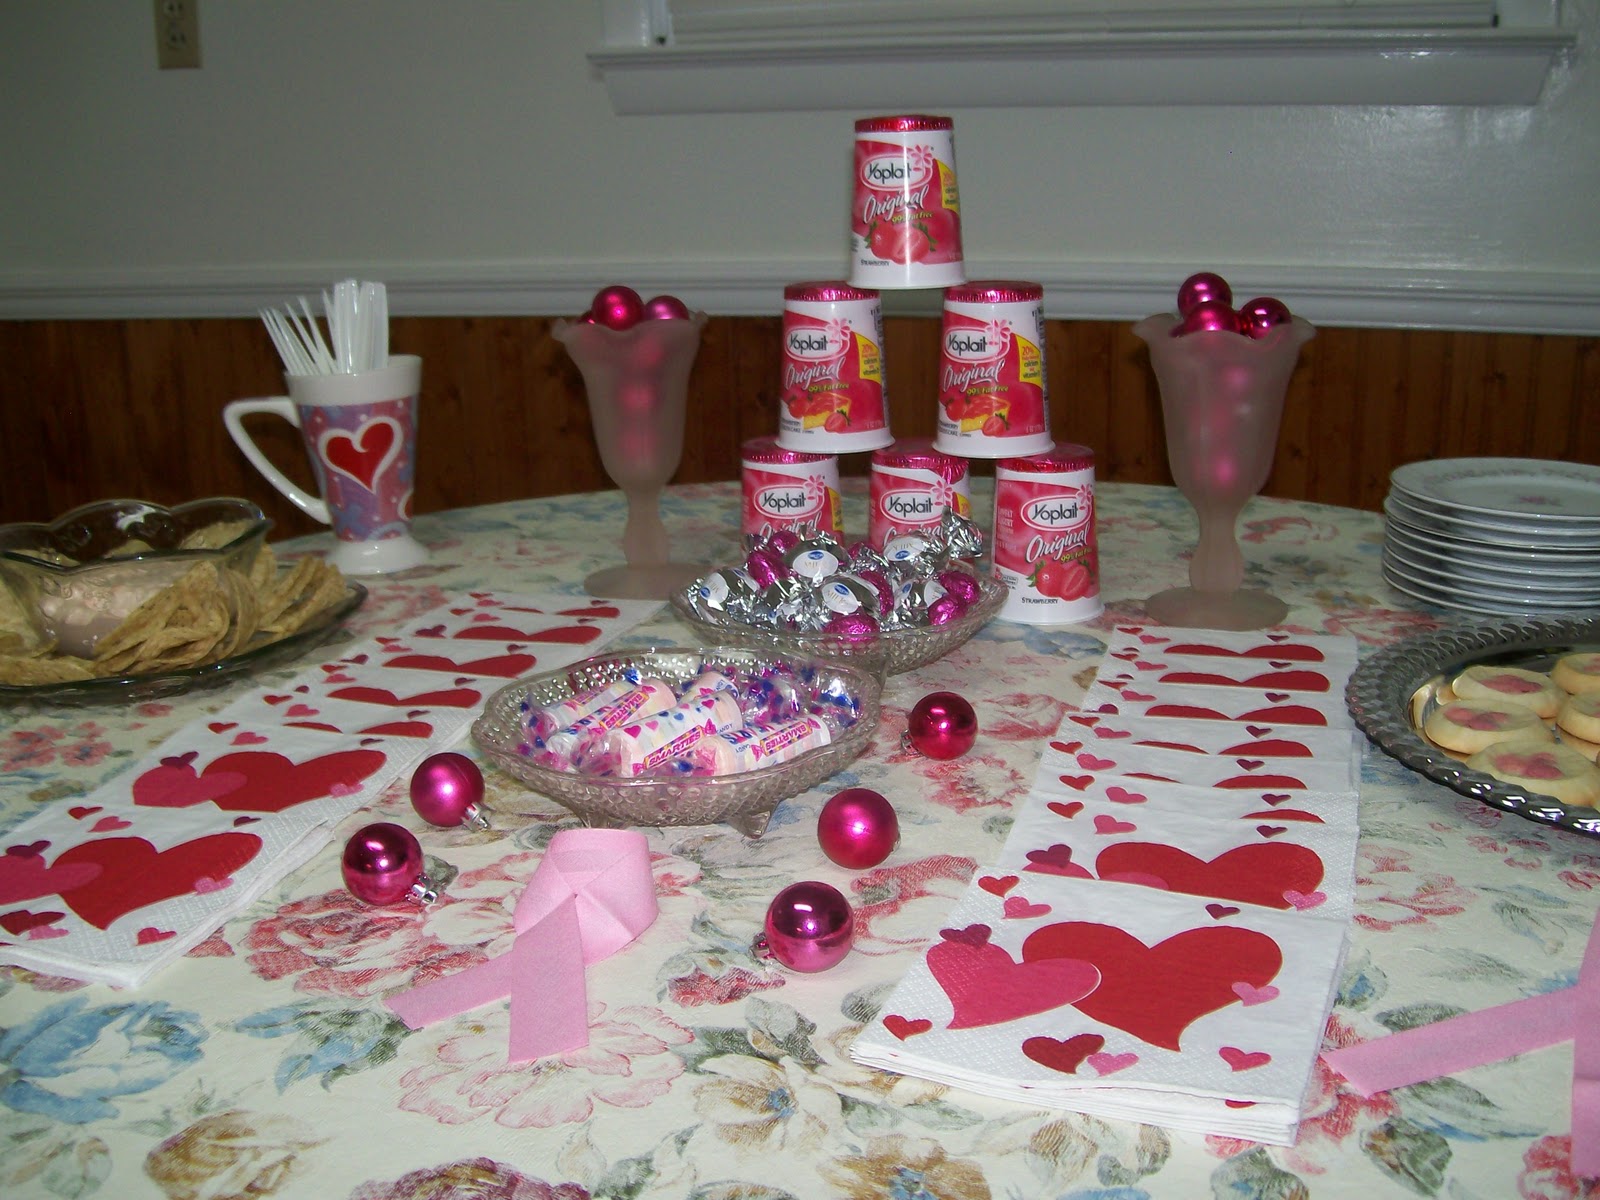
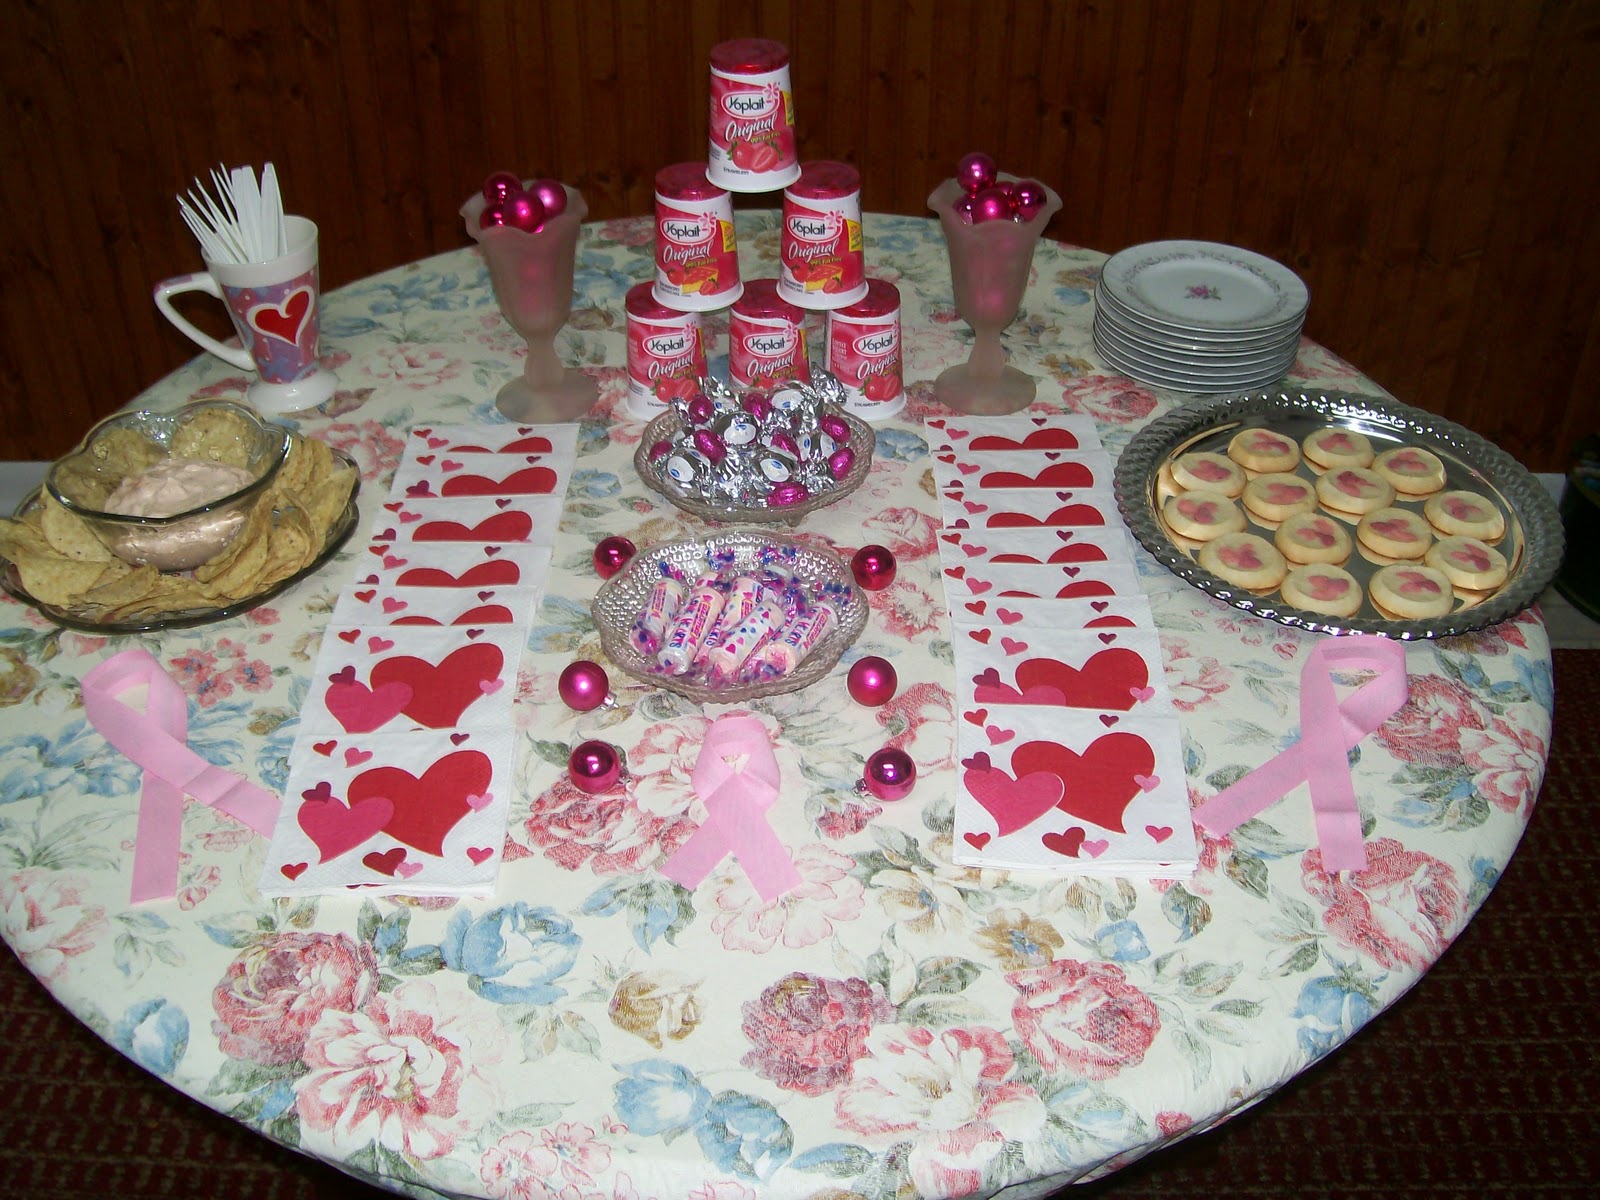
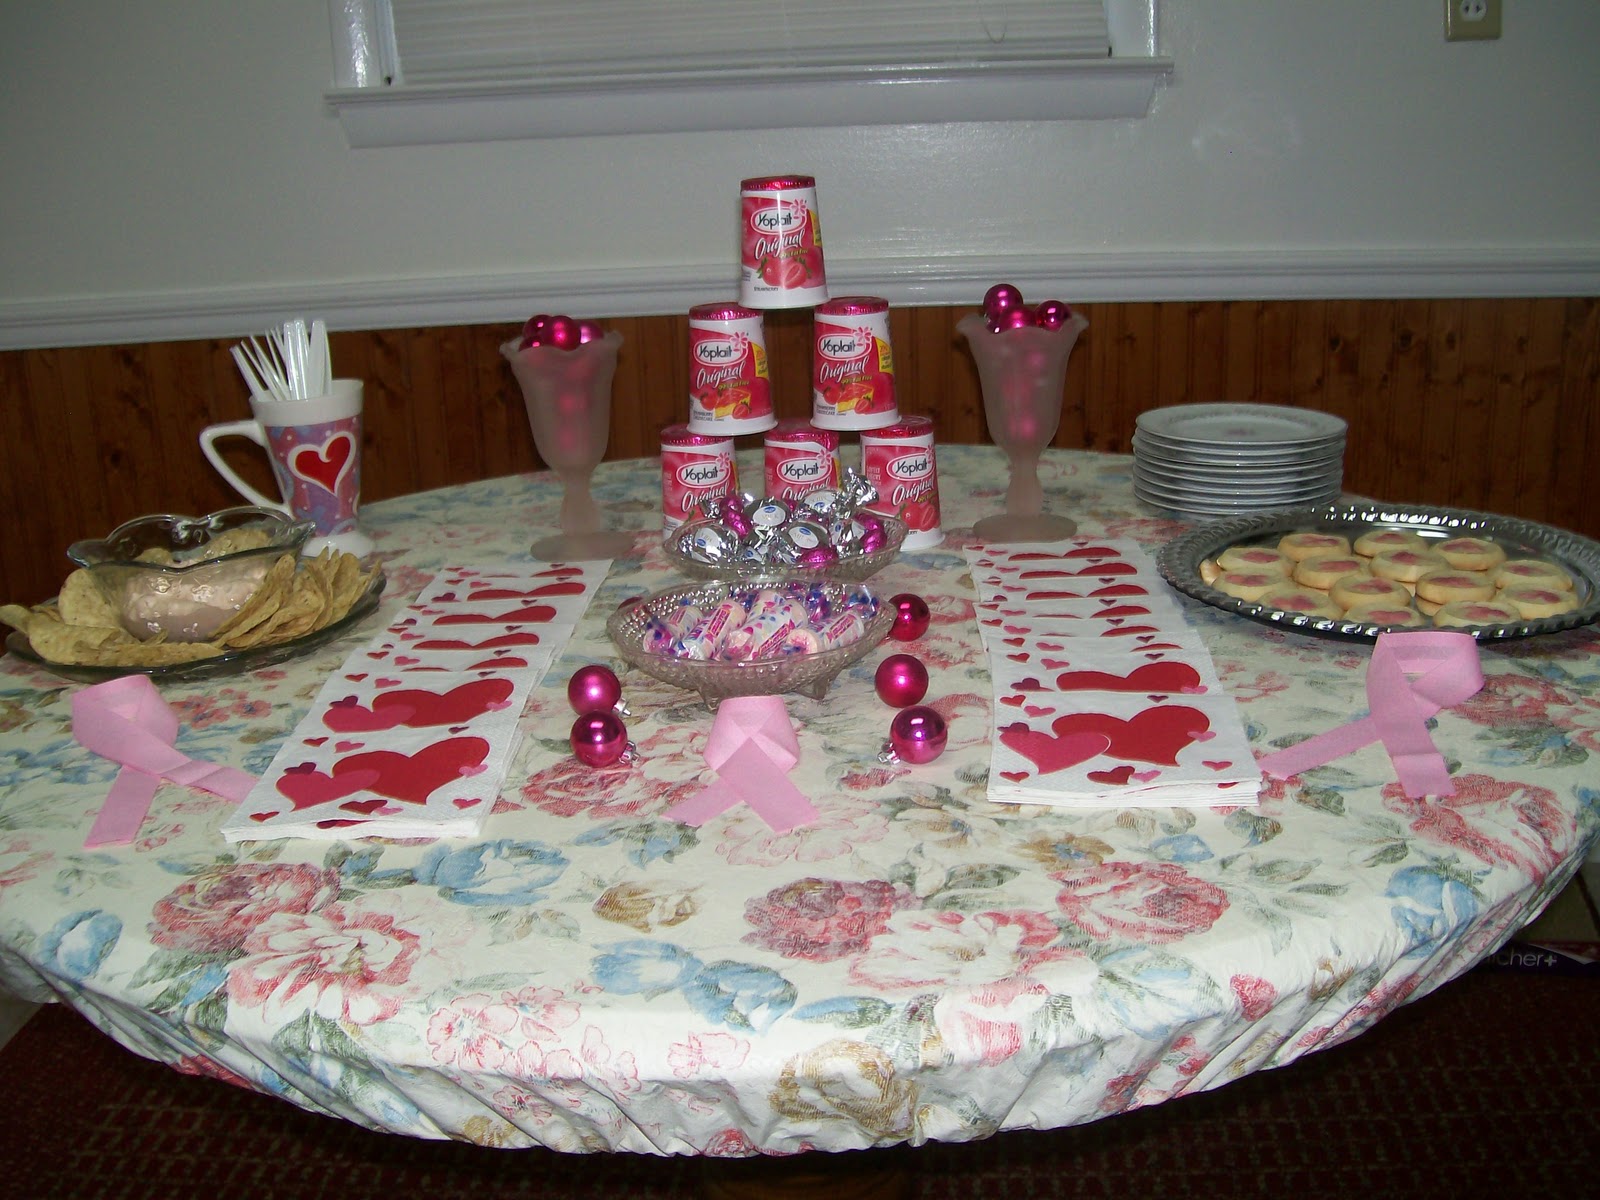
For the party decor, I mostly used items I already had on hand, including some pink Christmas balls, which I placed inside of some cloudy pink glasses.  I also had some pink and red heart napkins left from Valentine’s Day, and I placed the spoons inside a Valentine’s mug.  Additionally I used some white plates featuring pink flowers.  And I had some pink trim on hand, so I just cut out several pieces to make ribbons for the table.  (I also had some pink silk flowers which I meant to add to the table, but I completely forgot about them….oops!)

And keeping with the pink theme, I served some pink creamy salsa dip, pink candies, and some pink cookies from Pillsbury, along side the pink Yoplait yogurt (of course!).

Today in addition to sharing my party with you, I’m also sharing some of the information that was provided by Susan G. Komen for the Cure for the party.
-All women are at risk of breast cancer.  Being a women is the number one risk factor, and your breast cancer risk increases as you get older.  Most women who get cancer have no other risk factors.  Men can also get breast cancer, but it is 100 times more common in women.  Except for skin cancer, breast cancer is the most common type of cancer among women today.

Susan G. Komen for the Cure Recommend that You:

  • Talk to your family to learn about your family helath history.
  • Talk to your provided about your personal riks of breast cancer.
  • Ask your doctor which screening tests are right for you if you are at a higher risk.
  • Have a mammogram every year starting at age 40 if you are at average risk.
  • Have a clinical breast exam at least every 3 years starting at 20, and every year starting at 40.
  • Know how your breasts look and feel and report any changes to your health care provider right away.
  • Make healthy lifestyle choices that may reduce your risk of breast cancer.

I’m linking up this week at linky parties.
Photobucket

Disclosure: Host kit, including information and a $15 gift card were provided by Yoplait and General Mills through Pssst & MyGetTogether.

Book Page Initial Wreath

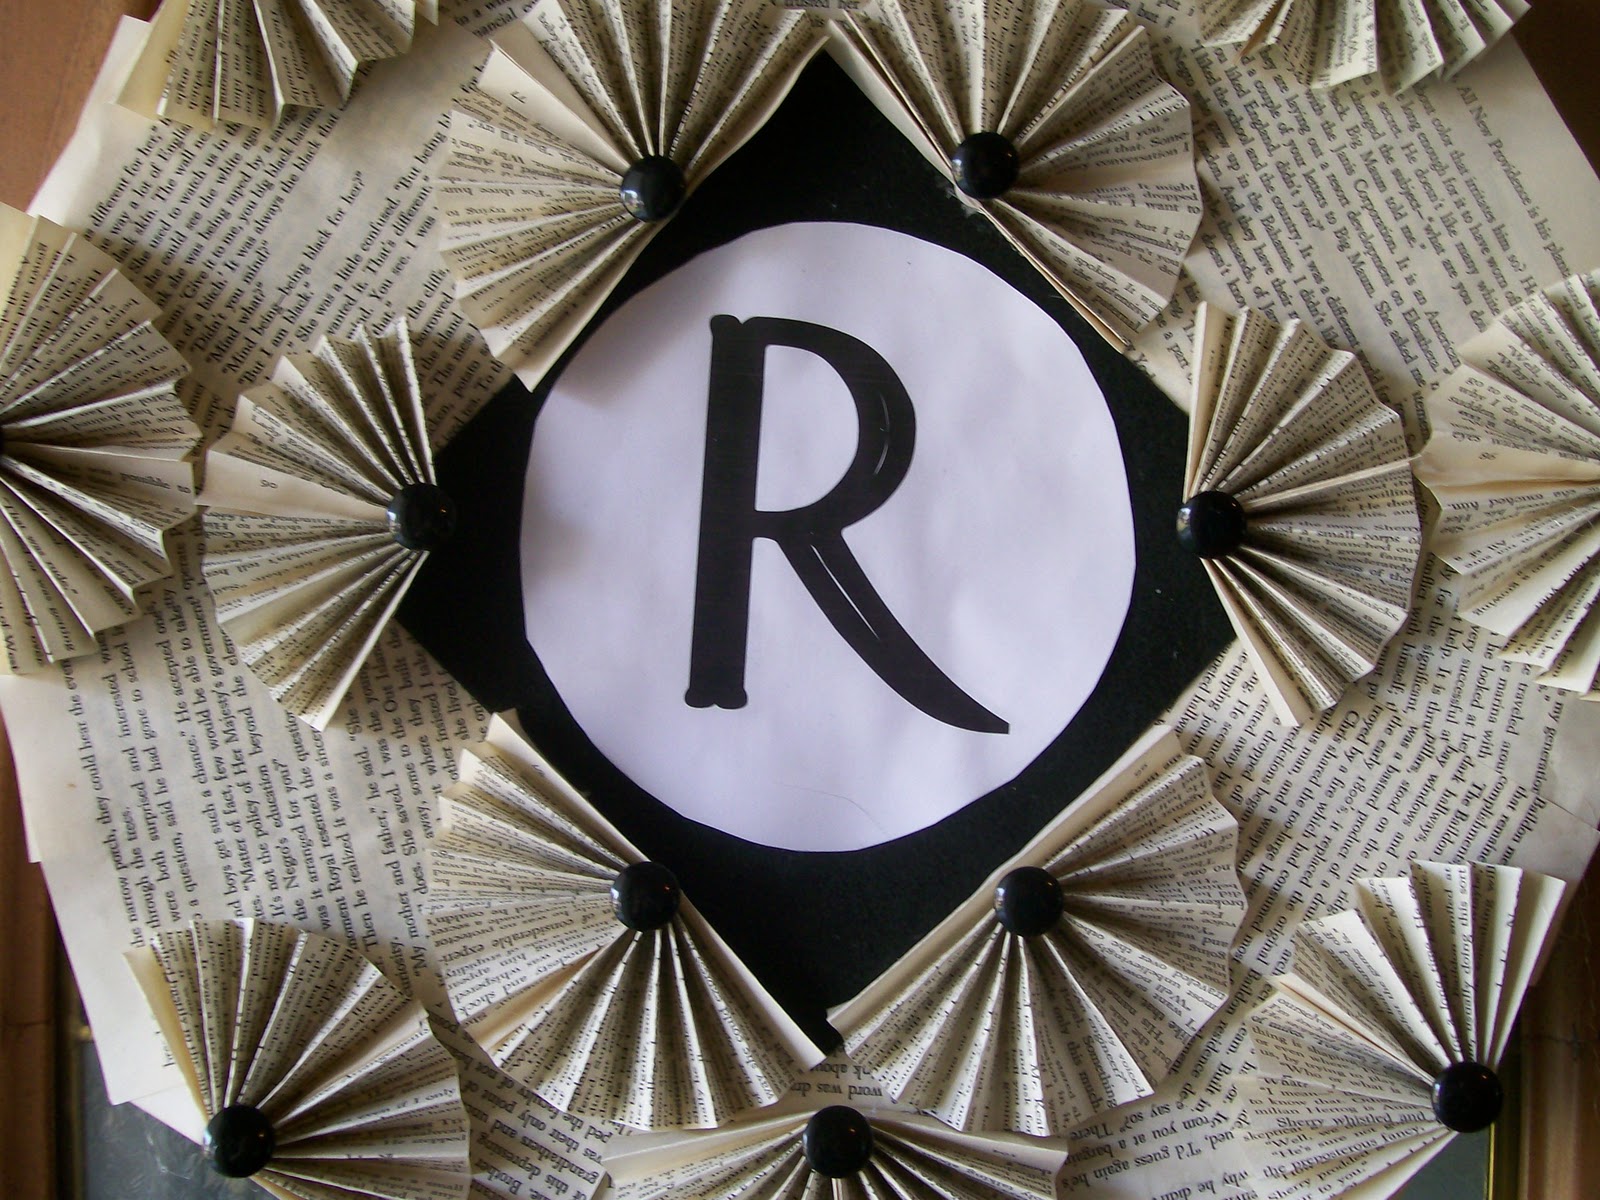
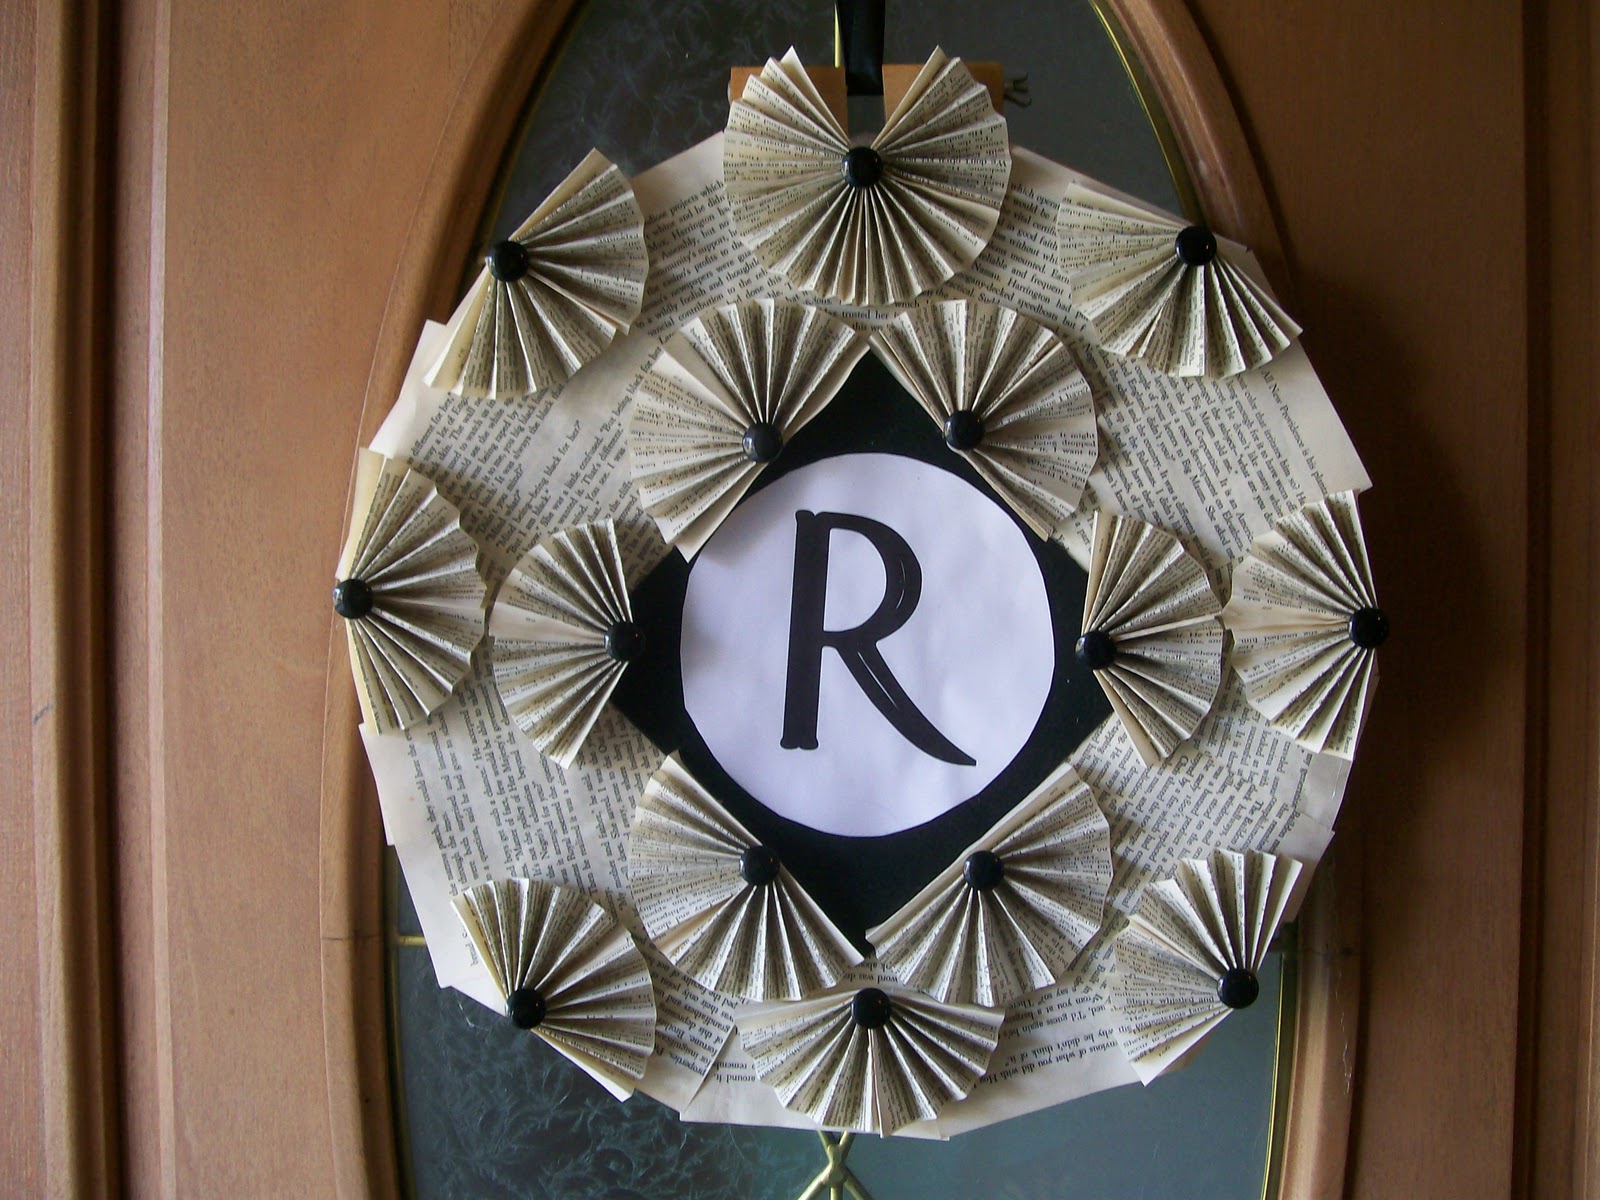
Looking for a personalized Christmas gift?  Or something personalized for your own home?  How about a fun book page intial wreath!
I’ve absolutely loved looking at all the book page projects out in the blogosphere.  While my husband was out of town a few weeks ago, I finally got around to making one of my own.  For this design I was inspired specifically over the summer by someone who created a wreath using an embroidery hoop, except theirs had a fleur de lis in the center.  (If this was you, please comment or email me so that I can include a link to your project!)

Anyway, this was mostly made out of materials I had on hand at home. And it turned out so great that I’m planning a trip to craft store so I can make some more! My husband wants me to make one for his mother for Christmas, and I’m also planning to make something similar for my dad. He’s in the process of moving, and I think it would make a great Christmas and housewarming gift. And while I’m at at it, I’ll make one for my mom as well.
And I’ve also added the wreath to my shop and will take custom orders for anyone who’d like one for their home. For more information on this, including size, features, and pricing, just visit my shop.

For those of you who love to craft yourself, I’ll also be posting a tutorial for this very shortly. I’ll try to post it in the next few weeks when I have more time. It’s not a very difficult project to undertake. It was just kind of long and drawn out, and involved a lot of steps.  Till then, I hope you enjoyed this sneak peek!

I’m linking up at these fun craft and decor parties.
Photobucket

Halloween Kitchen Decor

This post should prove that you don’t have to spend a lot of money or be very crafty to create a super cute table setting.
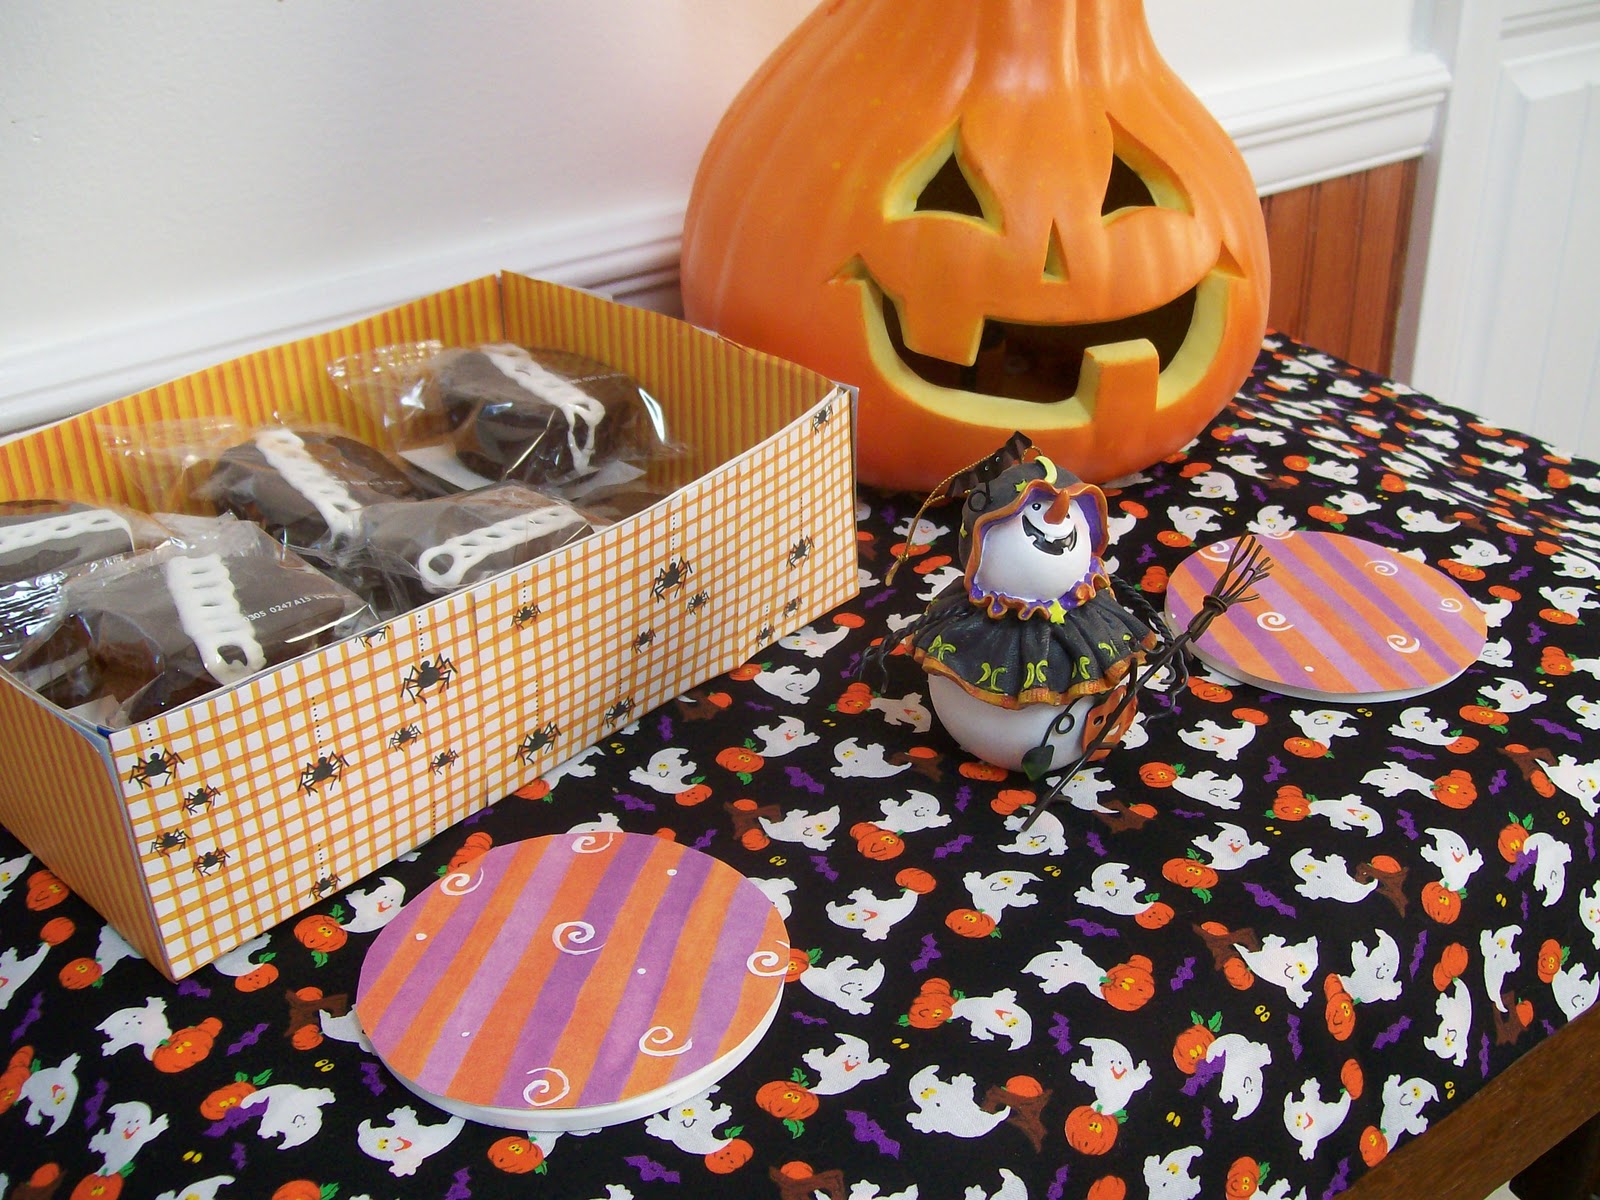
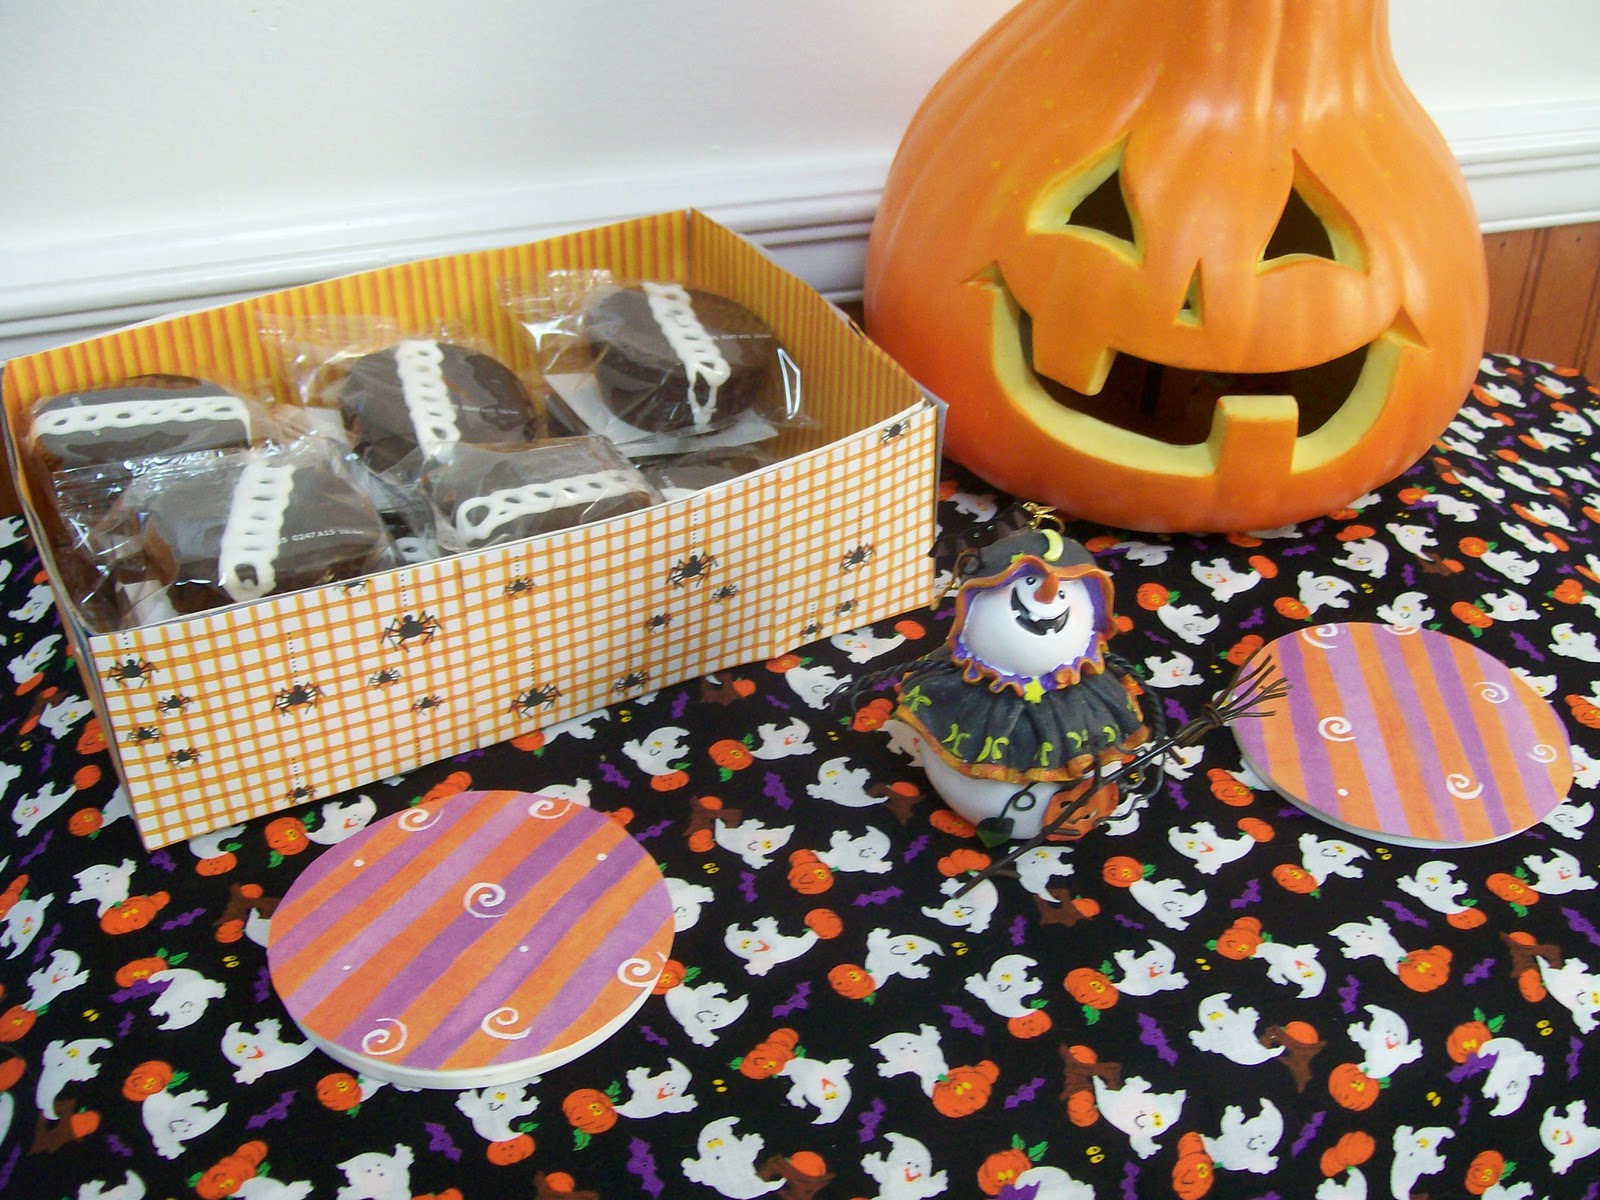
We have an antique sewing machine, which belonged to my grandmother, in our dining room.  I always keep a cover over it to protect from potential cat jumpers, and every few months, I try to change it up a bit.  This month I decided to make it a little more festive for Halloween.

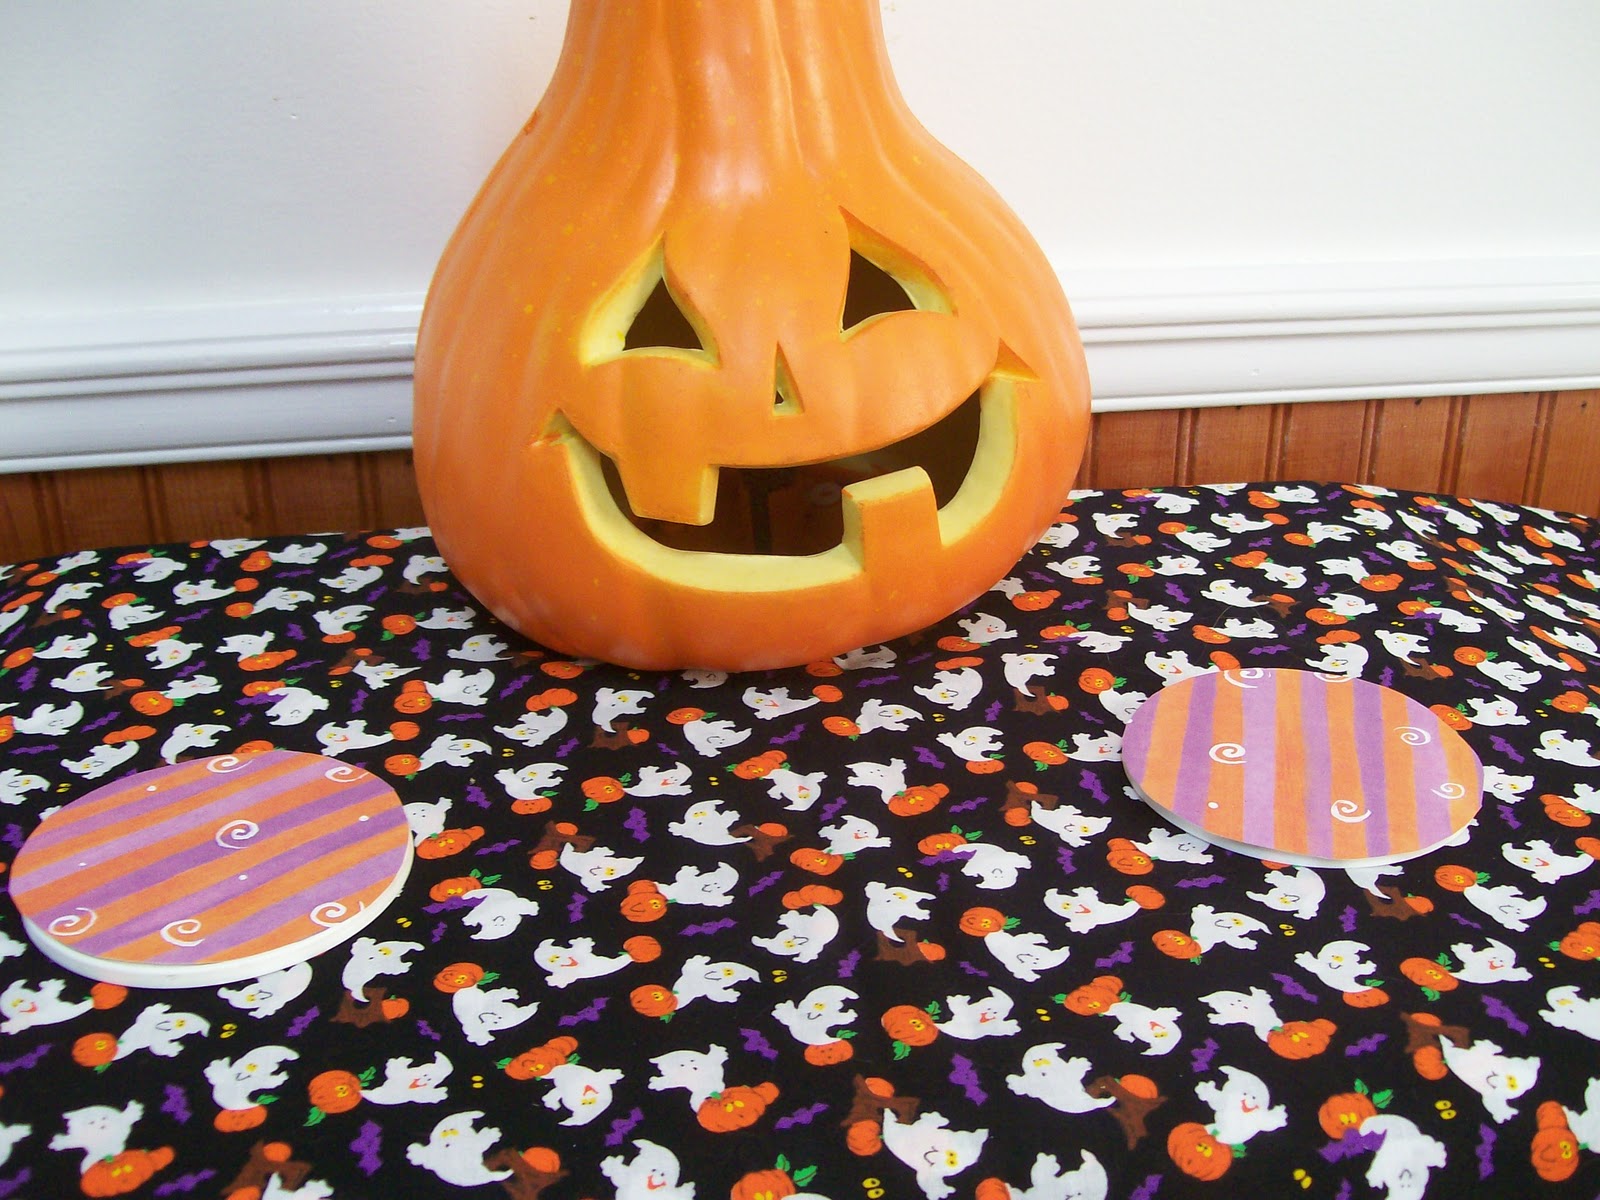
Just like with the coffee table I posted on a couple of week ago, I simply used a piece of fabric as a table runner, and I created another set of these easy coasters to go alongside the pumpkin. Very simple, yet festive!

Here’s a close up picture.  I just love this fabric, featuring a pumpkin, ghosts, purple bats, and little yellow eyes.
And to add a little more pizazz, I just added my little Halloween treat box and this little Halloween snowman figurine. Very fun and festive! (And Easy!)
I’m linking up this week to these crafty linky parties

Photobucket

Halloween Coffee Table and Coaster Craft

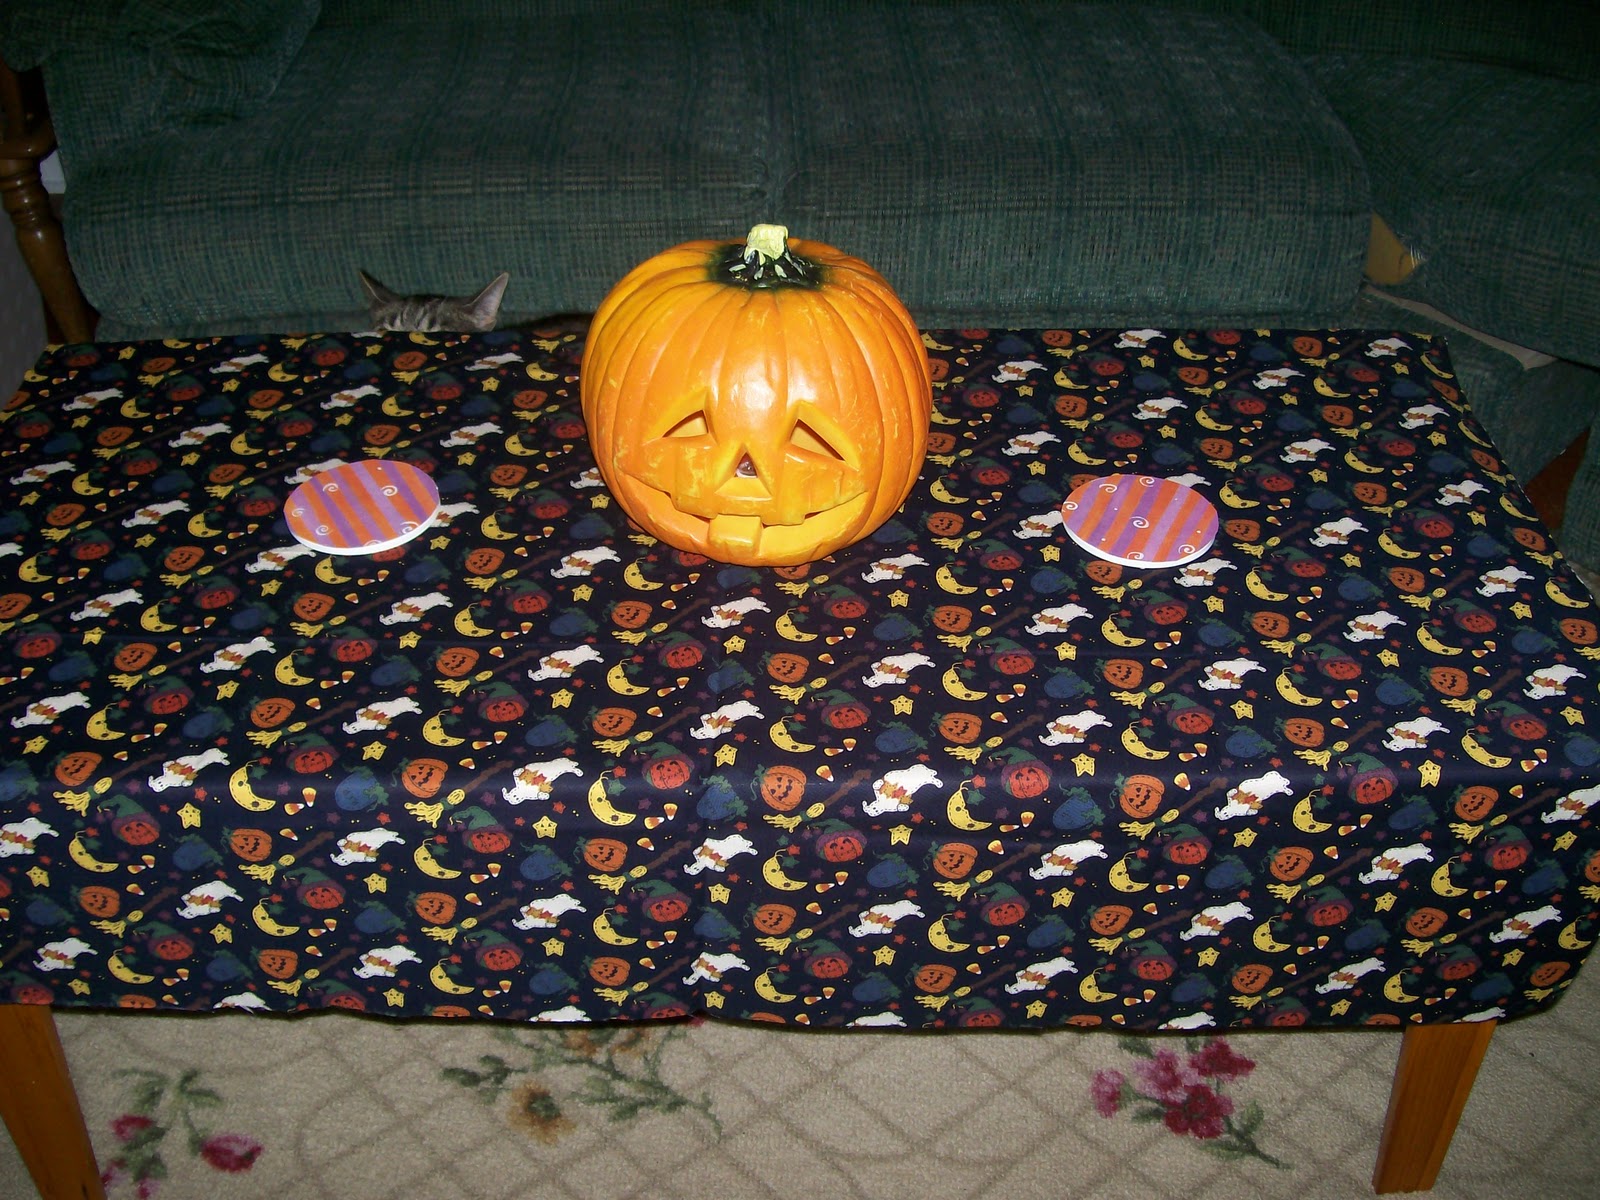
I finally got my Halloween stuff out this past weekend.  In the past I’ve only decorated outside, except for some fall garland over the cabinets in the kitchen, and some fall leaf window clings on our back door, but this year I decided to brighten up the indoors a bit.
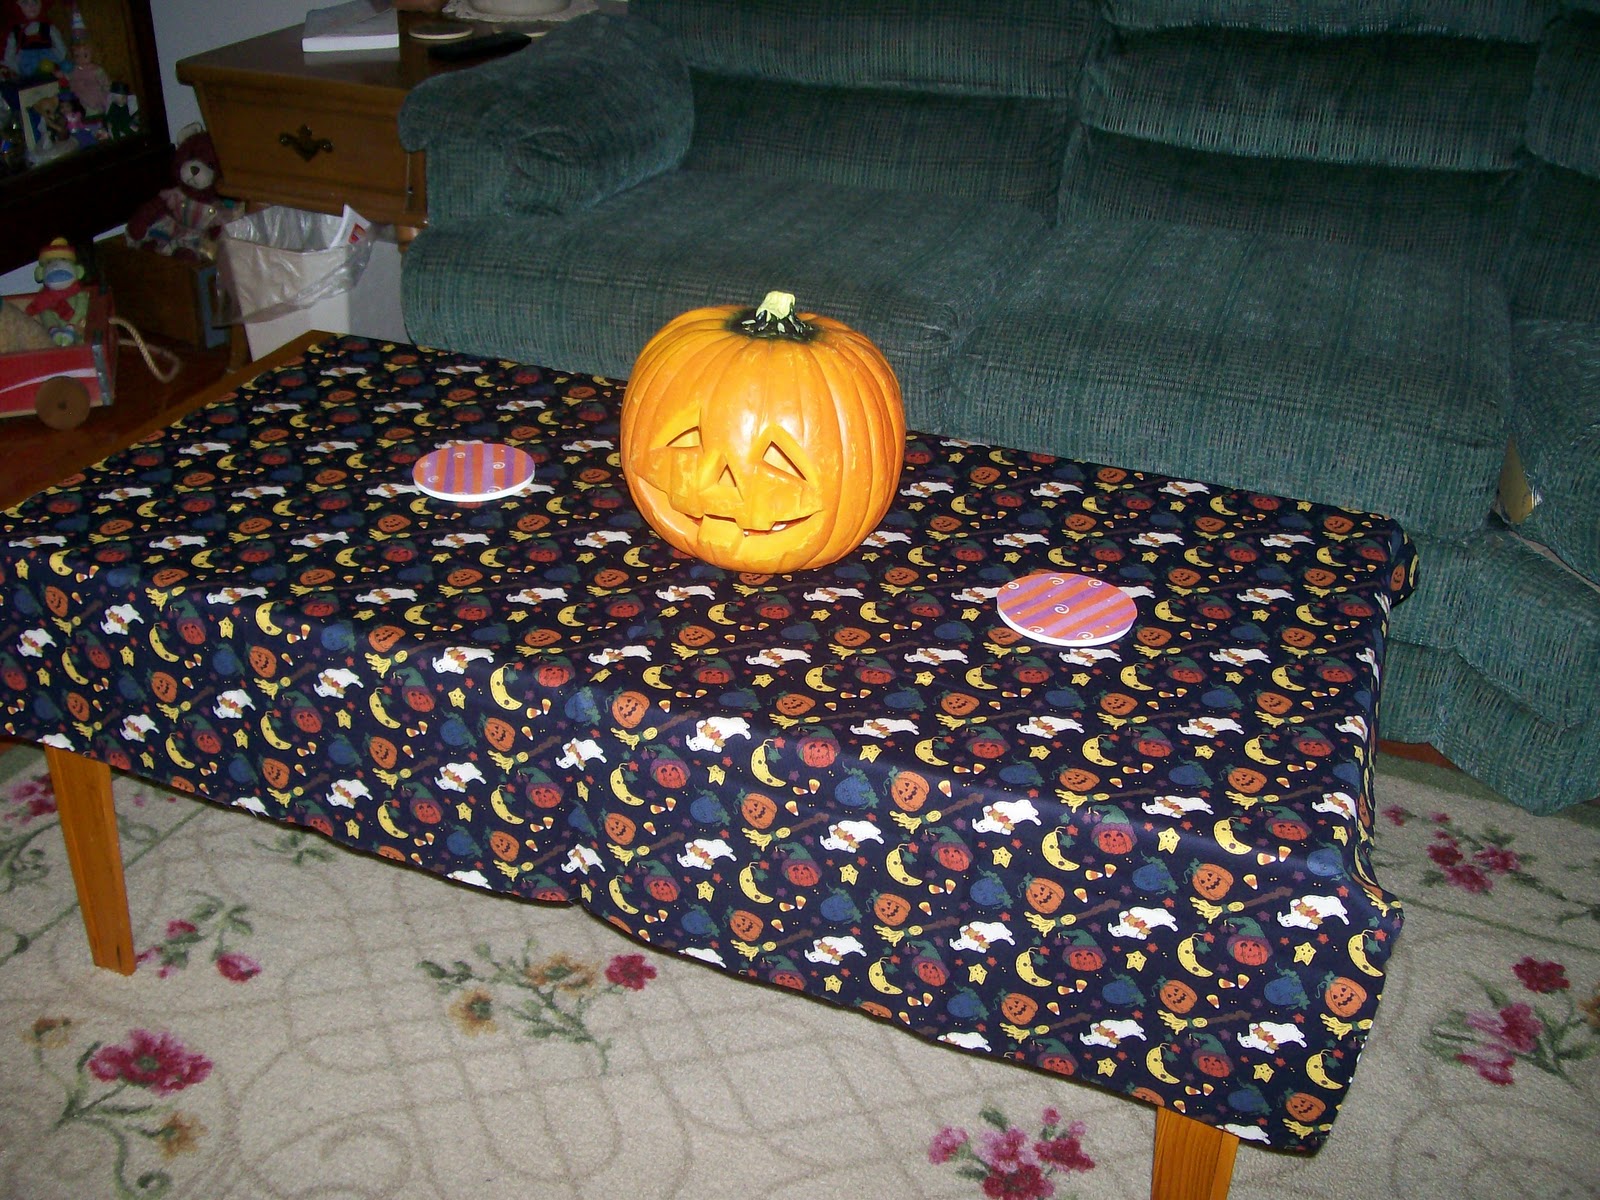
I created this cute arrangement for our coffee table in the living room.  Usually I like to be very elaborate and “busy” with the decor, but in certain areas, I tend to keep it a little more minimalist.  One reason is because stuff can get in the way in certain places, and secondly my cats would be too tempted if I covered the tables with too much stuff.  In fact, in the photo below you’ll notice a small set of gray ears just to the left of the pumpkin. (That’s Rebel.  He loves to decorate, and his style is, well…very unique!)

Easy Table Cloth:
For the coffee table, I simply used a few yards of cute Halloween fabric– no sewing or crafting involved –and it’s much cheaper than any table runner you could buy.  Of course, the jack-o-lantern was added to the center.  I thought about getting a couple of smaller ones to go beside it, but here again, I’m keeping it simple.
Making Your Own Coasters:
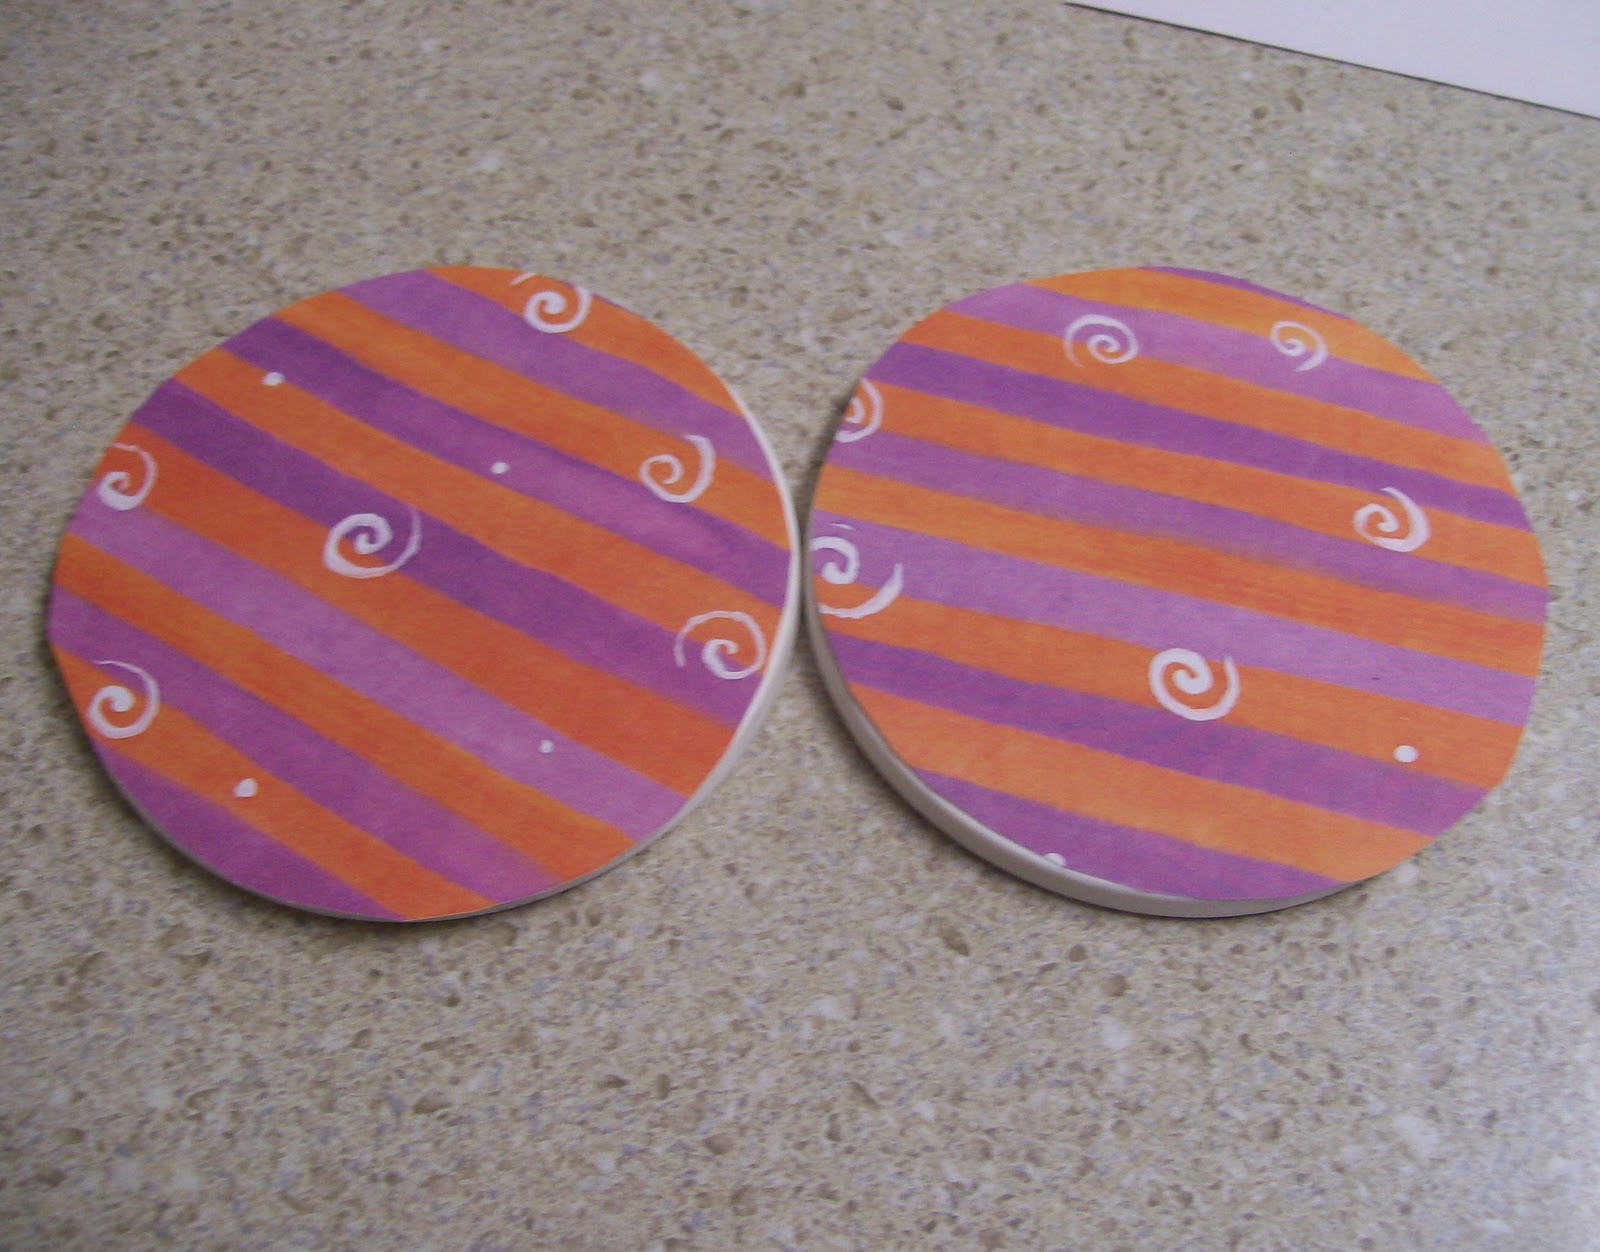
And finally I made these cute little coasters just to have something else to set on the table.  For these, I simply took a couple of old coasters that we weren’t using.  Then I used them as a stencil to trace two circles and I cut them out.  For the next step, I’ve seen a lot of people using mod podge to stick the paper to the coaster, but since we won’t really be using these coasters, and since they’ll only be out for a month I came up with an idea to help me change up these coasters any time I want.

I had some magnet strips with adhesive on the back.  And I just took my scissors and cut a very small piece of magnet off, and stuck it to the coaster.  Then I cut off another small piece and stuck in on to the paper.  Put the paper and the old coaster together, and you’ve instantly got a new coaster!  And after the holiday, you can either throw the paper away or save it for next year.  Meanwhile you can create a new set for the next holiday.

Next week I’ll be sharing a Halloween mod podge project that I did over the weekend and another table decoration, so please come back and see!

This week I’m linking up to these craft & decor parties, plus over at My Blessed Life and Tater Tots and Jello for the Celebrating Autumn event, and Susie QT Pies Scraps for Life for the Halloween Tricks N Treats Party!

Photobucket

Flower Arrangement and Vase Revamp

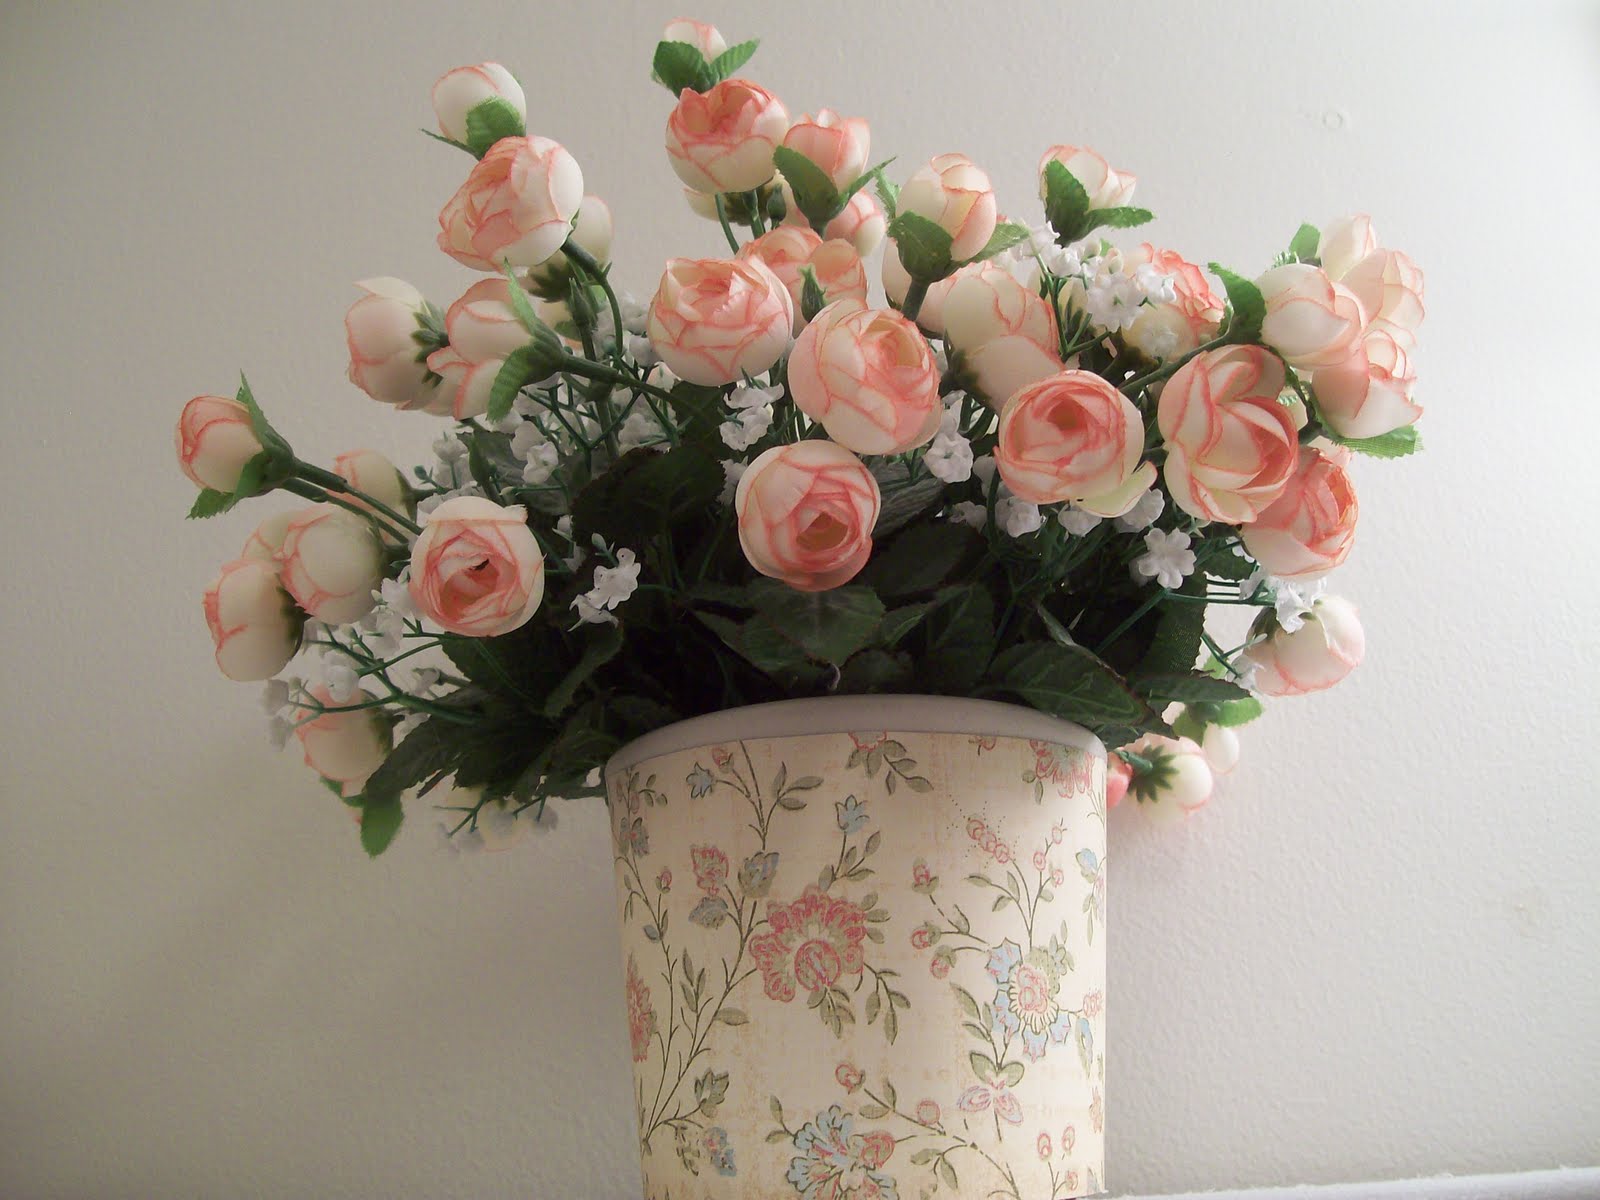
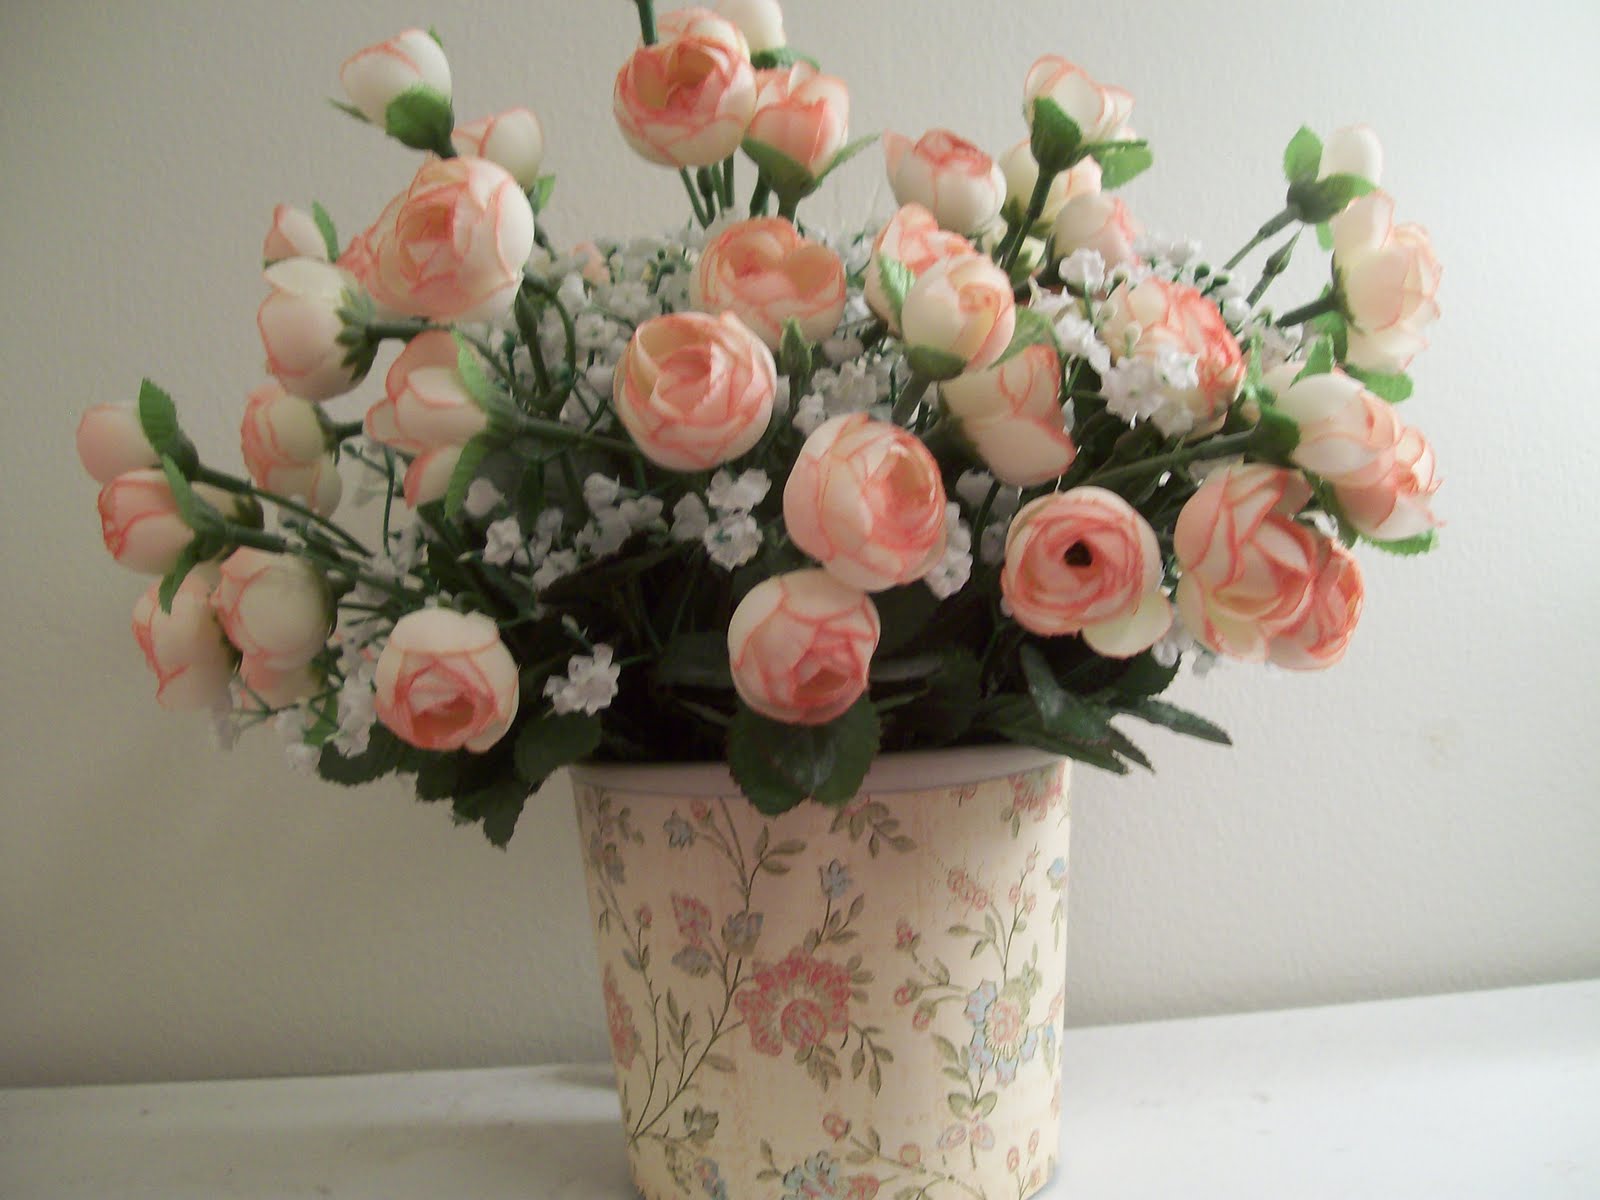
I love the brightness and color that flowers add to a room.  A few months ago my mom and stepdad were cleaning out my step dad’s mom’s house. (His mother recently passed away.)  Among the possessions to be divided between the children, there were a lot of odds and ends that weren’t really worth anything and nobody really wanted.  So they either became trash or goodwill items.  The above flower arrangement was on her kitchen table.  My mom asked me if I wanted it, or if she should put it in Goodwill.
My stepdad looked up and said, “Throw that thing away.  You’ve been trying to give it away all week, and nobody wants it.”  Well, on that note, I decided I’d take it. Now here’s what it actually looked like originally:


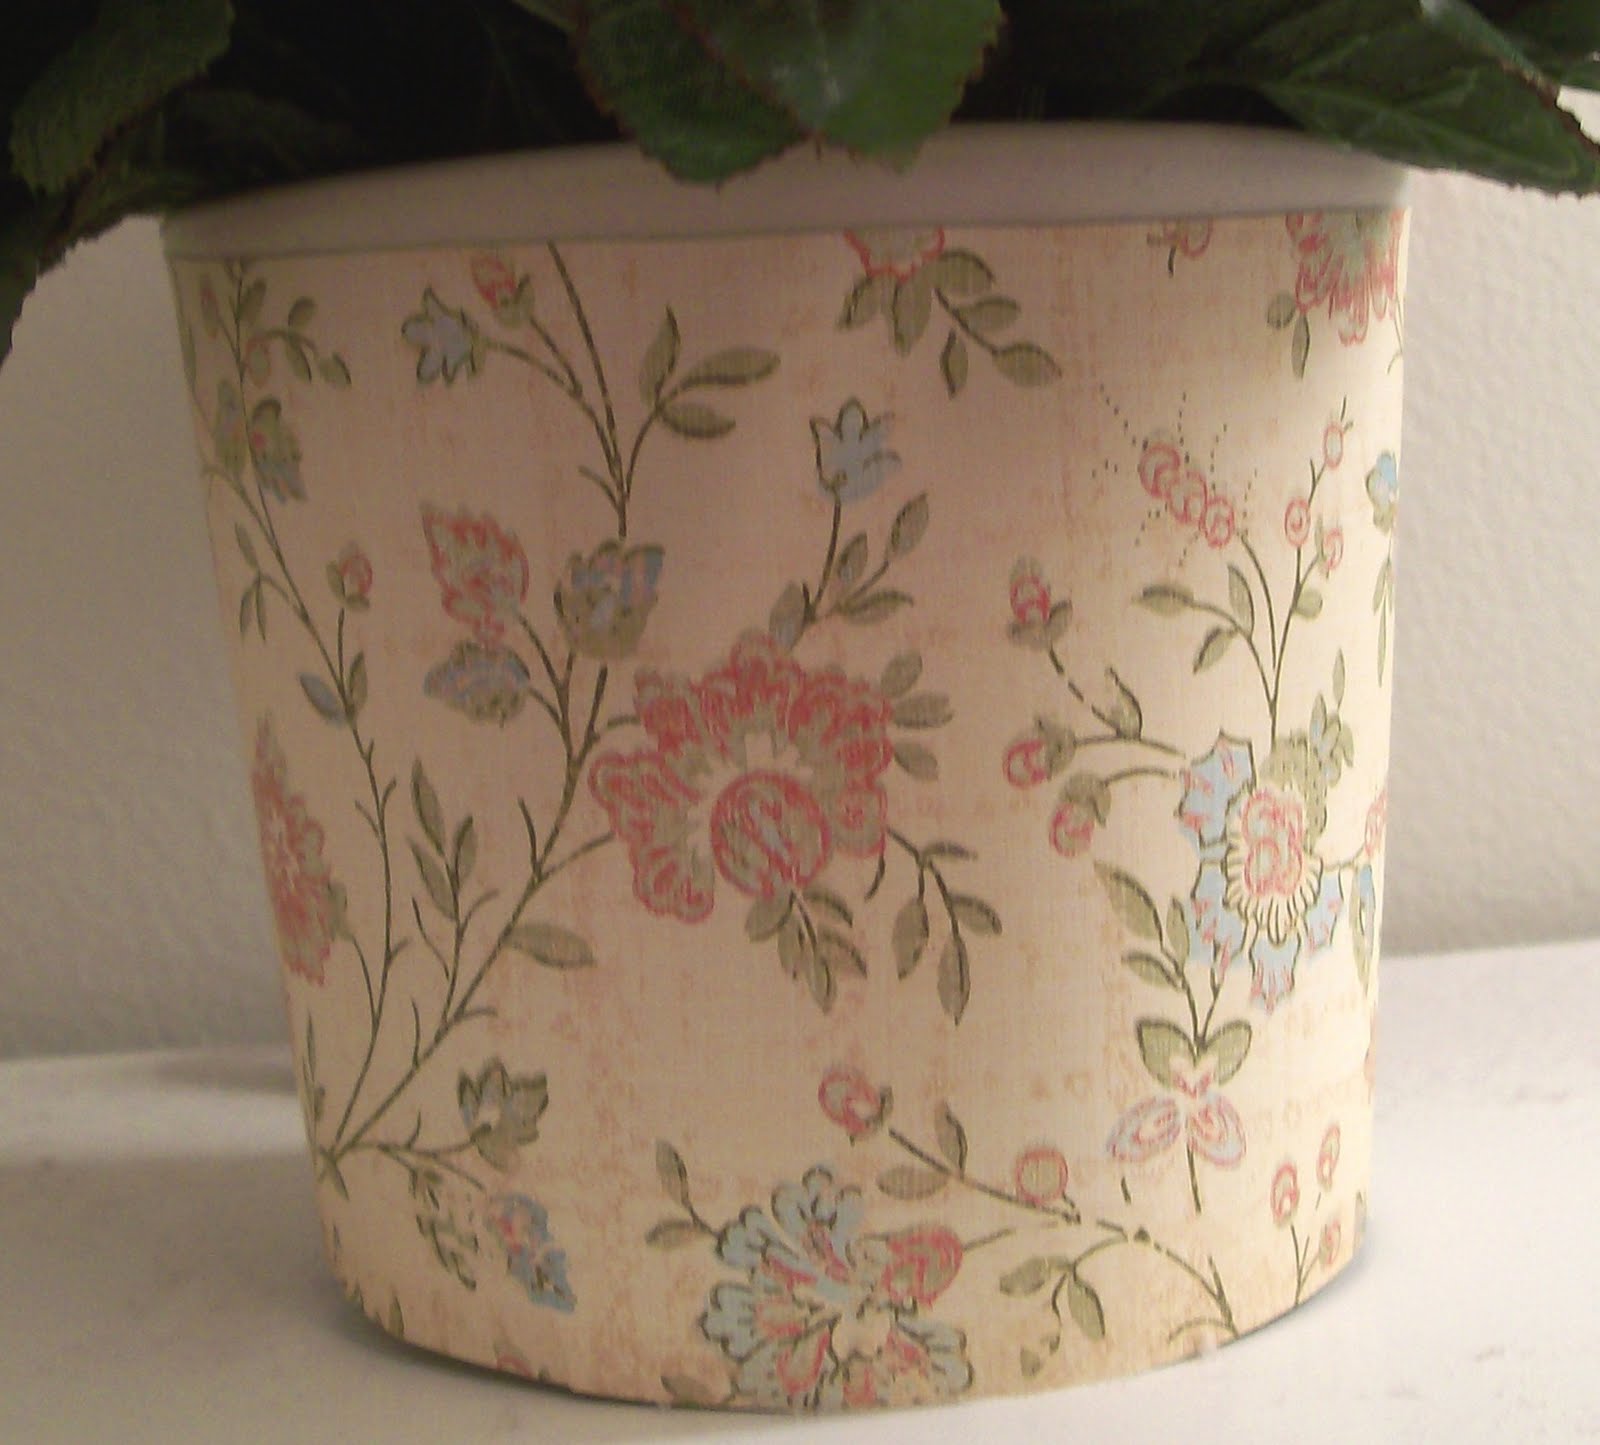
The vase was actually quite cute. It just didn’t match the flowers.  Mom suggested  I take the fake flowers out and just use it as a vase or a container for something else.  But I  actually liked the flowers.  My solution? Mod Podge of course!

I simply took a little scrapbook paper, brushed on a little Mod Podge, wrapped it around the vase, and voila!  Flowers with a color coordinated vase!  I actually made it to match this Initial Art that I shared a few weeks ago. (But I didn’t stop there! Wait till you see the other items in my new colection!)


By the way, if you want to start on this project from scratch, simply find an old vase. (If you don’t have one around your house, you can always buy one at the thrift store or buy it new at the dollar store).  Then get some “florist foam.” (I’m using quotes because I don’t know if that’s what it’s called; that’s just what I call it!)  Alternatively you could use styrofoam. If you want to use the vase for real flowers you can order flowers online to switch up the look every once in a while.  Then just place it inside your vase, and then poke a bunch of flower stems in to it. Very easy!  Then decorate your vase as desired!

Photobucket

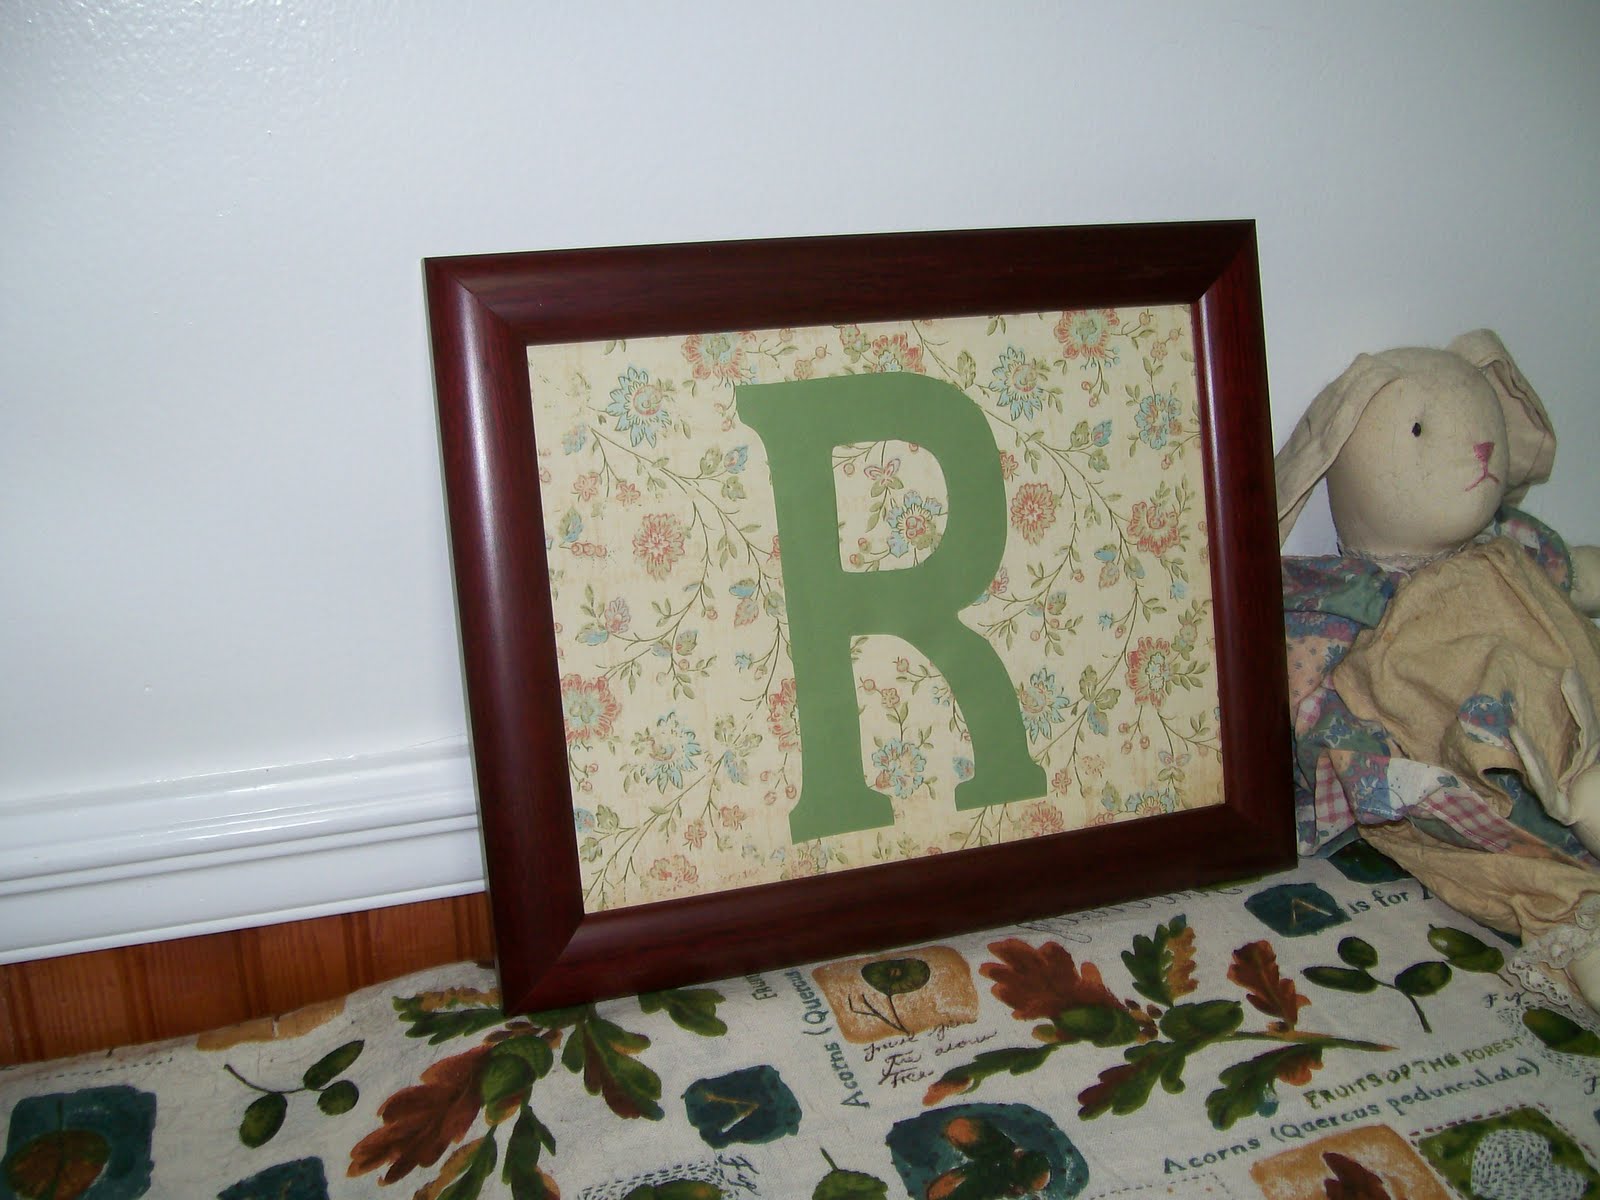
Easy Initial Art

I know this project has been going around the blogosphere for a while, but I made this a couple of weeks ago and just had to share, as it goes right along with some upcoming decor posts I’m doing.
And who knows? New ladies are discovering the blogosphere every day, and there may very well be someone here who hasn’t seen this.
I love this initial art idea because it’s easy and quick. (For someone who doesn’t have a lot of patience for a longterm project, this is a real plus!)  And I also love it because this is a great personalized item that you could make for anyone, to match any decor.

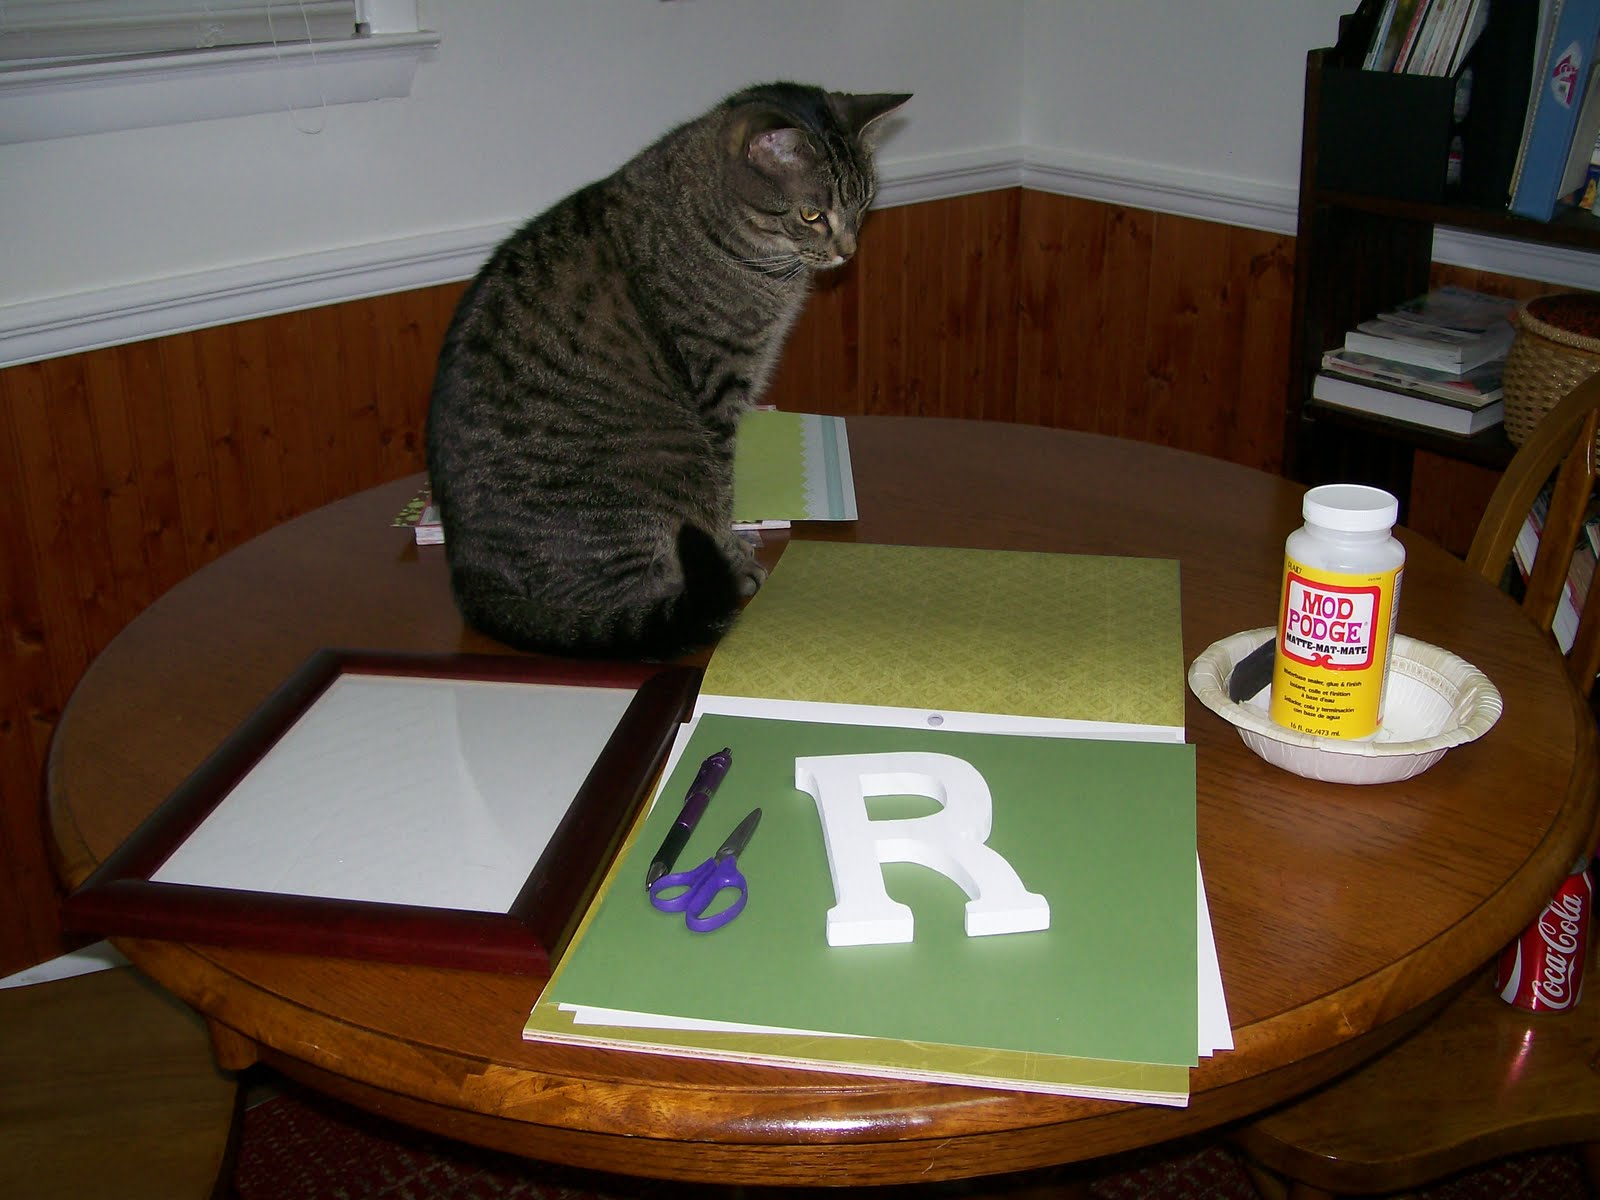
What You Need:
a picture frame
scrapbook paper
letter stencil
scissors
pen
Mod Podge
paint brush
(The cat is optional.)

Directions:
Use a stencil and pencil to trace your letter onto the back of a sheet of scrapbook paper. By drawing on the back side of the paper, you can avoid having lines on your letter.  (Just don’t forget to draw the letter backwards, or else when you cut it out, it will come out wrong.)
Next, if necessary, cut your scrapbook paper to size so that it fits in the frame.  Now take your paint brush and brush a little Mod Podge on the make of your letter. (I used the matte kind.) Allow to dry a few minutes.  Then take your paint brush and add a light coat of Mod Podge over the entire piece of scrapbook paper.  (Be careful not to use too much, or your paper will wrinkle.)
After your paper is completely dry, place it in your frame, and you’re done!

I’m linking up at these fabulous linky parties.

-Jerri

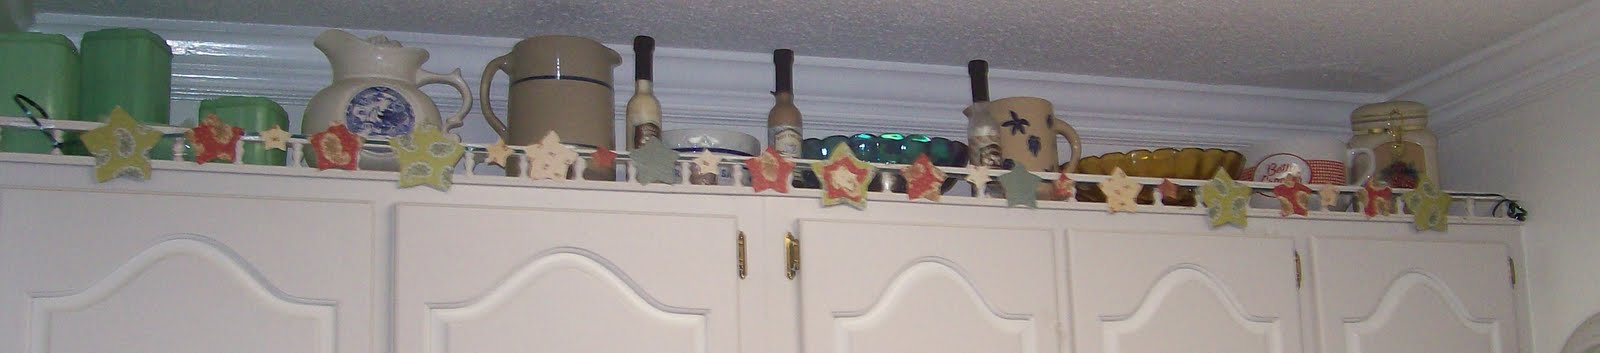
Summer Star Garland

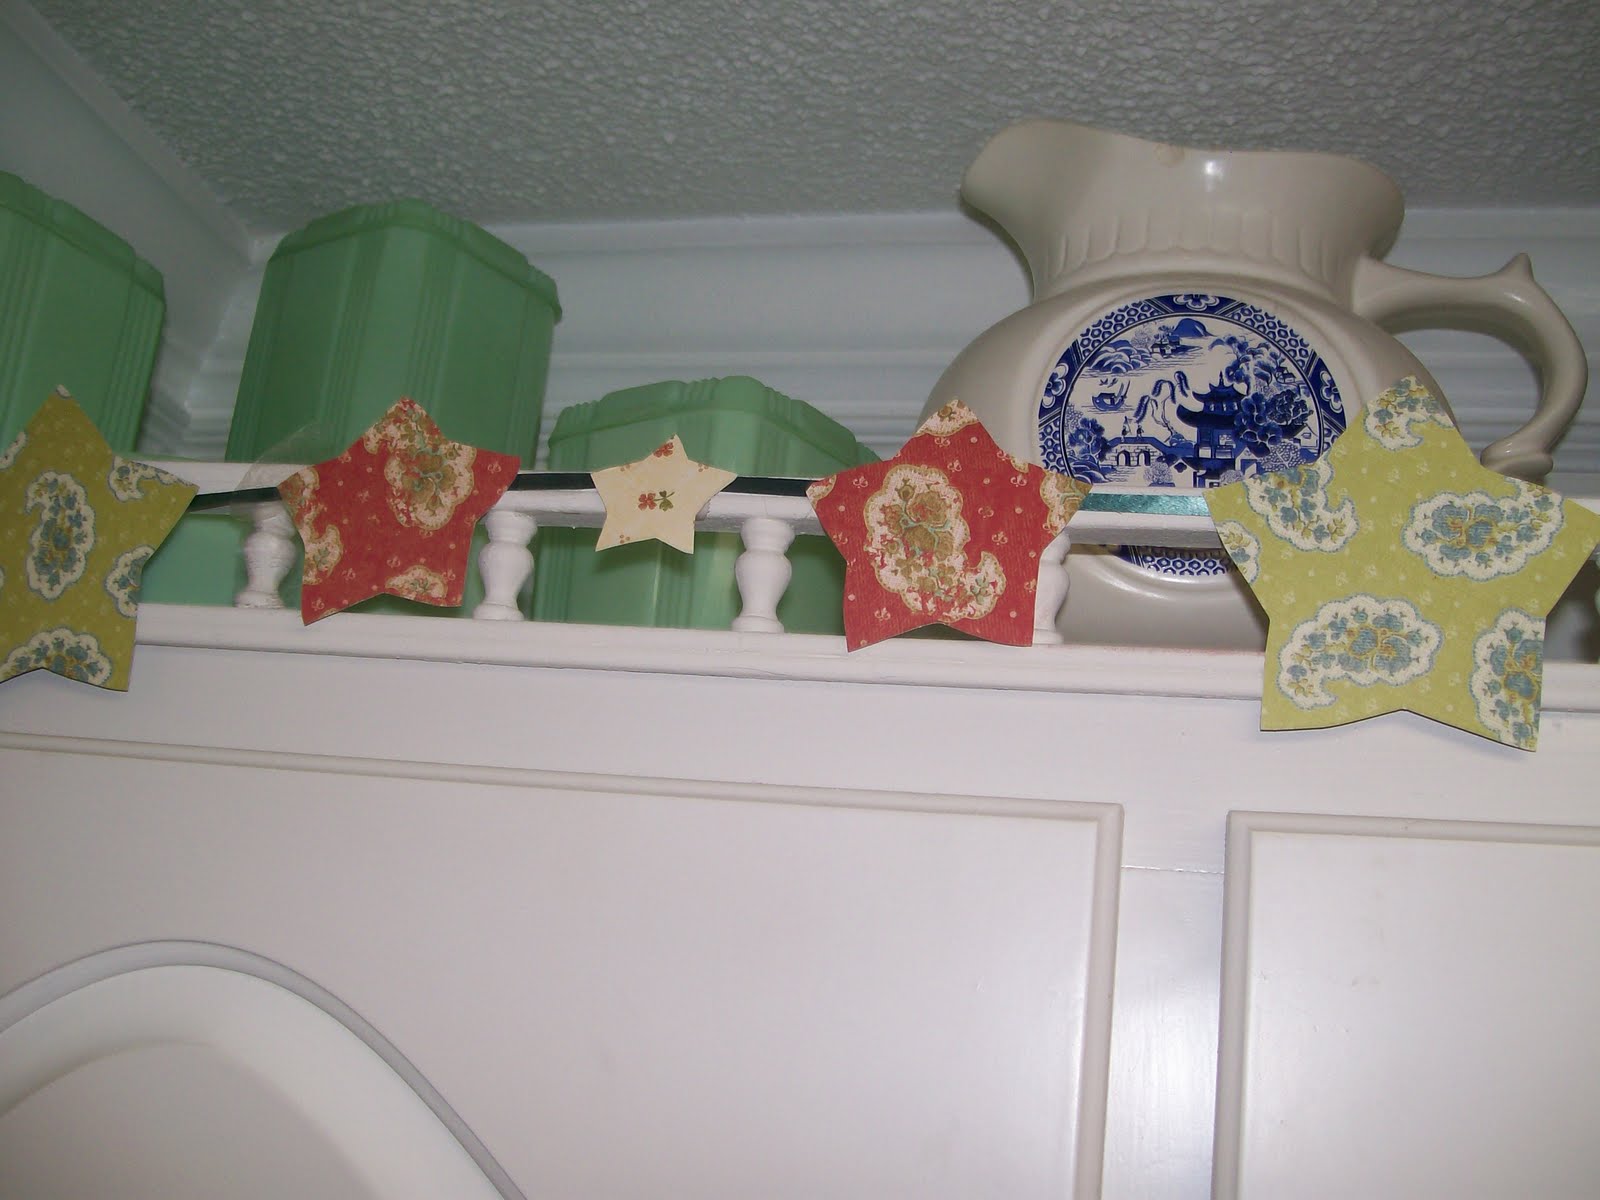
You may remember the Easter Garland I posted on back in March.  I actually kept it up through spring, and then finally I decided I needed something new for summer.  So the other day I used the same concept behind the Easter Garland and made some star garland for the summer. 
I would have liked to have done this in red, white, and blue, but I didn’t have any  coordinating papers that I liked together, and I’ve decided I need to use some of the supplies I already have rather than going out and buying new stuff all the time, so I went with a red, green, and blue color scheme.

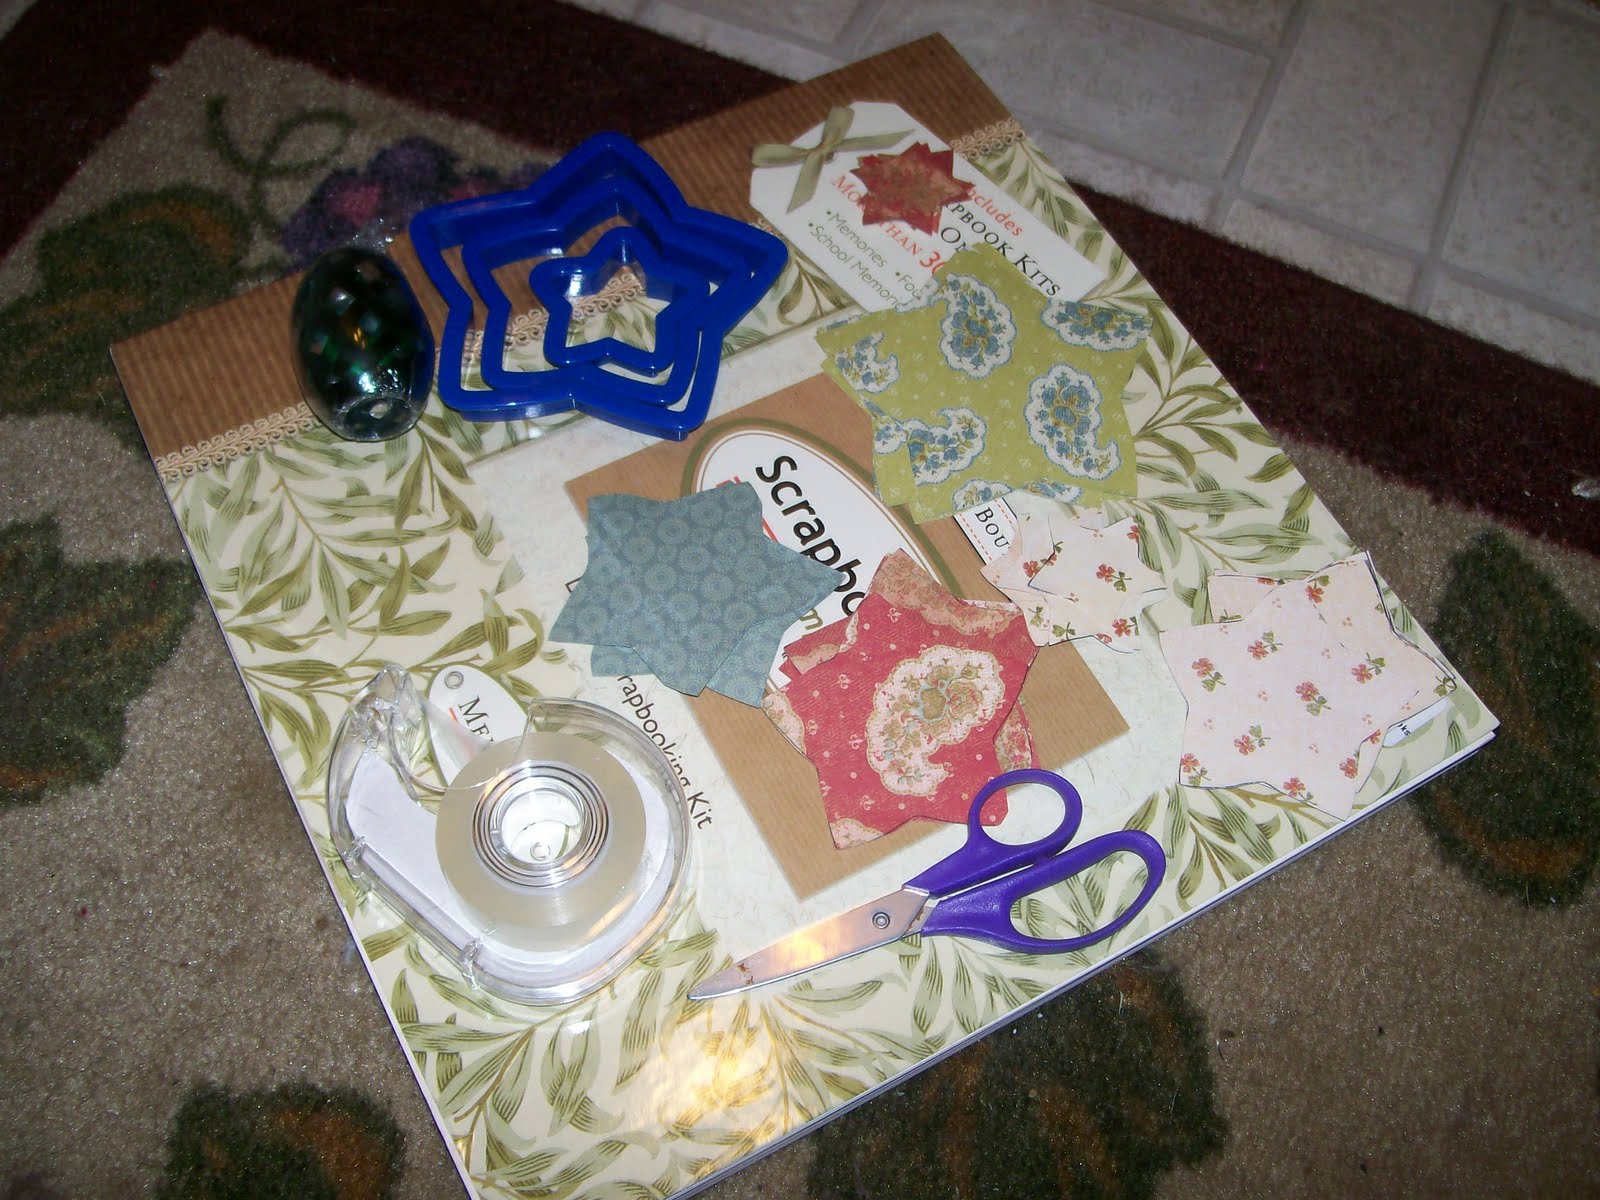
What You’ll Need:
Scrapbook paper
Ribbon
Scissors
Tape
Cookie Cutters
Pencil/Pen
Garland Tutorial:
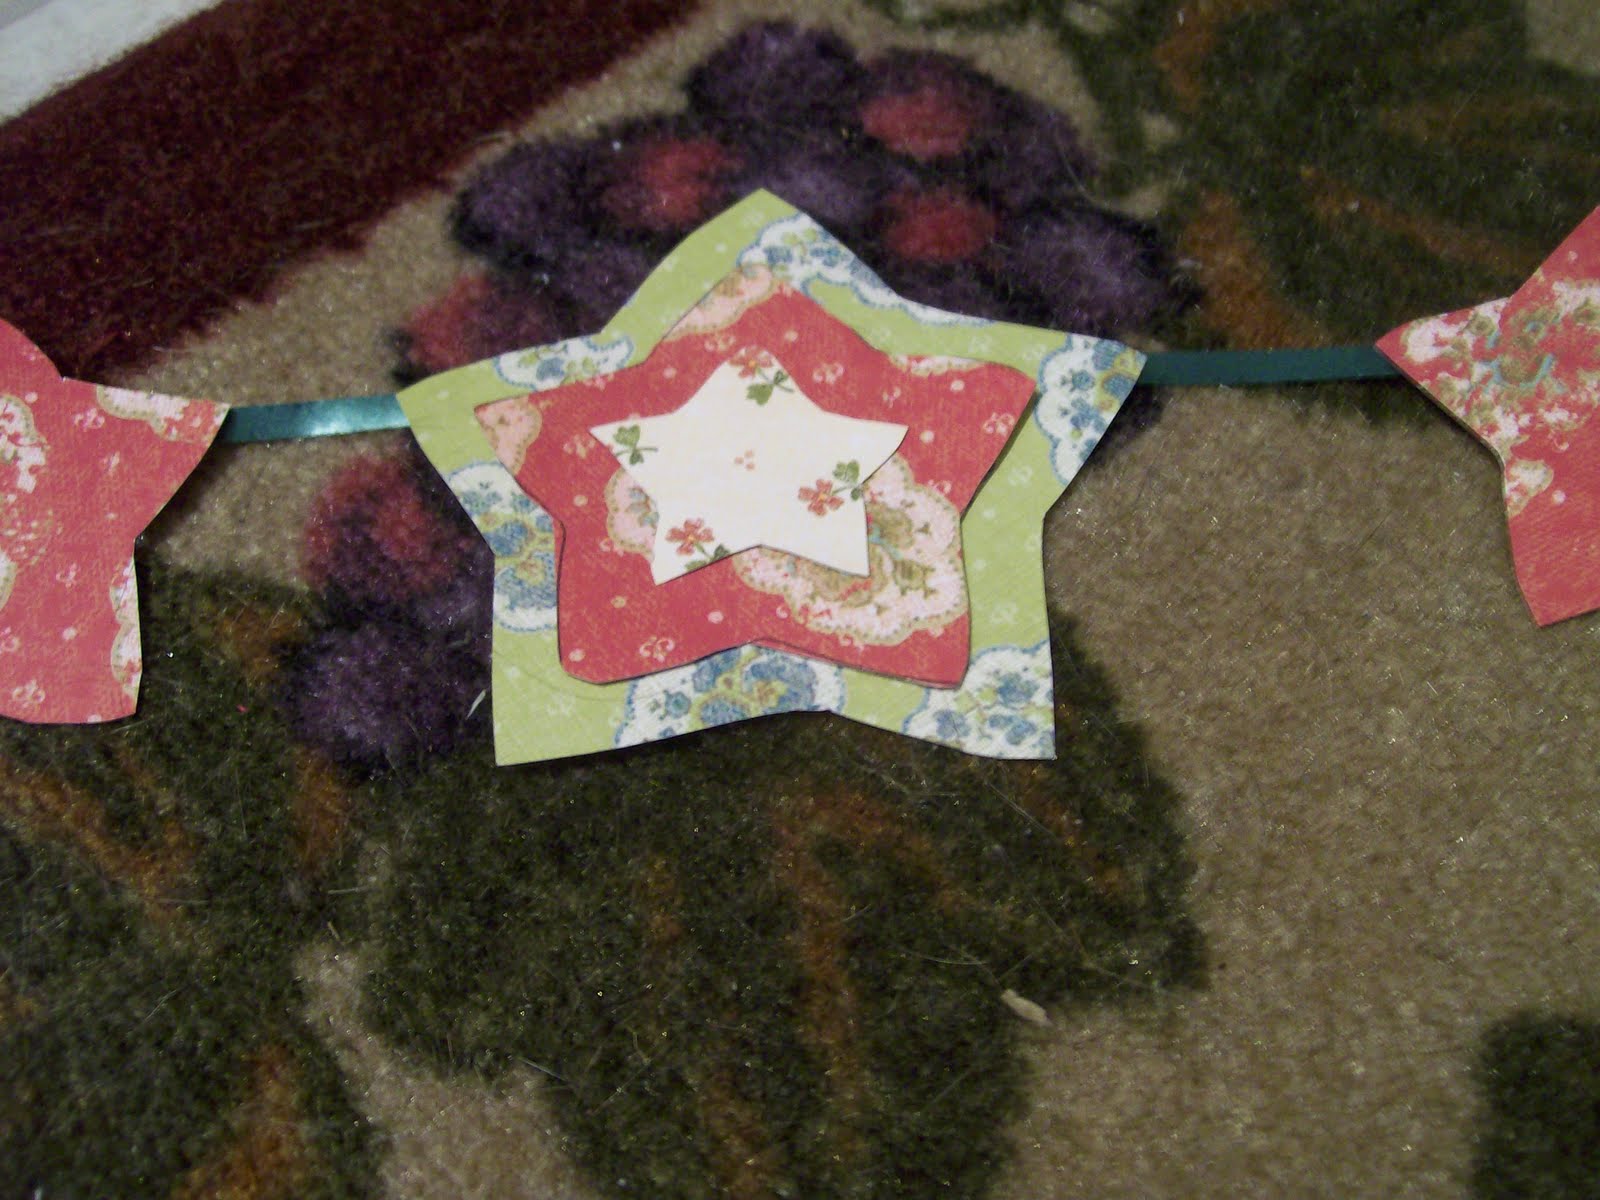
-Use cookie cutters or stencils to trace shapes onto the back of scrapbook paper. You can use a single shape or multiple shapes. (I used 3 different size stars, and I used 4 different paper designs.)
-Next take your scissors and cut out the shapes. (I made 24 cut outs for a seven and a half foot string of garland last time and this time.)
-Cut off a line of ribbon. Make the ribbon as long as you like. I suggest cutting off at least a foot more than the intended length. (I made a 7 1/2 foot garland, but I actually cut about 8 1/2 foot of ribbon off. I used the extra length on each end to wrap it around the “edging” on the top of the cabinets.)
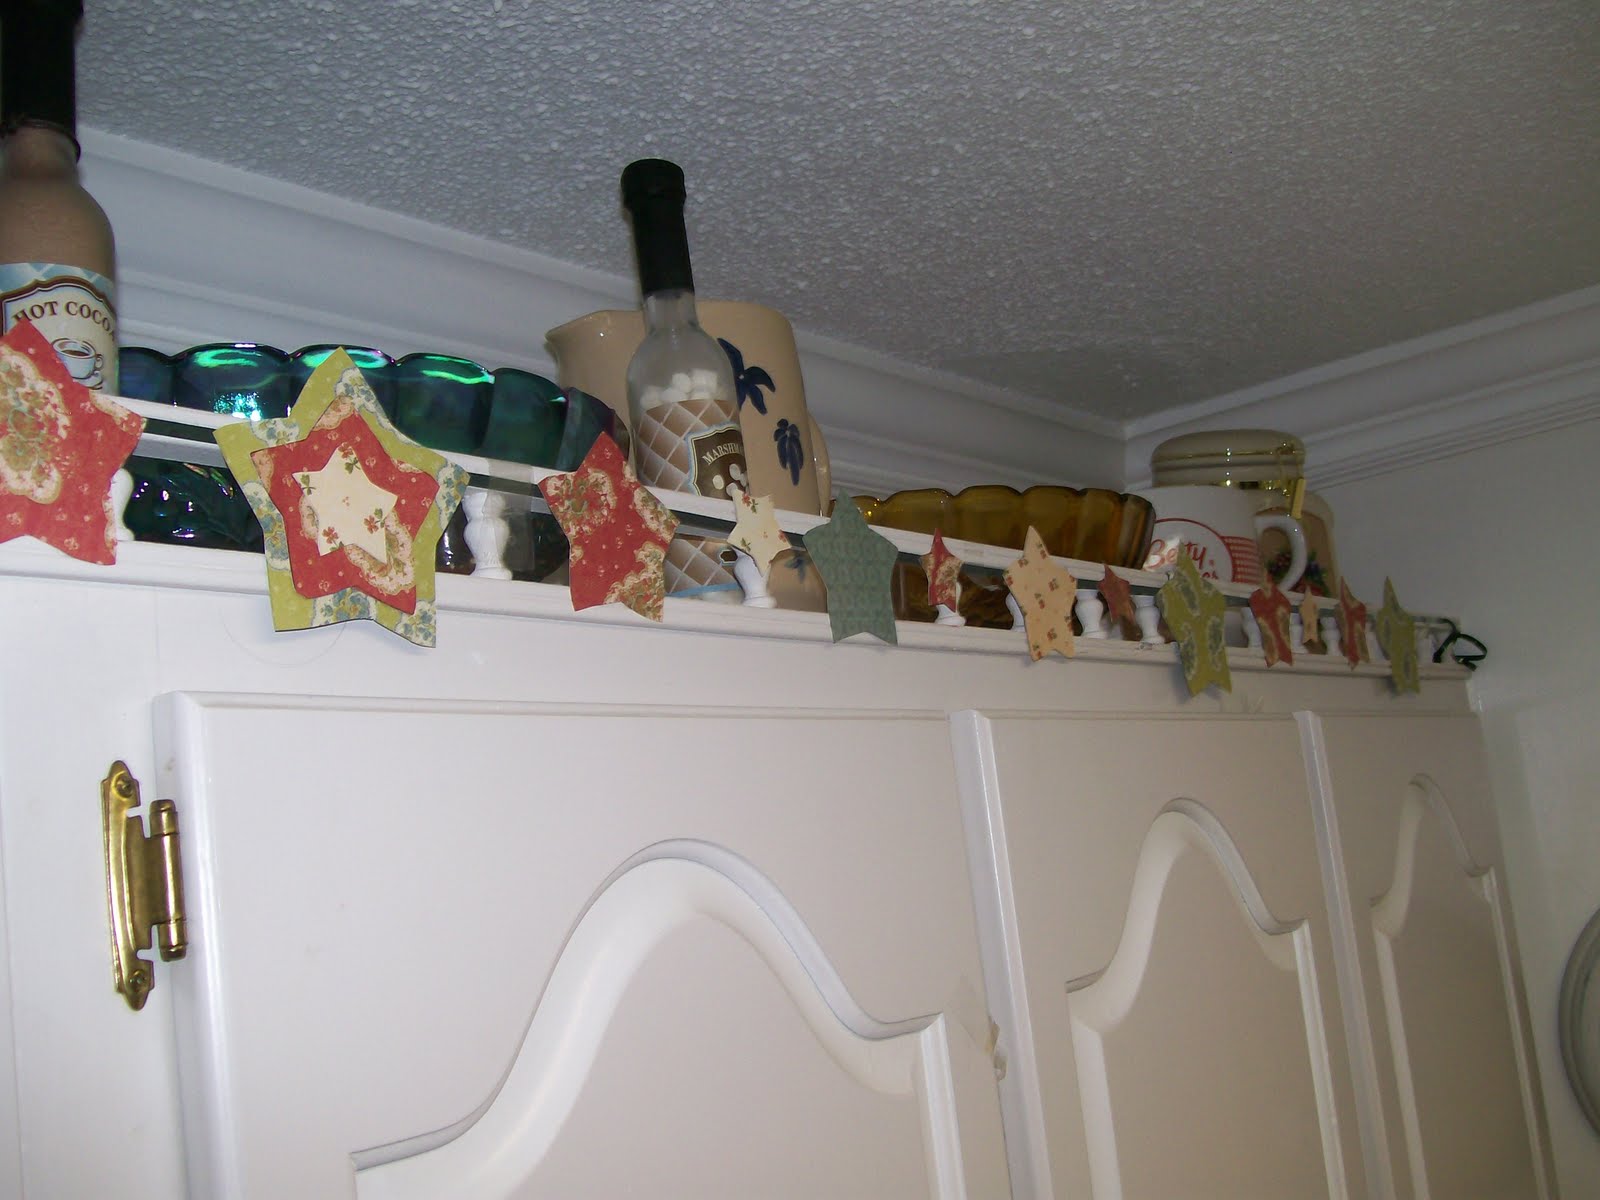
-Now attach the shapes to the ribbon. (I placed them about an inch to an inch and a half apart from each other.)
-There are a few different methods you can use for this. Liz from Hoosier Homemade  actually sewed the cutouts to the ribbon. I, however, am not a seamstress and decided to use a short cut method. I used tape to attach the shapes. I used two small pieces of tape on each shape (making a t or x with the tape on the back of each shape.) I used two pieces to make sure it was secured, and put them on there cross-ways so that the garland would be more flexible/movable. For this step you could also mod podge or a glue gun if you prefer. (I just used tape because it’s quicker, there’s no mess, and it would allow me to make adjustments if I needed to.)
-Then hang your garland and enjoy!

-Jerri
I am happy to link up my posts each week to some awesome Linky Parties.