Friday Favorites – Week 33

Photobucket

I’m very excited about this week’s event.  The readers have spoken, and so this week we’ll be having our first thumbnail linky. Yay! Hope you enjoy the change!  I must tell you, I was over at the linky tools site today and saw a note that said they are upgrading their entire system, so if you encounter any problems linking up that is the reason.  And if you do have a problem, I ask you to be patient and try again. Thanks!

By the way, I invite you to come back here some time on Friday to enter my upcoming giveaway from Curtsay Designs.  Also, Monday is my blogiversary, and I’m going to have a terrific follower giveaway next week! (Here’s a hint about the prize: Kitchen)

On a side note, I’m excited to report that we got a new internet service provider this week.  We had a highspeed connection before, but the company we had it with was awful.  Hubby refers to it as “the worst thing I’ve ever been associated with.” Yeah, it was THAT bad! Needless to say, we were thrilled when we came to the end of our contract period, and we switched immediately.  And not only is the service better, but we ordered a much, MUCH faster connection. (Squeal!!)  I can’t believe how much faster it is!  All week I’ve been saying to my husband, “Now we’re playing with power!” (As you can tell, I’m very excited about this.) 
Anyway, now that I’m done with that rant, let’s check out this week’s featured posts.  Once again this week I have some amazing fall projects to share.  And once again, it was tough choosing.  You guys do such great work!  Every week I’m inspired by what I see!
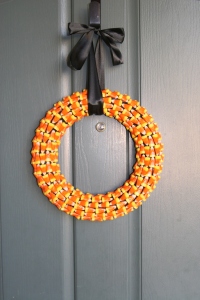
Candy Corn Wreath from Jellybean Junkyard

Witch’s House – Halloween decor from What Allie’s Making Now

Gourmet Caramel Apples from Purple Chocolate Home
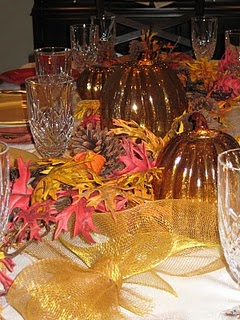
Thanksgiving Table Setting from A Kingly Affair
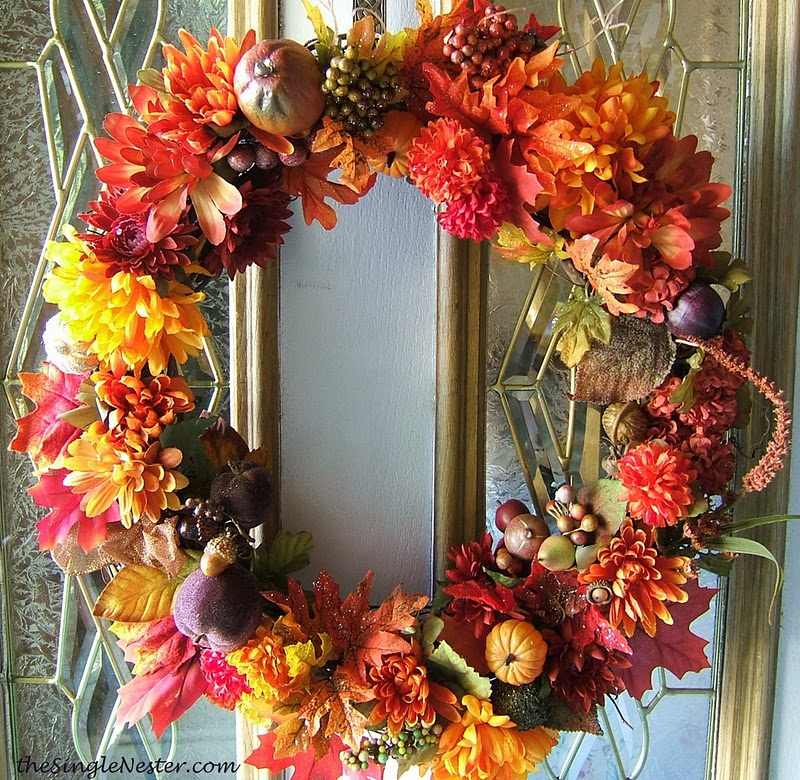
Fall Wreath Makeover from The Single Nester
Time to par-tay! Link up your posts below.   Link up your post url, not your blog link. Please include a link back to my blog or my Friday Favorites button somewhere on your blog so others can come to the party.

Photobucket

Halloween Coffee Table and Coaster Craft

I finally got my Halloween stuff out this past weekend.  In the past I’ve only decorated outside, except for some fall garland over the cabinets in the kitchen, and some fall leaf window clings on our back door, but this year I decided to brighten up the indoors a bit.
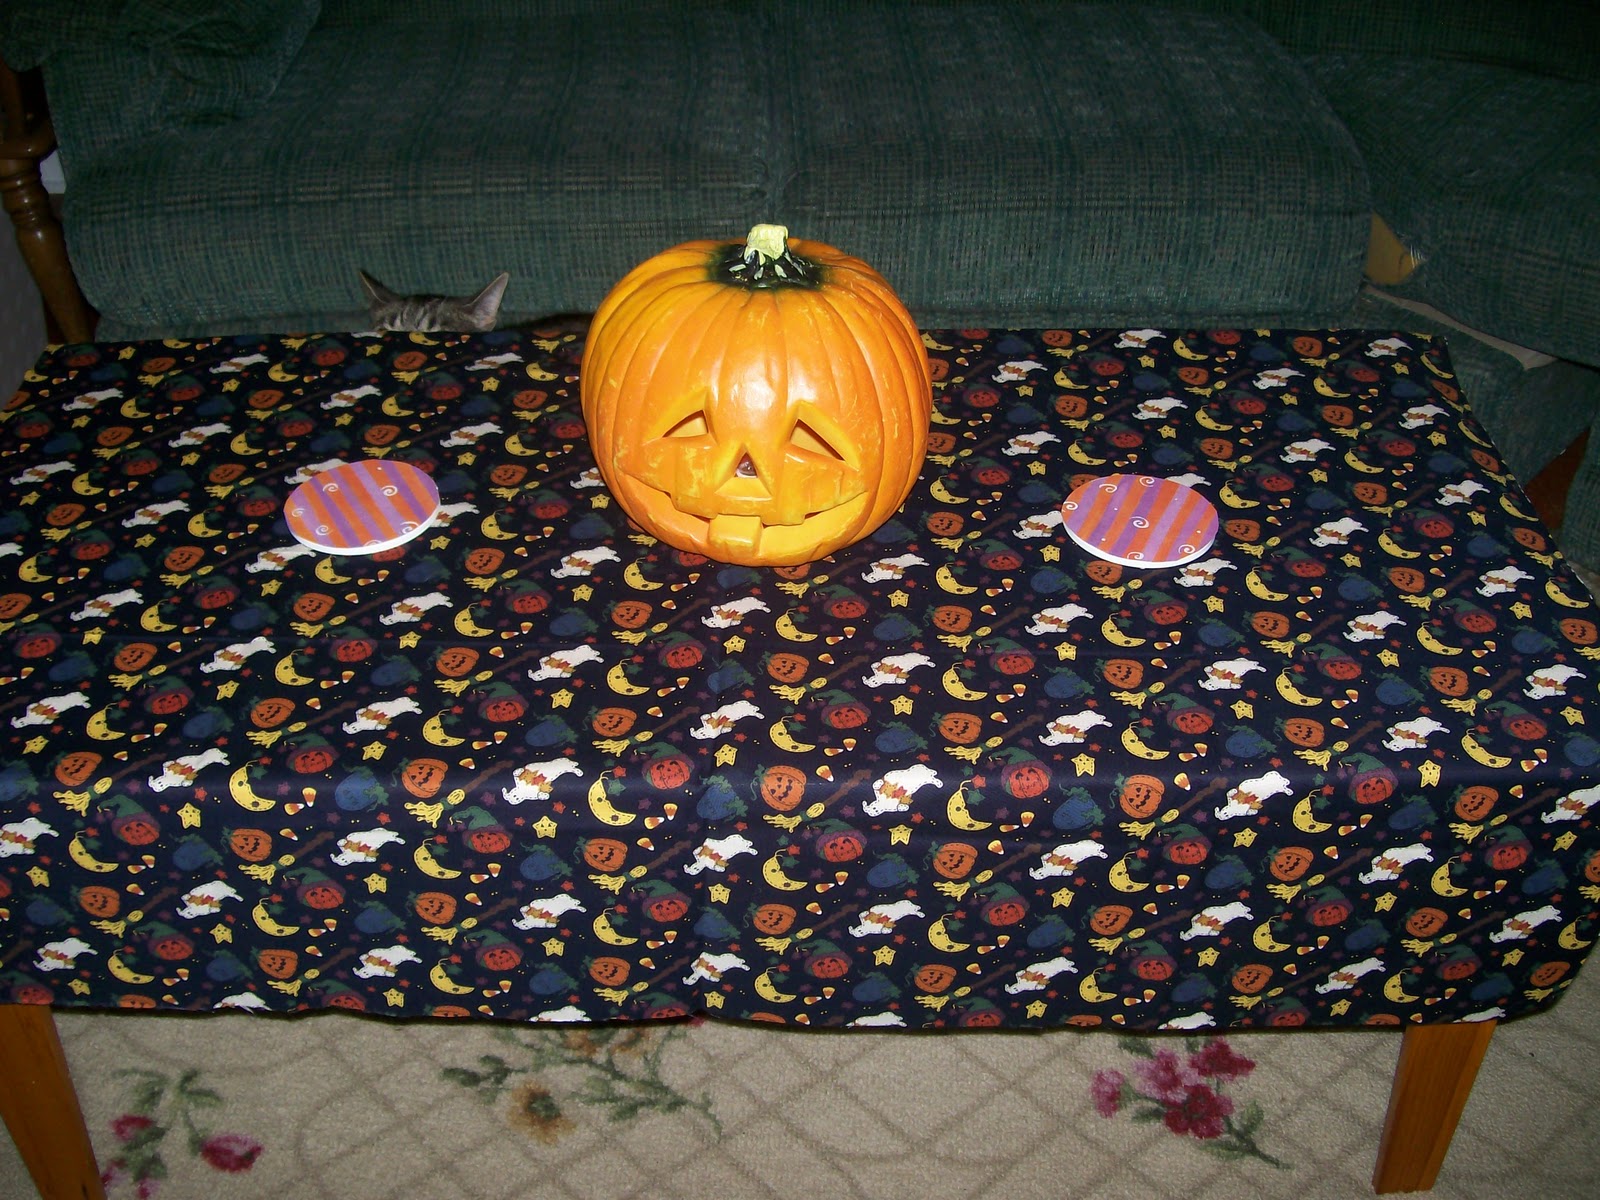
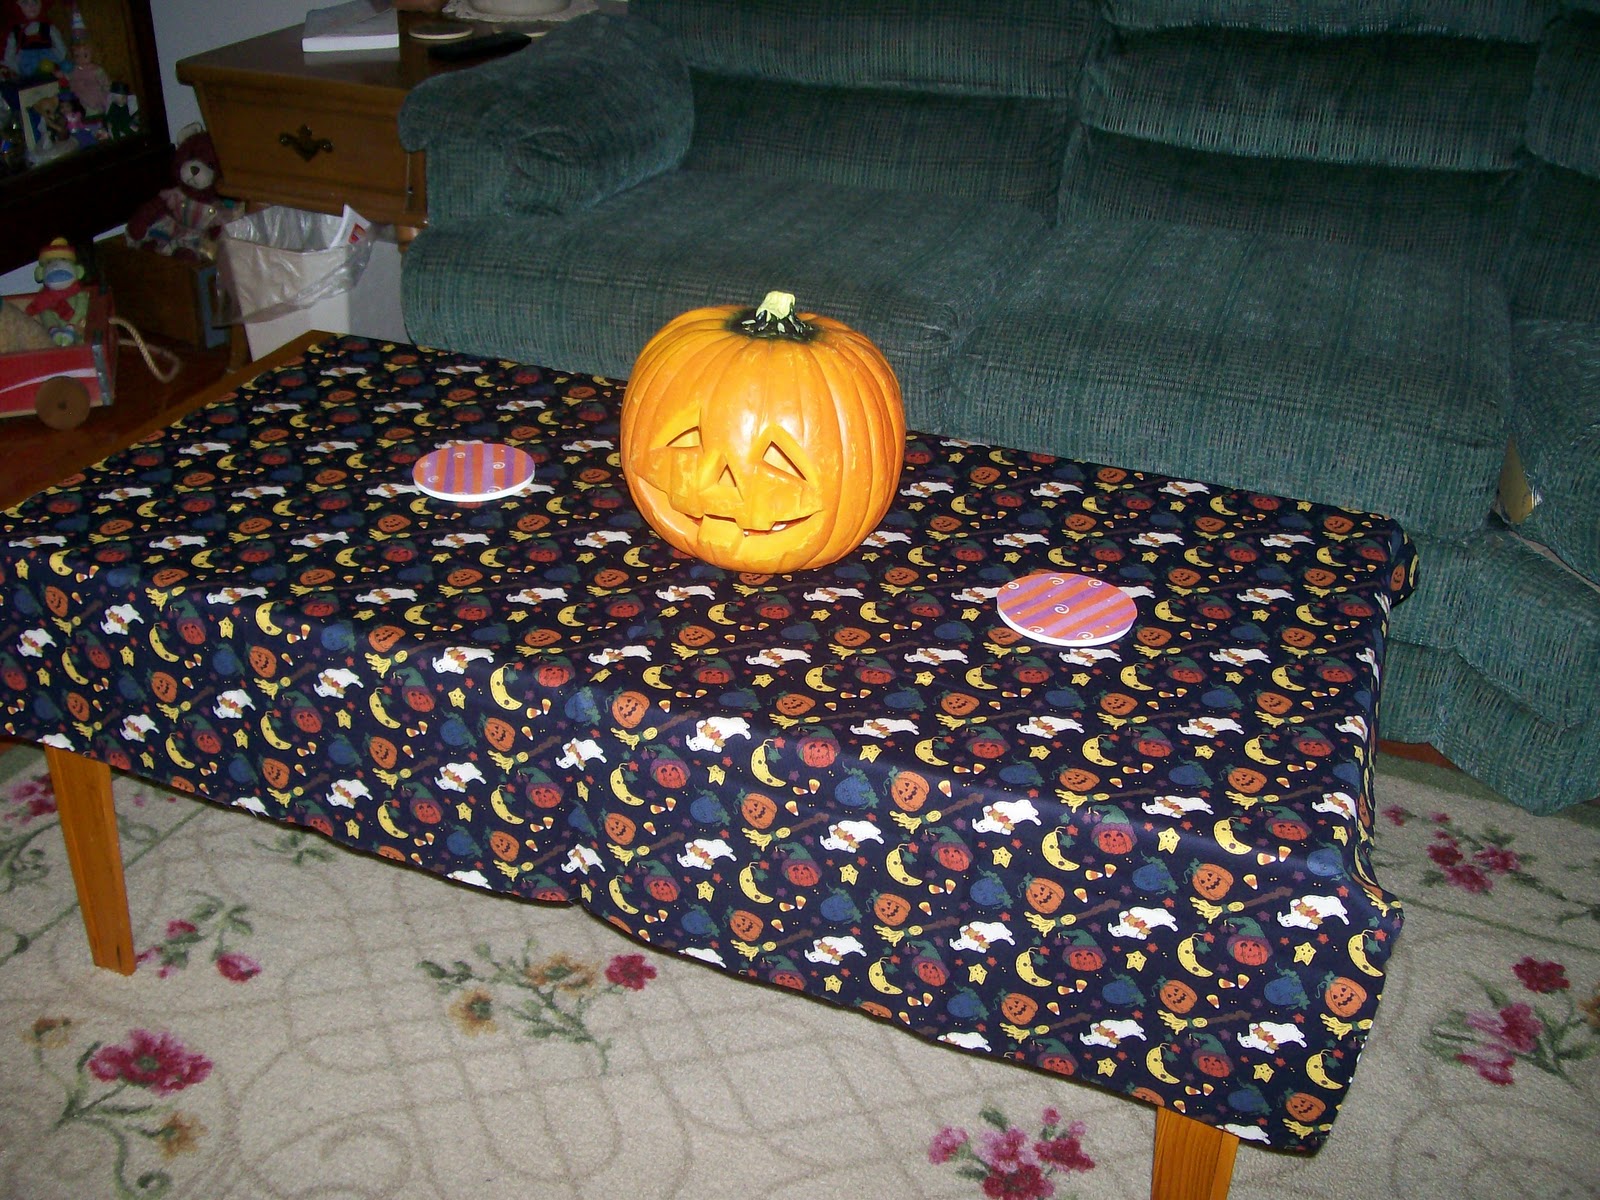
I created this cute arrangement for our coffee table in the living room.  Usually I like to be very elaborate and “busy” with the decor, but in certain areas, I tend to keep it a little more minimalist.  One reason is because stuff can get in the way in certain places, and secondly my cats would be too tempted if I covered the tables with too much stuff.  In fact, in the photo below you’ll notice a small set of gray ears just to the left of the pumpkin. (That’s Rebel.  He loves to decorate, and his style is, well…very unique!)

Easy Table Cloth:
For the coffee table, I simply used a few yards of cute Halloween fabric– no sewing or crafting involved –and it’s much cheaper than any table runner you could buy.  Of course, the jack-o-lantern was added to the center.  I thought about getting a couple of smaller ones to go beside it, but here again, I’m keeping it simple.
Making Your Own Coasters:
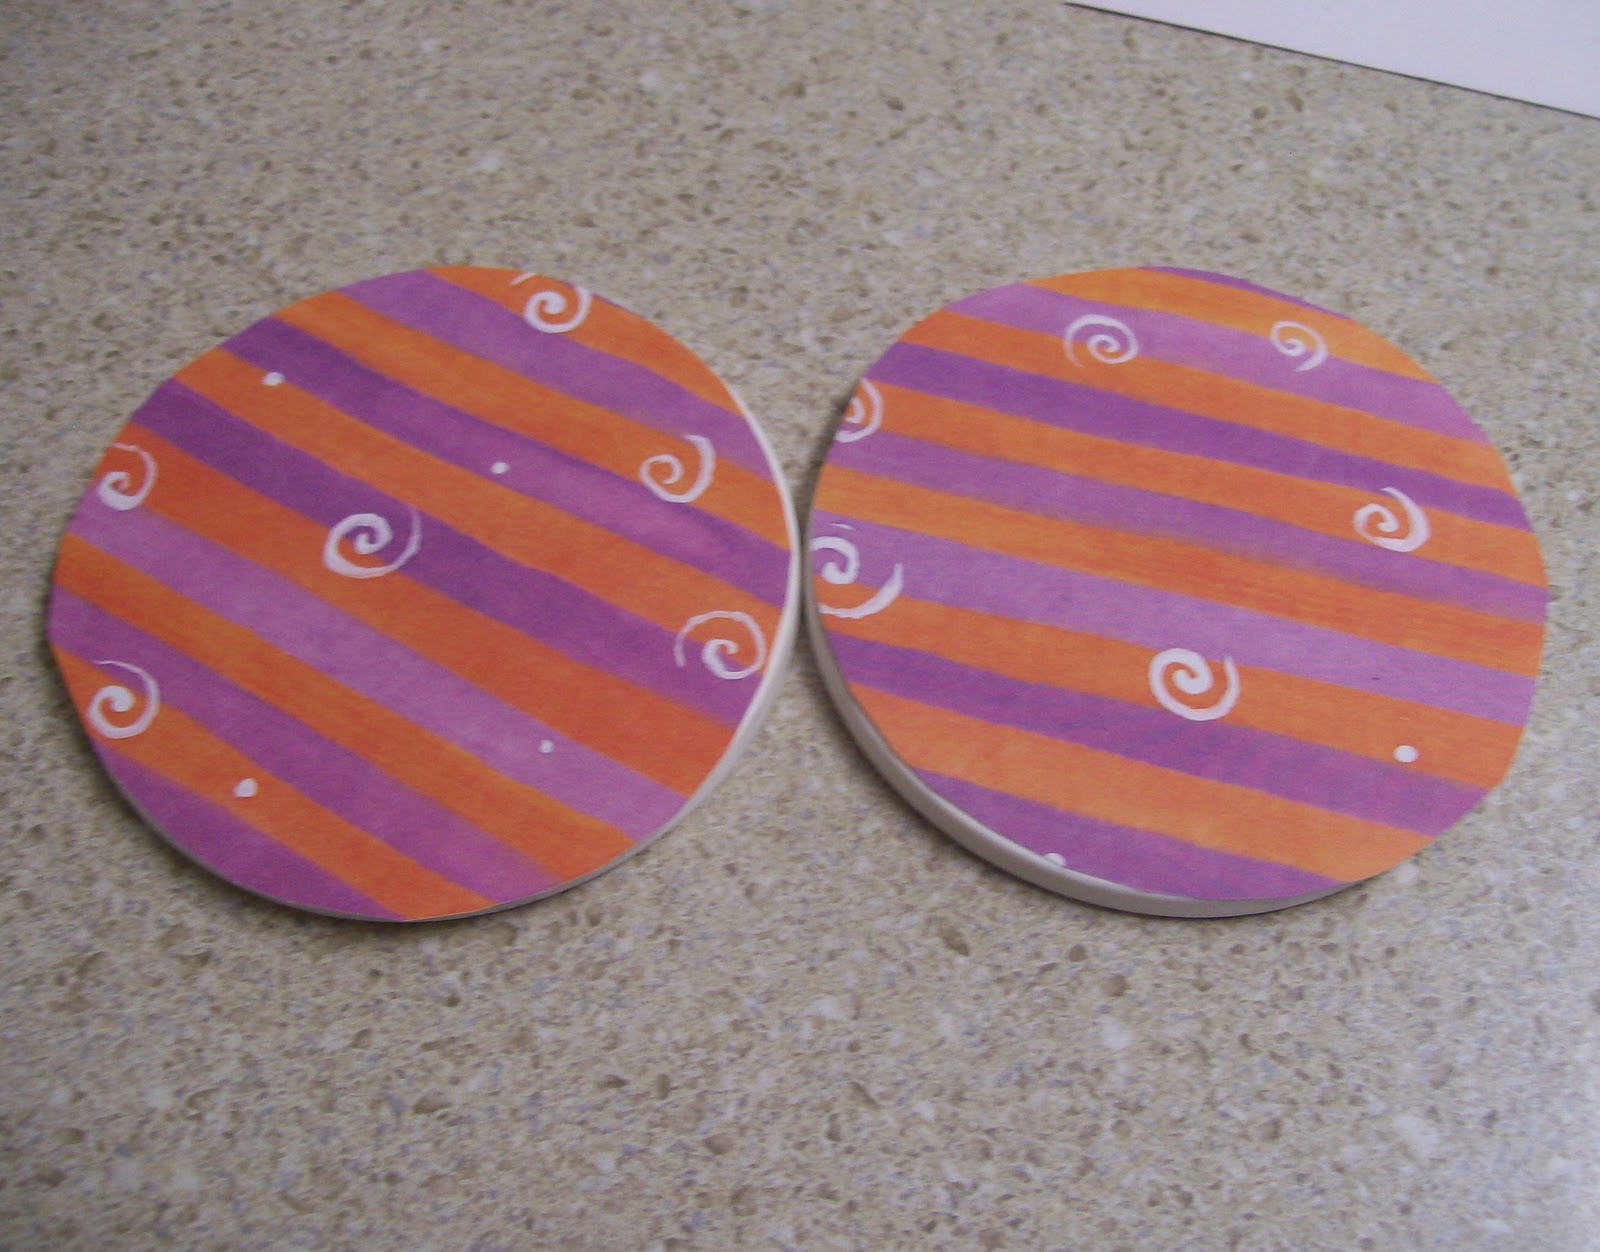
And finally I made these cute little coasters just to have something else to set on the table.  For these, I simply took a couple of old coasters that we weren’t using.  Then I used them as a stencil to trace two circles and I cut them out.  For the next step, I’ve seen a lot of people using mod podge to stick the paper to the coaster, but since we won’t really be using these coasters, and since they’ll only be out for a month I came up with an idea to help me change up these coasters any time I want.

I had some magnet strips with adhesive on the back.  And I just took my scissors and cut a very small piece of magnet off, and stuck it to the coaster.  Then I cut off another small piece and stuck in on to the paper.  Put the paper and the old coaster together, and you’ve instantly got a new coaster!  And after the holiday, you can either throw the paper away or save it for next year.  Meanwhile you can create a new set for the next holiday.

Next week I’ll be sharing a Halloween mod podge project that I did over the weekend and another table decoration, so please come back and see!

This week I’m linking up to these craft & decor parties, plus over at My Blessed Life and Tater Tots and Jello for the Celebrating Autumn event, and Susie QT Pies Scraps for Life for the Halloween Tricks N Treats Party!

Photobucket

Golden Path Alchemy Review

I just love trying new skincare products!  Just recently I had the opportunity to try some organic skincare products from Golden Path Alchemy.  This company has a variety of products for the face and body, including cleansers, masks, toners, and moisturizers.  And they have several product lines, based on your skin type.  These lines include: Awaken, Purify, Refine, Renew, and Illuminate.  Because I have combination skin, I got to try a product from the Illumniate, Purify, and Refine lines.
I was most intrigued by the Illuminate Cleansing Grains because I’ve never tried a product like this before.  This product is made from natural ingredients, including almond meal, barley, wheat germ and frankincense,  all of which are rich in nutrients, vitamins, and other elements that are the keys to healthy skin.  They work to exfoilate the skin while nourishing it and reversing the signs of aging. 
The product is made to deeply cleanse, while lifting and lightening sun damaged or hyper-pigmented skin.  I love this product because it makes it very easy for you to convert your gentle cleanser into an exfoiliating scrub, simply by adding a tiny amount of grains to a little cleanser.  Alternatively you can also use the grains alone with water, which is very convenient.  I also loved this product because it left my skin feeling soft and refreshed.
I also had a chance to try the Purify Serum. The blend of ingredients in the Purify Serum is made to “clear and harmonize impure skin.”  What I love about the the Purify Serum is that it offers this great mix of ingredients that not only cleanse and clear up the skin but also regulate the production of oil and even more importantly, it aids in the healing of blemishes and supports regeneration. 
It features Jojoba, which breaks down and regulates the production of oils on the skin that can clog pores and cause acne, while it reduces wrinkles and the signs of aging.  Meanwhile, an analgesic and antiseptic called Manuka improves circulation, cleanses, and soothes while supporting skin regeneration.  And finally the balancing, calming and antibacterial properties of Lavender help the skin to heal and prevent scarring, while clearing redness and reducing inflammation and pain associated with acne-prone skin.
I’ve tried a lot of different astringents, creams, and other topical acne medicines, but many of these burn the skin when applied. Others overdry the skin.  And a lot of them are are not made to be applied before leaving the house.  And most importantly, I would say that most of them to do not have ingredients to help support healing and skin regeneration. I’m very pleased that these problems do not exist with the Purify Serum.
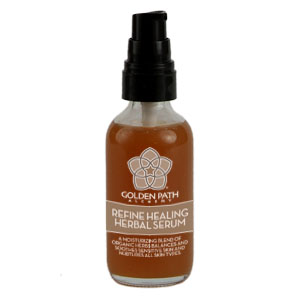
And last but not least I got to try the Refine Healing Herbal Serum.  This is a potent moisturizing herbal serum made of 15 healing herbs infused into aloe vera gel to balance and soothe sensitive skin as well as nurture all skin types. I’m sure you’ve used aloe vera gel at some point in your life. I know I’ve used it a lot to treat sunburns, and I’ve also used it in my own homemade facials.  What I didn’t know until I visited Golden Path Alchemy is that the aloe vera, apart from its anti-inflammatory properties, actually brings oxygen to the cells and stimulates the synthesis of collagen and elastin fibers reducing signs of aging skin.
Additionally the product includes Calendula, an antibacterial immunostimulant, which can also help in the healing the skin by stimulating the production of collagen and minimizing scarring.  And finally Schisandra, a traditional Chinese beauty elixir, astringes and rejuvenates the skin making it soft, supple, moist and radiant.
Just like the Purify Serum, I love that this a multi-purpose product, namely that it has properties to moisturize and rejuvenate the skin.  Having combination skin, I’m always switching back and forth between different skin care products, and I love that this product offers something for everyone regardless of skin type, and it’s something I think I could use anytime.
Ways to Connect:
Check out all the great products at Golden Path Alchemy

If you love holistic, handmare, herbal skin care products, you should definitely stop by Golden Path Alchemy and find the skincare line that right for you!

 
Photobucket

Disclosure: I received free products from Golden Path Alchemy.  I was not paid to write this review.  The opinions are my own.

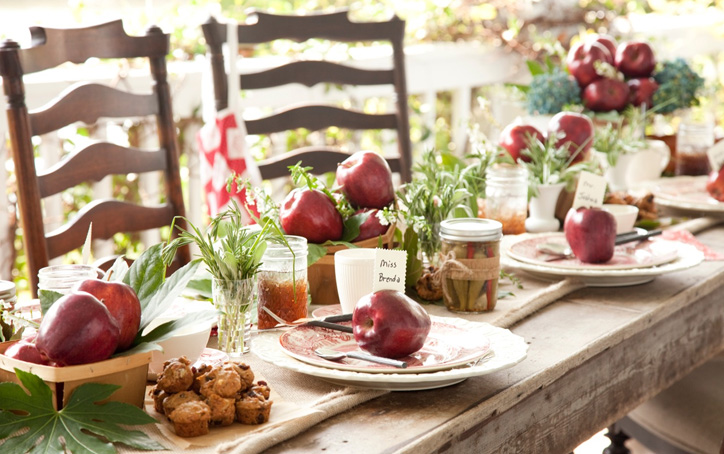
Applelicious Apple Dishes


(Photo Credit – Paula Deen)


Among my collection of “Recipes to Make” is this really yummy Apple Cake.  I had planned on making it this week, but then my husband practically begged….. err– requested his favorite yellow cake with chocolate icing. (If you read my blog enough, you may notice that this is a recurring theme at our house.)
So for this week, I decided to put together a collection of Apple Recipes for you instead.  Enjoy!
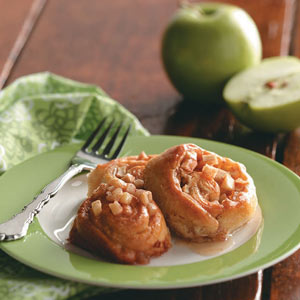
Here’s an oh-so-easy recipe for Apple Pinwheels from Taste of Home.


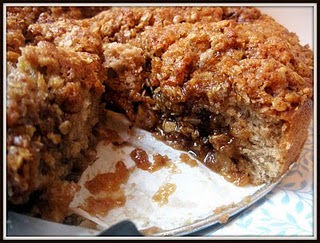
In case you didn’t see the Caramel Apple Cake at Friday Favorites the other day, here’s another one I found over at A Whisk and a Prayer.
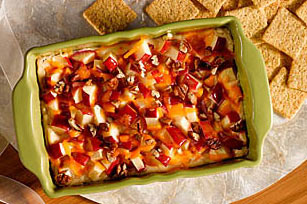
Lots of great flavors in this Hot Apple Dip from Kraft.  Wouldn’t this be perfect for your next party?  Or ya know….just a night at home?


Usually I head over to Hoosier Homemade to see her latest cupcake masterpieces, but a couple of weeks ago I was really intrigued by these Caramel Apple S’mores.
I just love breakfast foods! This yummy looking Apple-Cheddar Strata was over Pillsbury.
And last but certainly not least, no recipe round-up can possibly be complete without a cookie recipe!  These scrumptious Apple Raisin Cookies were featured over at Martha Stewart.
I’m linking up this week to my usual parties, plus over Taste and Tell for the Celebrating Autumn recipe party on Tuesday.

Photobucket

Friday Favorites – Week 32

Photobucket

Hi everyone! Time for another edition of Friday Favorites!  I have a quick question for you this week.  I was wondering if you guys would like for me to host this as thumbnail linky. It seems like everyone is using these now, although I can name at least a few that still use the old-school version like I’ve been using.

I’ve used the basic version, largely because the links load a lot faster.  I don’t know about you, but even with a highspeed connection, it sometimes take a while for all the thumbnails to load (or maybe I’m just impatient).  And as someone who links up at a lot of blogs myself, I do like that with the basic linky, there are one or two less steps in the linking process.  But I’ve decided that I would poll you guys and see which you prefer.  So if you’ll just let me know in the comments, I’d really appreciate it. Thanks!

This week’s Friday Favorites is sponsored by Painted Lady Designs. See the lovely item below?  Check out my giveaway post and you could win it!  

Now for this week’s featured posts:

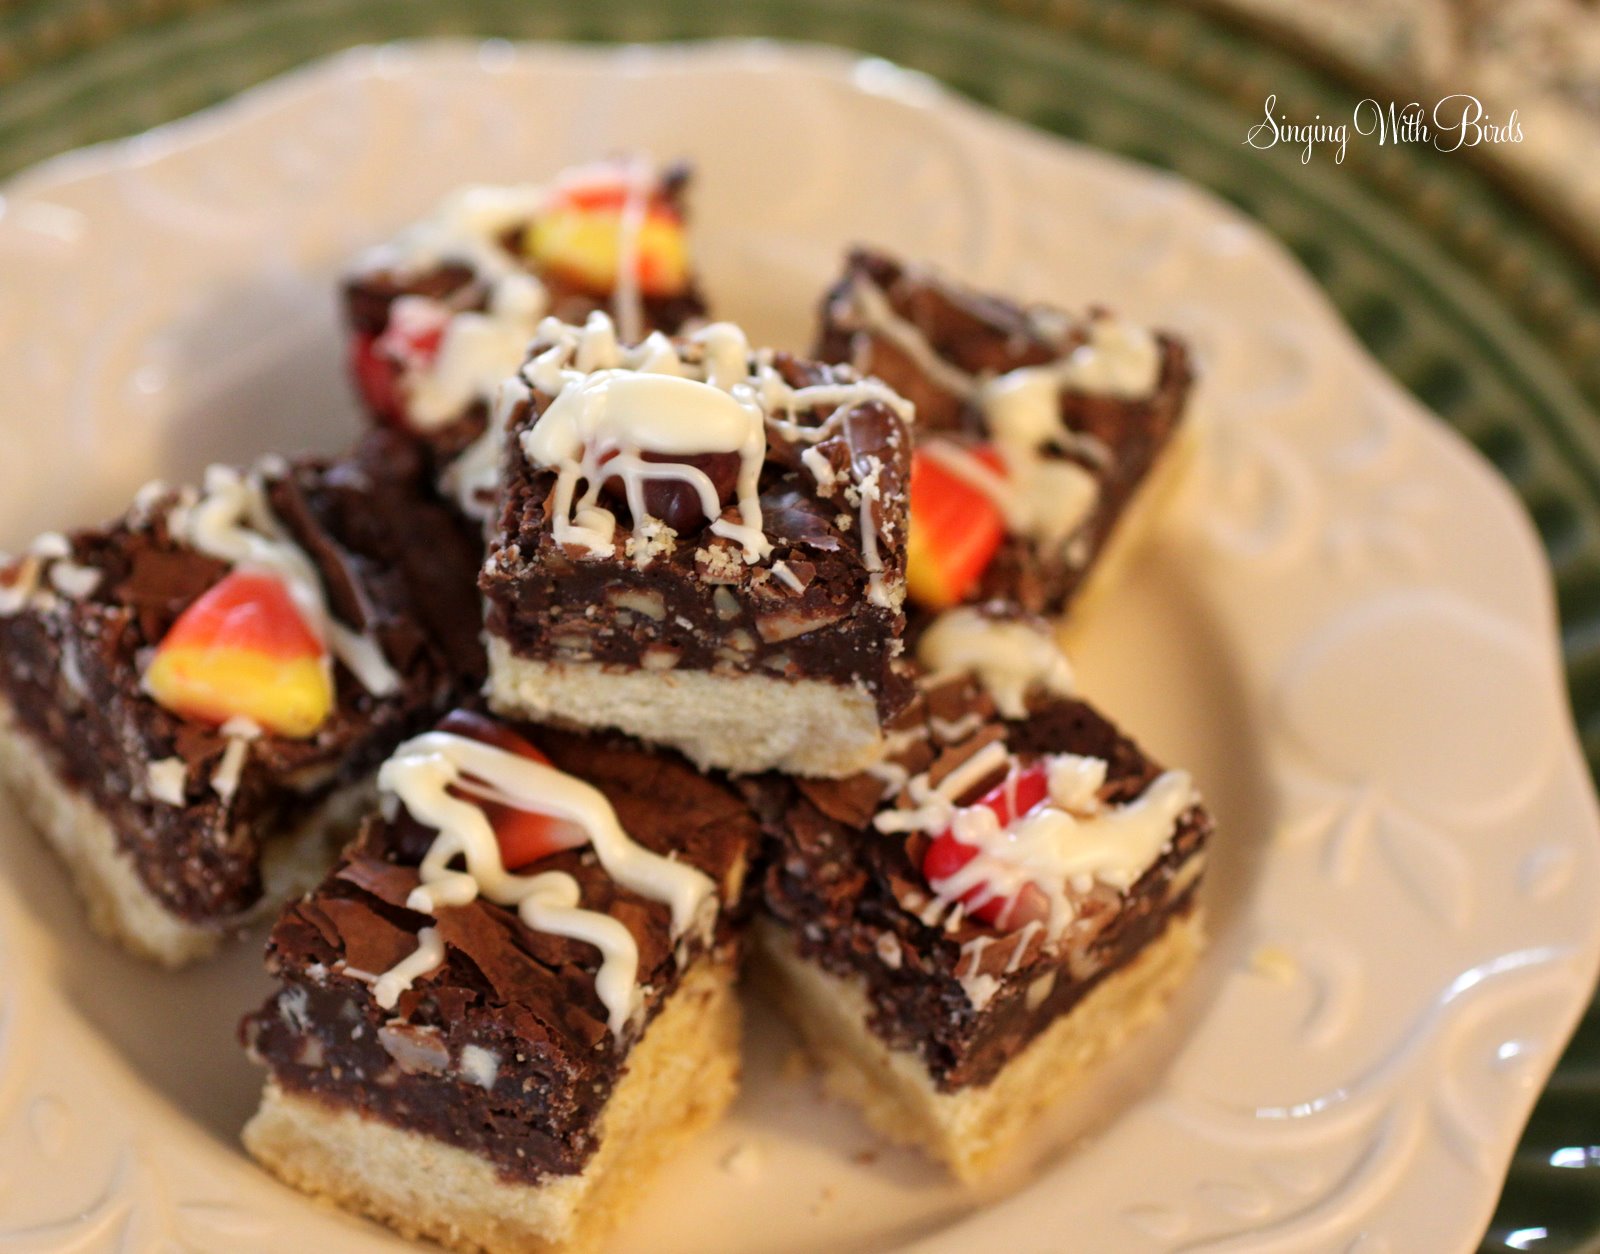
Bewitching Bars from Singing with Birds
Crockpot Scalloped Potatoes and Ham from Creatively Domestic

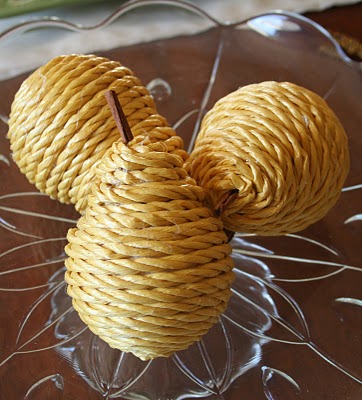
Twine Pears from The Cupcake Cuppy

Caramel Apple Cake from Louanne’s Kitchen

Linky time! Please link up any post that you consider a favorite, and please use your post urls instead of your blog so that we can easily find the post you want to share! Also, I’d appreciate it if you would place a link to my blog in your post and/or place my button in your sidebar. Thanks!

Photobucket

Sweet Thursday: Cookie & Bar Edition

sweet Thursday

I’m pleased to present the Cookie Edition of Sweet Thursday! Feast your eyes upon this month’s yummy selections.  Then link up your own recipes below!

Next Month’s Event: For October, I’ll be featuring Fall and Halloween Sweets. You can have your dessert featured here, just by emailing your link to simplysweethome@hotmail.com. Entries must be received by Oct 26.  The linky event will then be posted, Wedesday night, Oct 27.

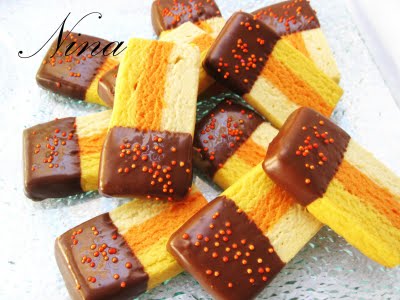
Chocolate Dipped Cookies from Nina’s Recipes

Apple Cookies from A Crafty Escape

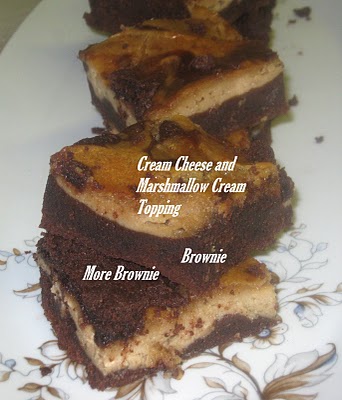
Amaretto Coffee Brownies from My Sweet and Savory

Malted Milk Ball Cookies from  from glitter to gumdrops
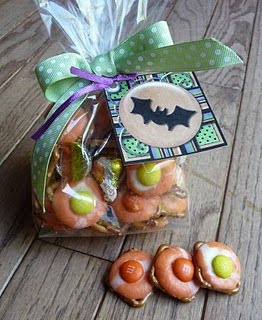
Candy Corn Cookies from Nina’s Recipes
Lemon Glazed Shortbread Cookies from Millie’s Place
Chocolate Filled Brownies from Chaya’s Comfy Cook Blog
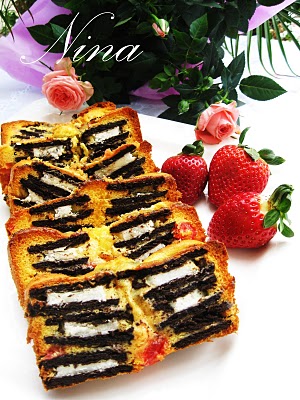
Oreo Strawberry Biscotti from Nina’s Recipes
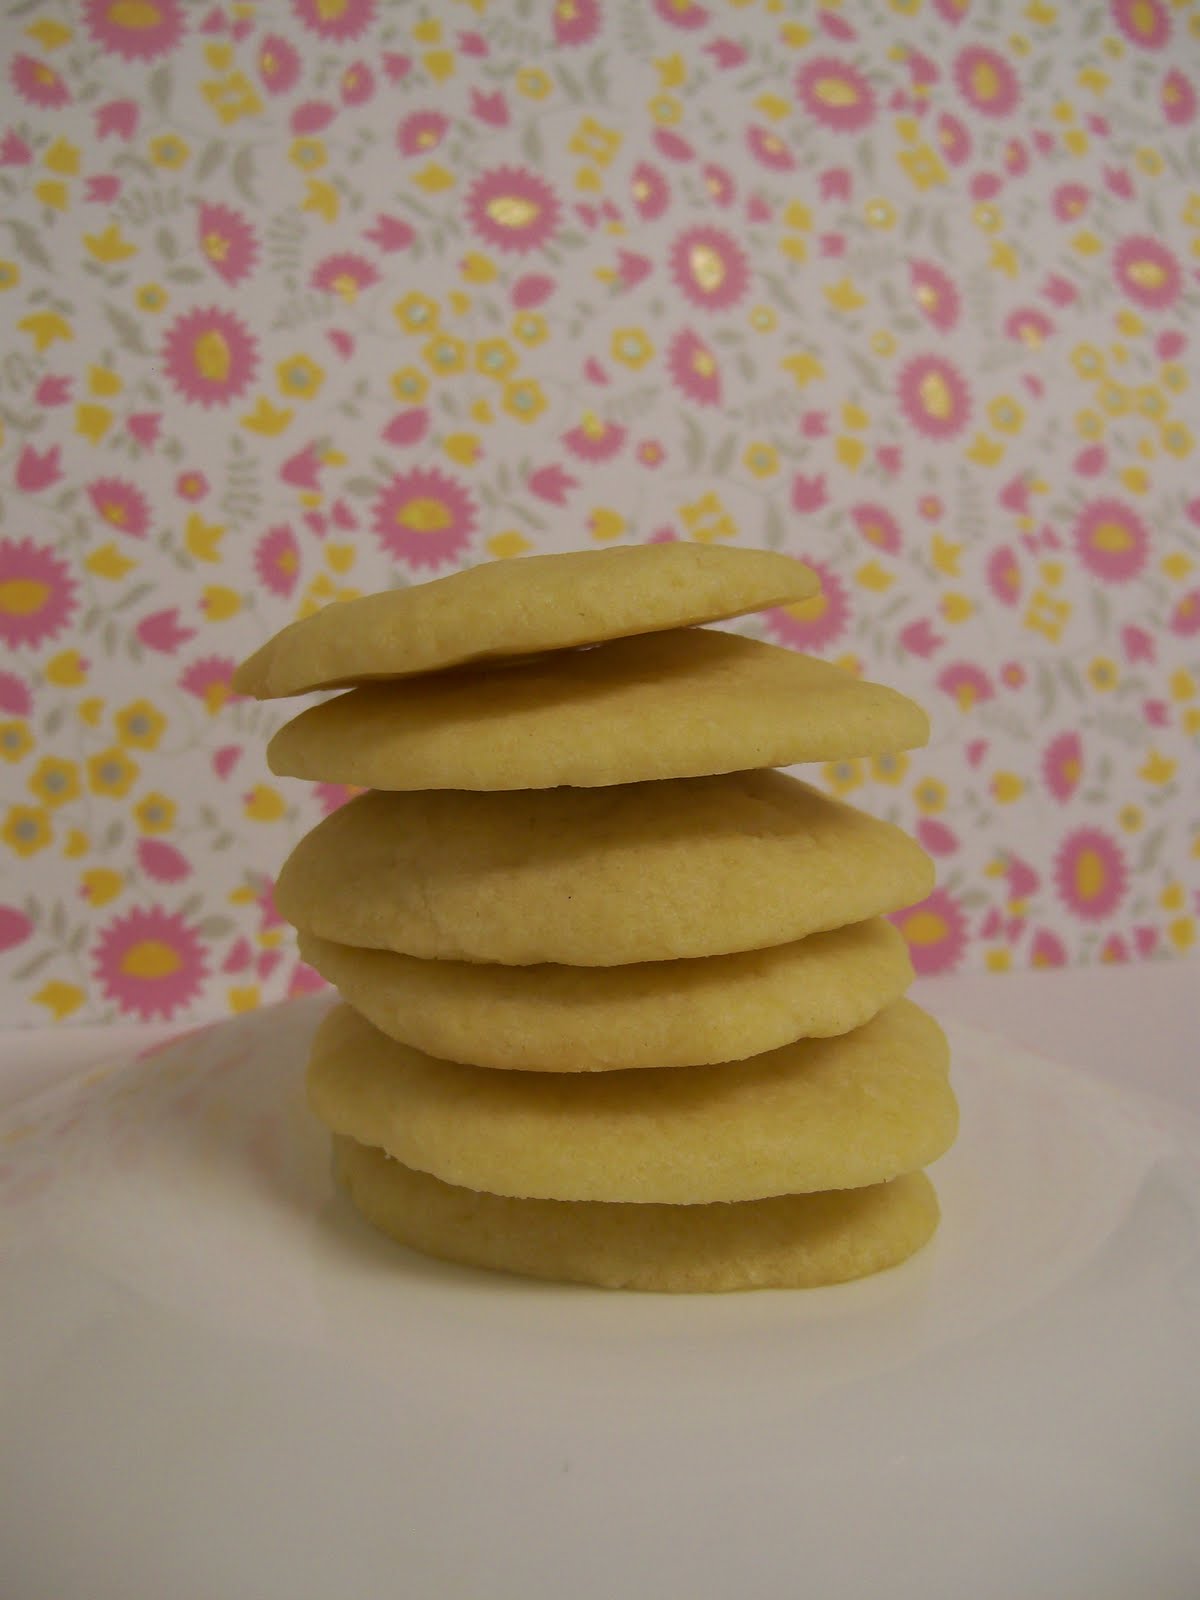
Shortbread Cookies from Simply Sweet Home

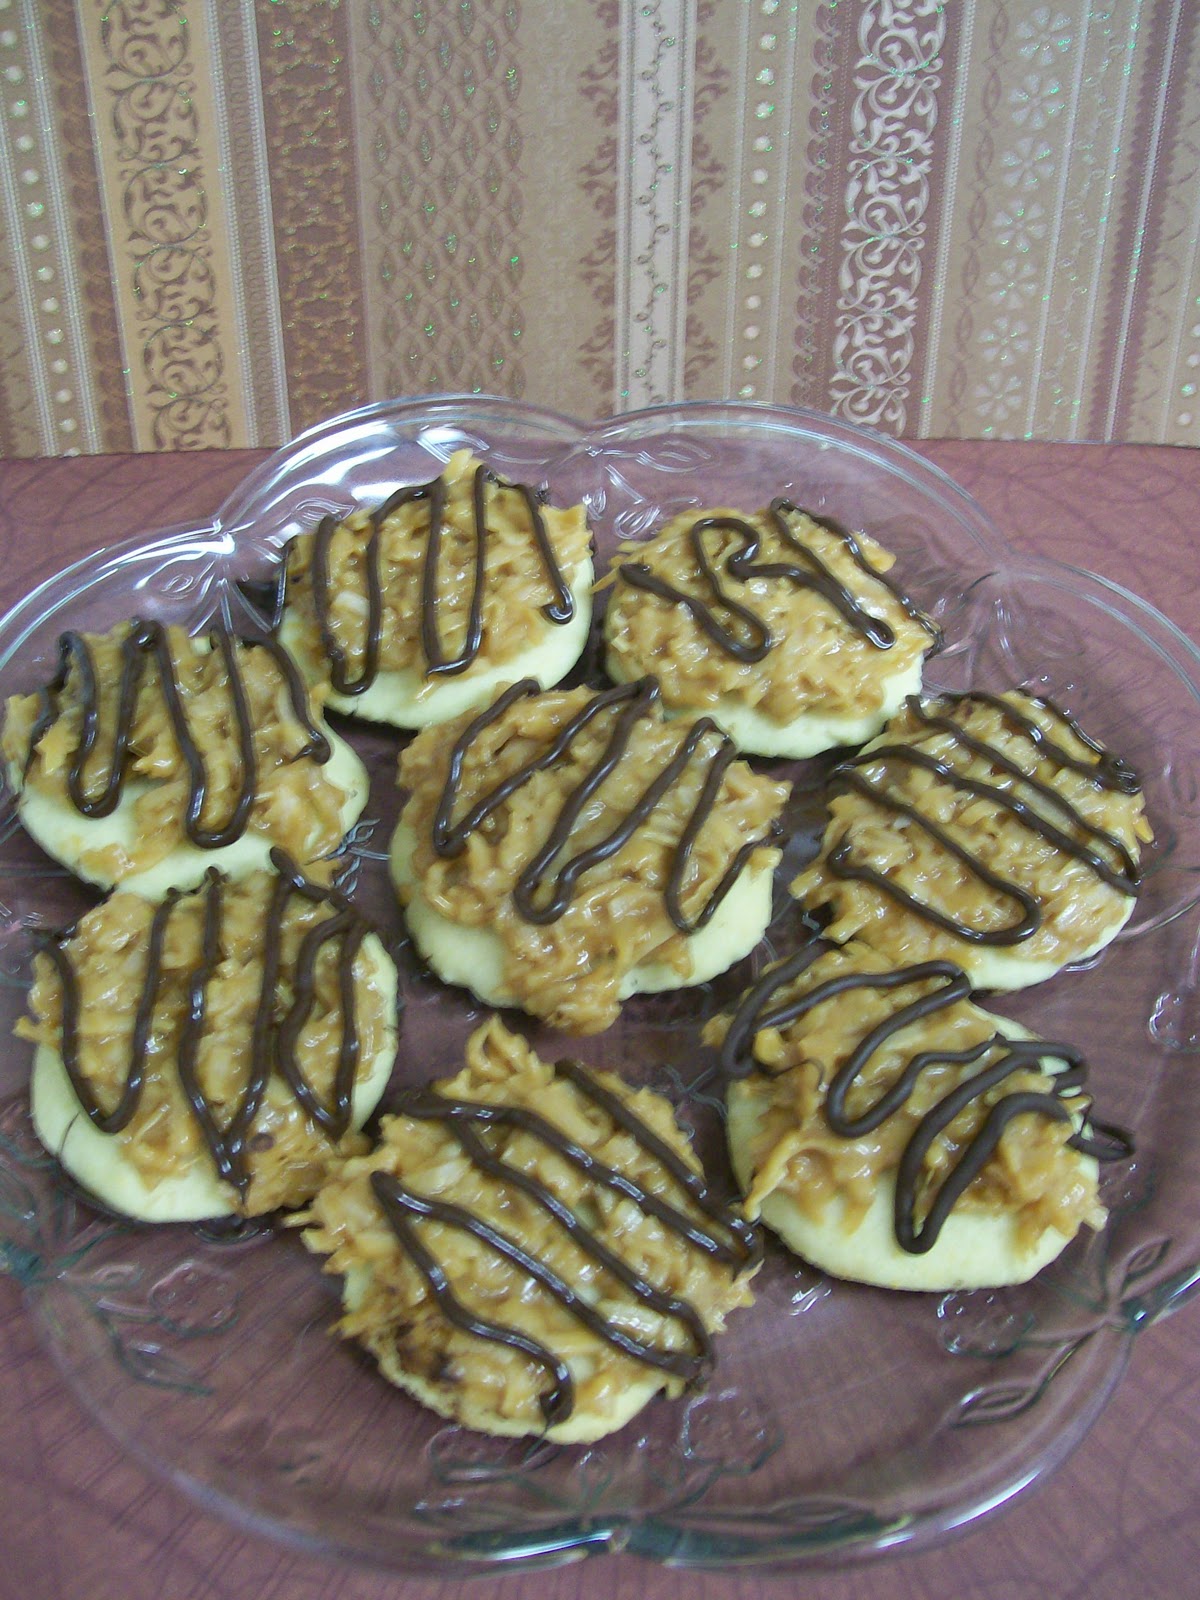
Homemade Samoas from Simply Sweet Home

I’m excited to see your yummy treat! Link up below!

Photobucket

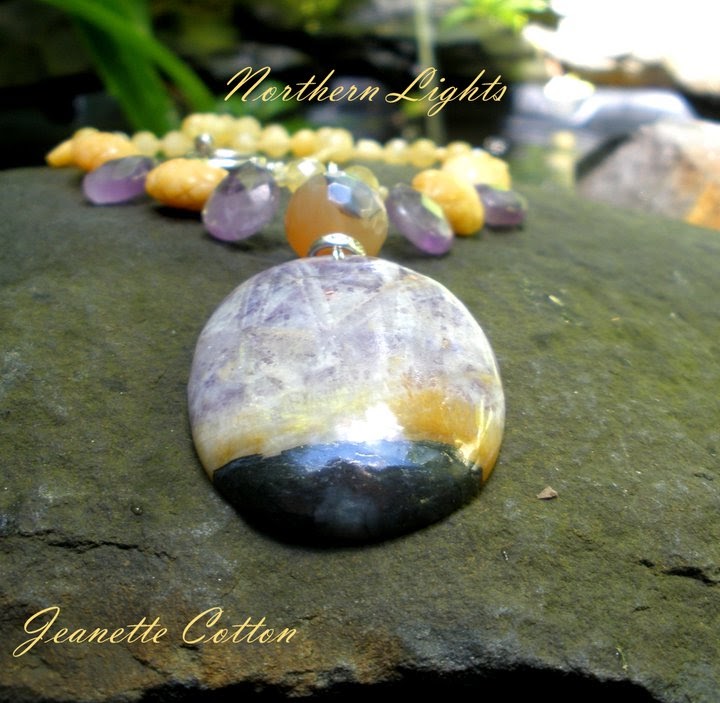
Jewelry Giveaway from Painted Lady Designs

Today I’m excited to present a fabulous jewelry giveaway from Painted Lady Designs.   Painted Lady Designs offers gorgeous, one of a kind pendants, necklaces, leather chokers, earrings, and more! Jeanette Cotton is the designer of these lovely pieces. (You may remember Jeanette from the post I wrote about her other shop Rock of Ages)

Jeanette is very excited about her new line of chokers.  Each choker features a leather cord, adorned with a beautiful stone, that is carefully hand-selected and combined with pearls, lamp beads, corals, and other unique elements, to create a piece of jewelry that is literally a work of art.  Jeanette’s also making chokers with ribbon, and in the future she will offer them with a silver chain.

At Painted Lady Designs and Rock of Ages, Jeanette’s goal is to create one of a kind pieces that state who you are, so if you don’t find something that screams, “You!” Jeanette will be happy to turn any stone from either of her shops into a custom pendant or choker.

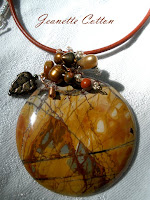
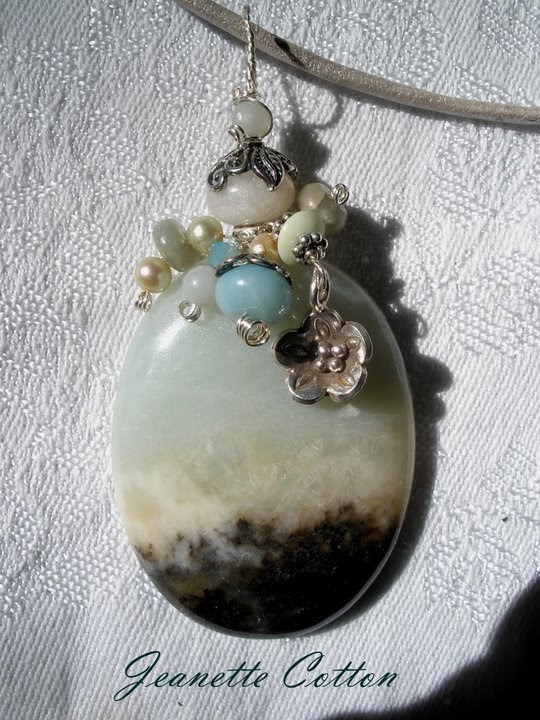
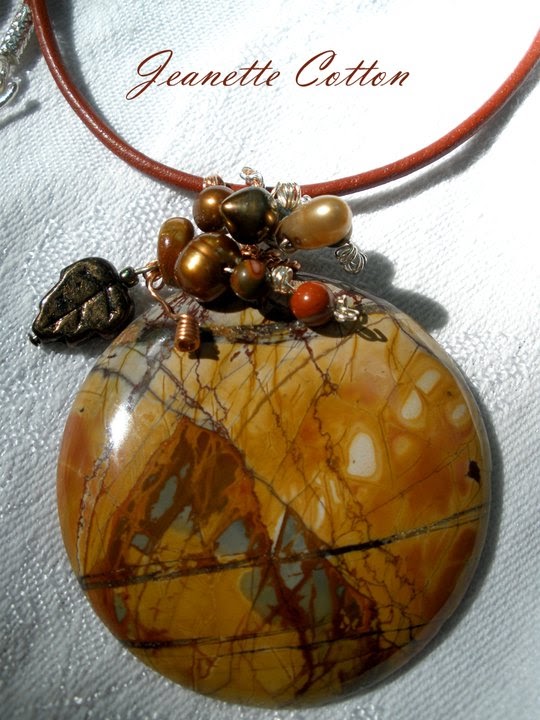
Win it! Painted Lady Designs is offering the Fall Falling Down Choker (pictured below) to one Simply Sweet Home Reader! This is a $48 value!
Prize Description: Gorgeous Picasso Jasper in delicious shades gold, russet, blue/gray, cream, and caramel  The Focal is various Pearls, picasso jasper, and a Bronze Czech glass bead. The closure is sterling Bali silver and all that prettiness is on a 2mm Russet Red Leather choker that measures 16-1/2″.
Mandatory Entry: To win, please visit Painted Lady Designs, then leave me a comment telling me which of her beautiful items is your favorite. Giveaway Ends: Oct 12.
Extra Entries: Leave separate comments for each entry!
-1 for visiting Jeanette’s supply shop, Rock of Ages, and telling me something you like from there.
-1 for liking Rock of Ages on Facebook.
-1 for Hearting Painted Lady Designs on Etsy.

-1 for Hearting Rock of Etsy on Etsy.

-3 for subscribing to Simply Sweet Home via email.
-2 for following  Simply Sweet Home on Twitter.
-1 for “liking” Simply Sweet Home on facebook.
-1 for subscribing to my RSS feeds through Feedburner.
-2 for following me through Google Friend Find.
-1 if you have my button on your blog.
-1 for sharing this giveaway on Twitter or Facebook.  (Sample Tweet: I want to win this beautiful necklace from Painted Lady Designs! http://bit.ly/bySnyr @SimplySweetHome  #giveaway) (Limit one entry per day.)

Rules/Restrictions: This Giveaway is open World Wide. Please be sure to leave an email address with your entry if you do not have one visible on your blog or profile!

Photobucket
Disclosure: Rock of Ages is a paid sponsor on my site. However, I did not receive compensation for hosting this giveaway. The opinions are my own.  If you’d like to advertise or host a giveaway on Simply Sweet Home, please see my PR Page.

Homemade Samoa Cookies

I see so many recipes each week that I want to try.  Right now I’ve got a huge Word document full of recipes that I’ve found on various blogs and websites. And hopefully I’ll get around to trying them all one day! This week I’m sharing a yummy recipe that I found a few months ago over at Santa’s Gift Shoppe.  When I saw this recipe, I immediately knew that I had to try it, because my husband just loves Samoas!  And let me tell you, these cookies did not dissapoint.  I’m not even fan of Samoas. (I’m a Thin Mint girl!) But I just loved these!

Reminder: Don’t forget the Sweet Thursday Cookie Round-up is this week.  Come by and link up your cookie recipes.  Linky will be posted some time on Wednesday night!

Recipe for Homemade Samoa Cookies
Ingredients:
Shortbread Cookies:
1 cup butter, softened
1/2 cup sugar
2 cups flour
]1/4 tsp baking powder
1/2 tsp vanilla extract
Up to 2 tbsp milk (Only use if too dry!)

Coconut-Caramel Topping
3 cups shredded coconut
12 oz. caramel cubes
1/4 tsp salt
3 tbsp milk

Chocolate Drizzle & Chocolate Bottom
8 oz. semisweet chocolate chips
Cookie Directions:  Cream together butter and sugar.  Mix in flour, baking powder and salt. Then add vanilla.  Only add milk if the dough is too dry and won’t stick together. (Add additional flour if dough is too sticky.)  Roll out dough and cut with round cookie cutters or roll dough into balls and flatten between hands.  Bake cookies at 350 degrees for 11-13 minutes.
Topping Directions: After all your cookies are baked, spread coconut evenly onto a parchment-lined baking sheet (preferably one with sides) and toast for 20 minutes, stirring every 5 minutes, until coconut is golden brown.  Set aside and let cool on baking sheet.
Unwrap caramels and place in a large microwave-safe bowl with milk and salt.  Cook on high for 3-4 minutes, stopping to stir a few times to help caramel melt.  When smoth and creamy, fold in toasted coconut with spatula.  Use an offset spatula to spread topping onto cookies. (I just used a spoon.)  If the caramel gets too firm, just place it in the microwave for a few seconds to remelt.
Chocolate Directions:  While topping sets up, melt chocolate in a small bowl, for 1-2 minutes stirring every 15 seconds to prevent scorching. To get the chocolate on the bootom of the cookies, you can either dip the cookies in the chocolate, or take each cookie and spoon the chocolate onto the bottom of the cookies.  (I found it easier to spoon the chocolate on.) Place cookies on wax paper and place in the freezer for a few minutes to set.

Use remaining chocolate (or melt more chocolate if neccessary) and place in a piping bag or a Ziploc bag with the corner snipped off and drizzle on cookies in a back and forth motion for desired effect. Allow chocolate to set, and get ready to serve!

Check out my sidebar or my Parties Page to see the fabulous sites I link up to each week!

Photobucket

Friday Favorites – Week 31

Photobucket

Hey everyone! Welcome to the party! I have to admit, even though I love Halloween and fall, I’ve had a hard time getting in to the season this year. It just doesn’t feel like fall around here, but seeing all the great fall projects around the blogosphere definitely helps to get me in the spirit! And last week’s Friday Favorites event definitely gave me a lot of fall inspiration.
There were so many great things linked up last week, both fall and non-fall themed, but to help myself and everyone else get ready for the new season, I decided to feature all these lovely fall creations.  Enjoy!
Candy Corn Melts and Printable Tags from My Computer is My Canvas
Apple Crisp from The Tablescaper

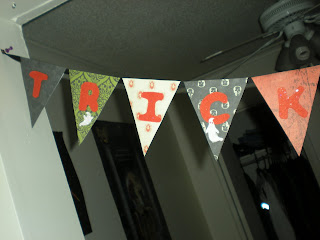
Halloween Banner from Crafty Project Girl

Halloween Parfaits from Pittypat Paperie

Caramel Apples with Homemade Caramel from From Apples to Zucchini
Let the party begin! Link up your posts below. Please link back to Simply Sweet Home or post my button so that others can come and join the party.

Photobucket

Mod Podge Bathroom Coordinates

Have you ever done a bathroom makeover? I don’t mean a makeover with a new vanity, cabinets, and floors.  I’m talking just a simple makeover: new shower curtain, rugs, towels, and coordinates.  These days even the simplest of makeovers can get a expensive.  But thanks to Mod Podge, you can now do a bathroom makeover on even the smallest of budgets!
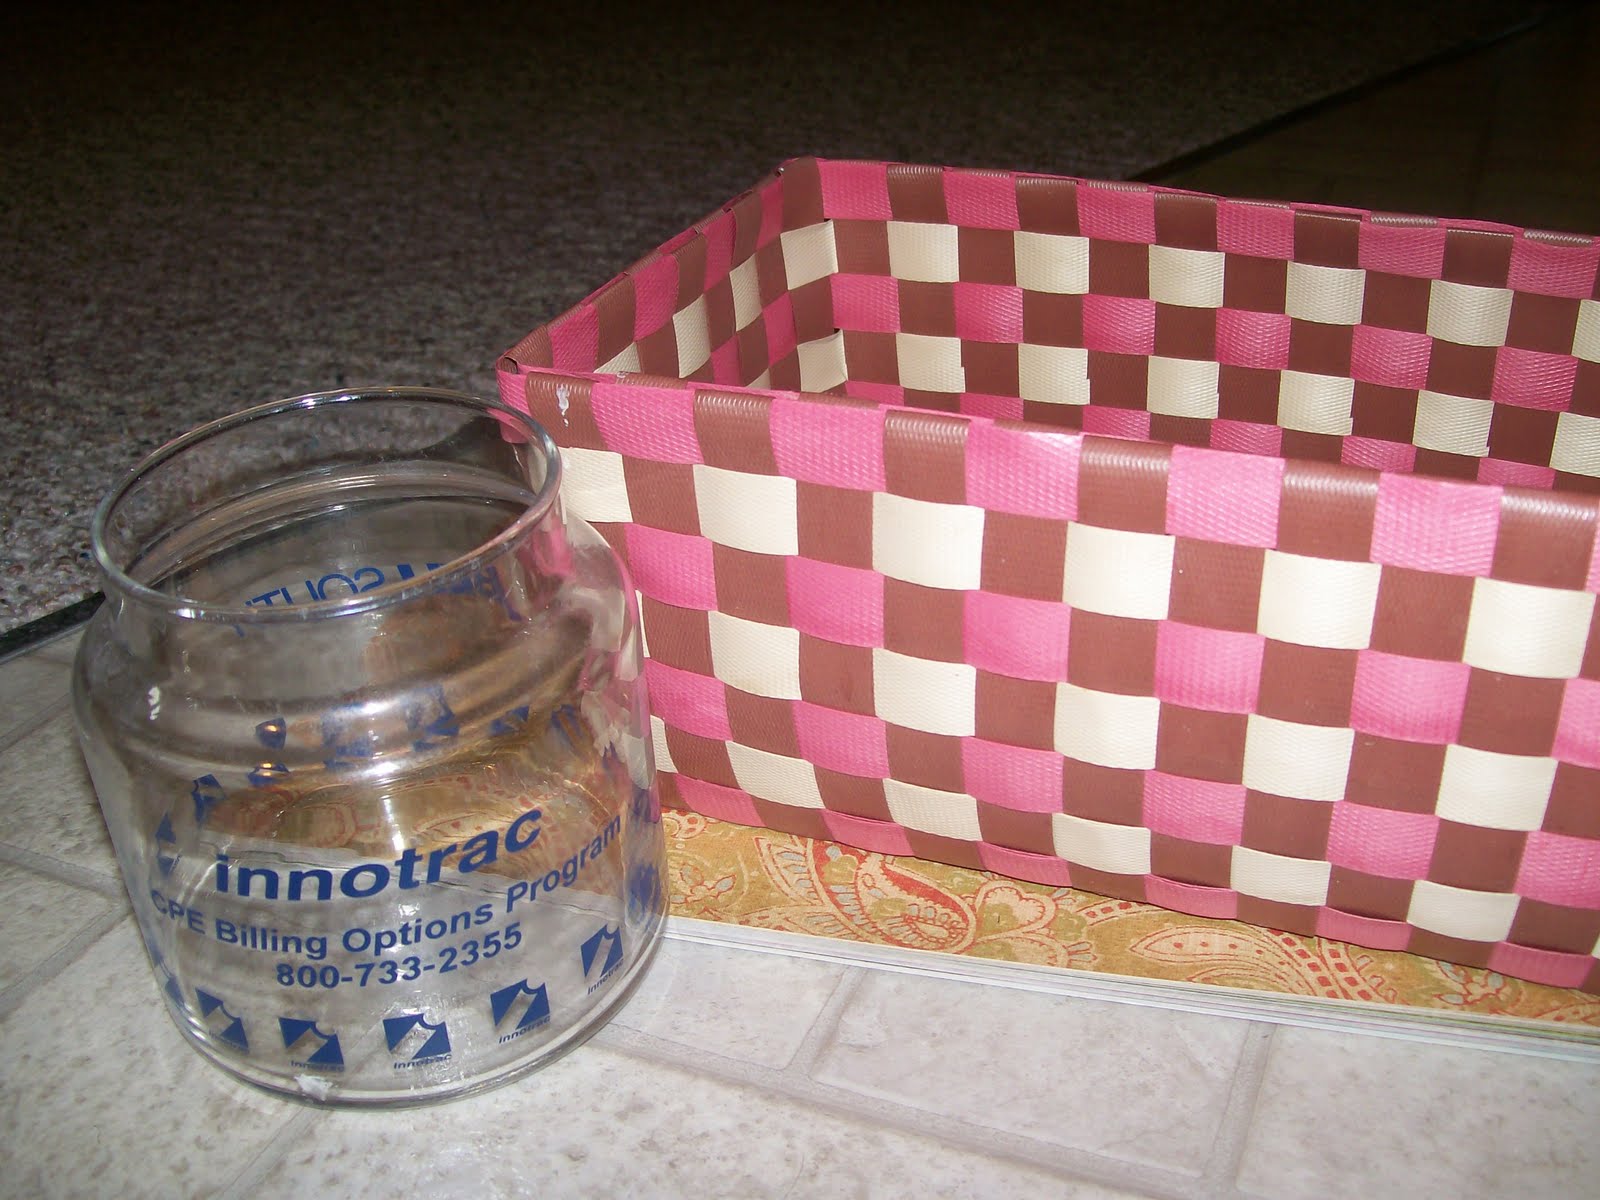
Previously I shared my Flower Arrangement Revamp and my Easy Initial Art, and today I’m sharing some of the bathroom coordinates that I made over with just a little scrapbook paper and Mod Podge! And what’s even better about these makeovers is that I was able to use some really cheap (and I do mean cheap!) stuff that I already had on hand for the project

See what I meant by cheap?  I’ve had the jar on the left forever! This thing was in my bathroom at my dad’s house, and there’s no telling how long we’ve had it!  I used it as a cotton ball holder.  Because I can’t let go of anything it came with me when I moved out.  (It had a lid too, but that seems to have disappeared!)  And the basket on the right was something I bought at the Dollar Tree!

And next we have cocoa. Cocoa? Yes, Cocoa! I recently finished off this container of cocoa, and as I was throwing it away, something inside me screamed, “Don’t do it!” It just so happens that cocoa containers are the perfect size for storing so many things: Markers, Pens, Cosmetic Brushes, etc.

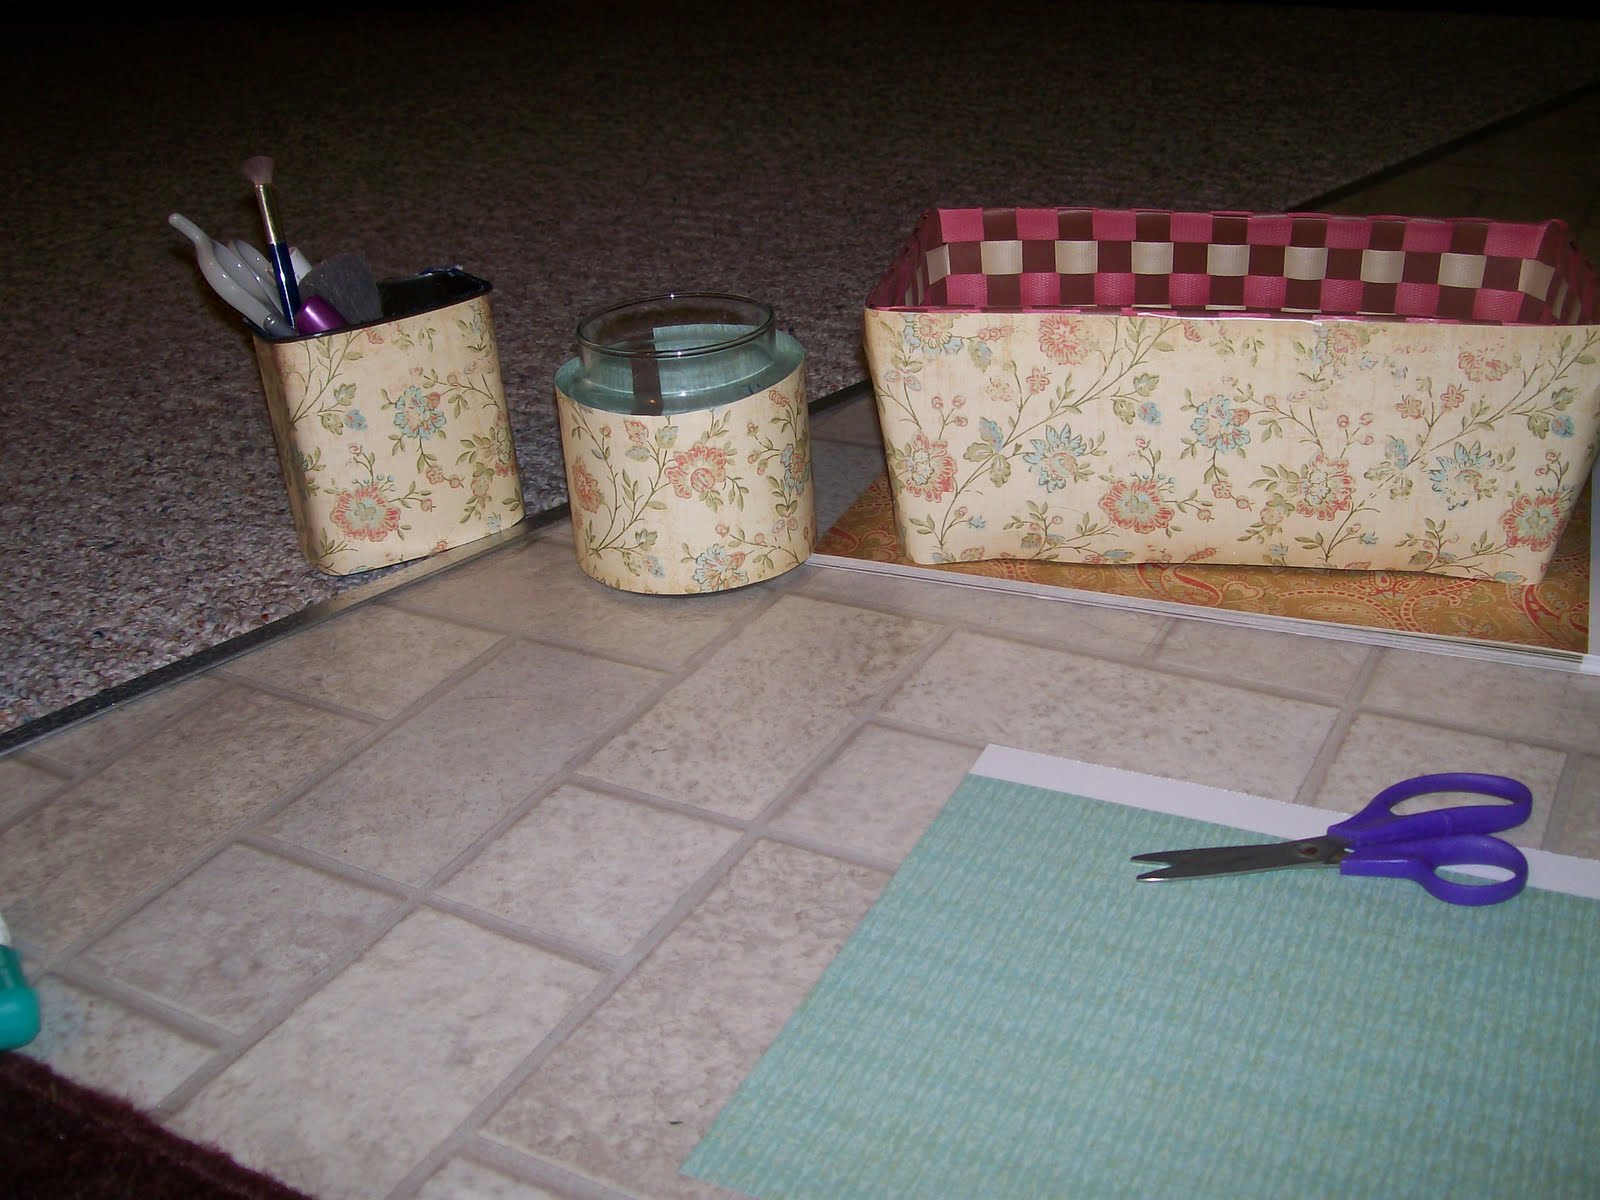
Here’s the trio together!  Quite an improvement, huh?  I should have gotten a better picture, but you’ll be able to see them a lot better when they’re actually on display in the bathroom.
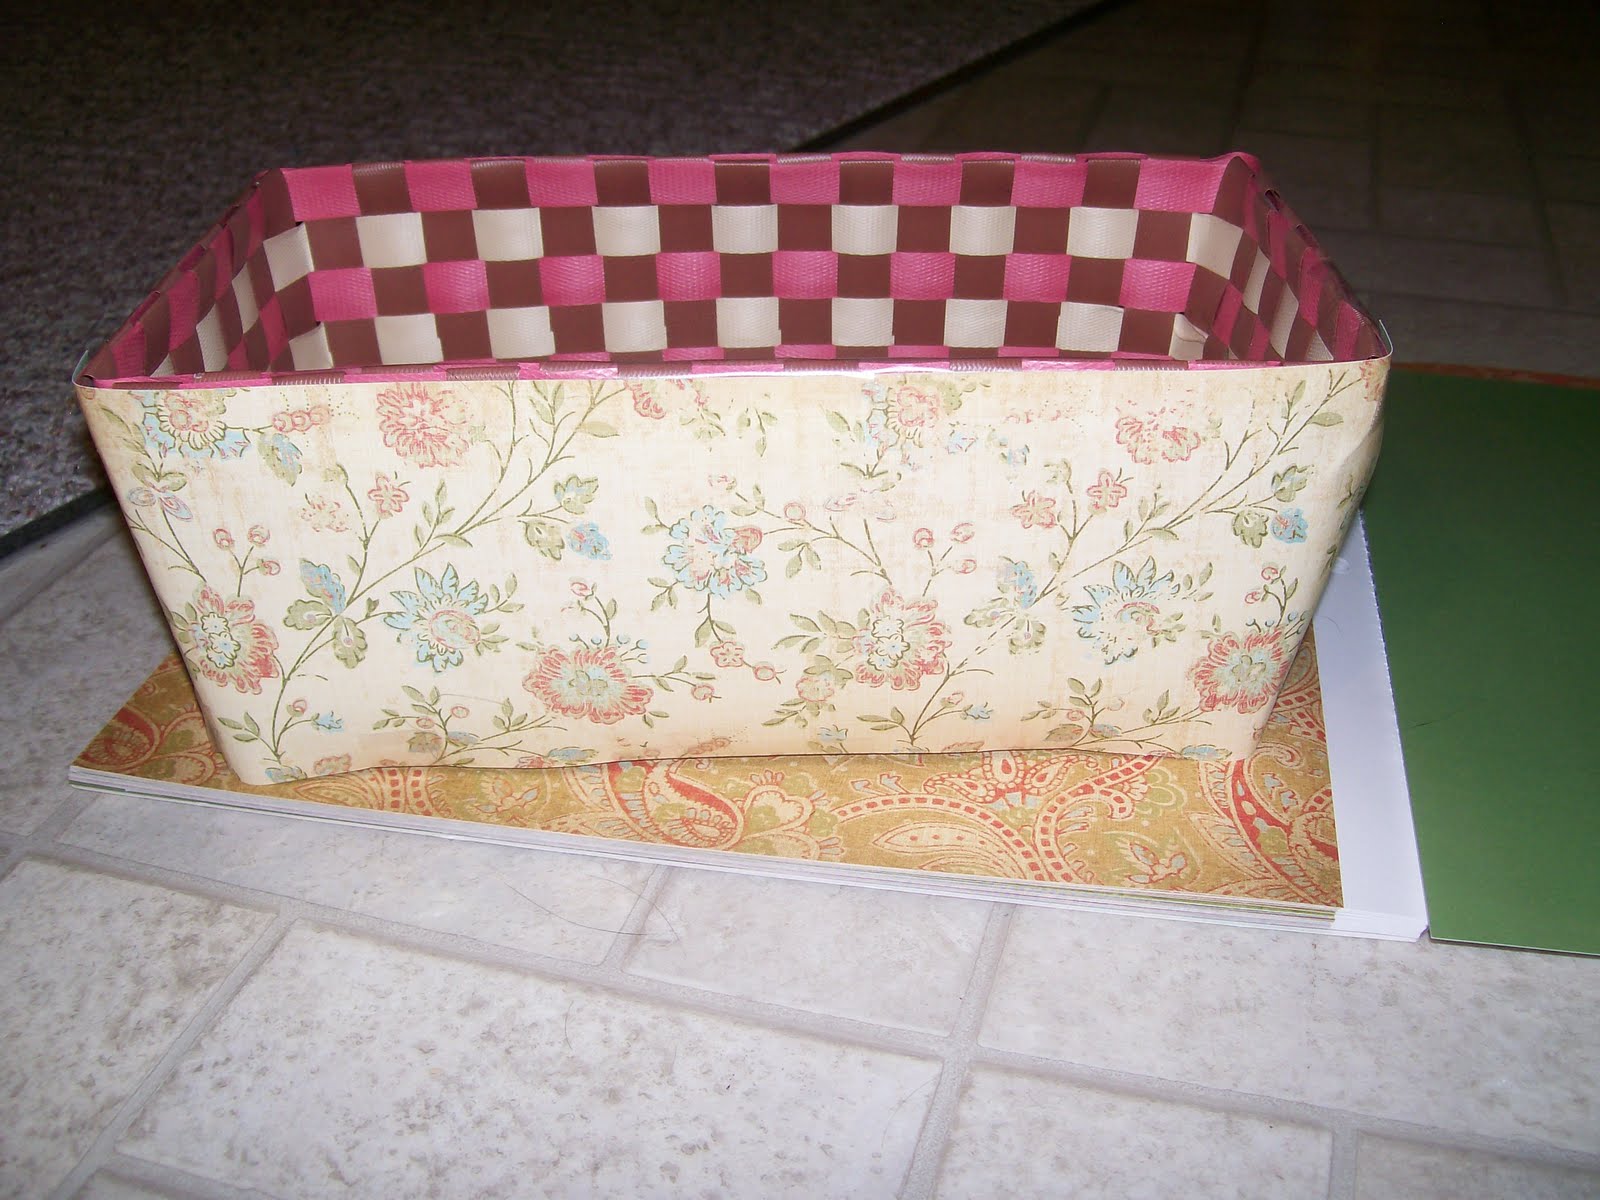
As you can see, I didn’t mod podge the inside of the basket.  I thought about doing it, but it seemed kind of pointless because the basket was going to be filled with a makeup bag and supplies, so you won’t really see the inside anyway, and plus hubby and I are the only ones who will be in this bathroom.

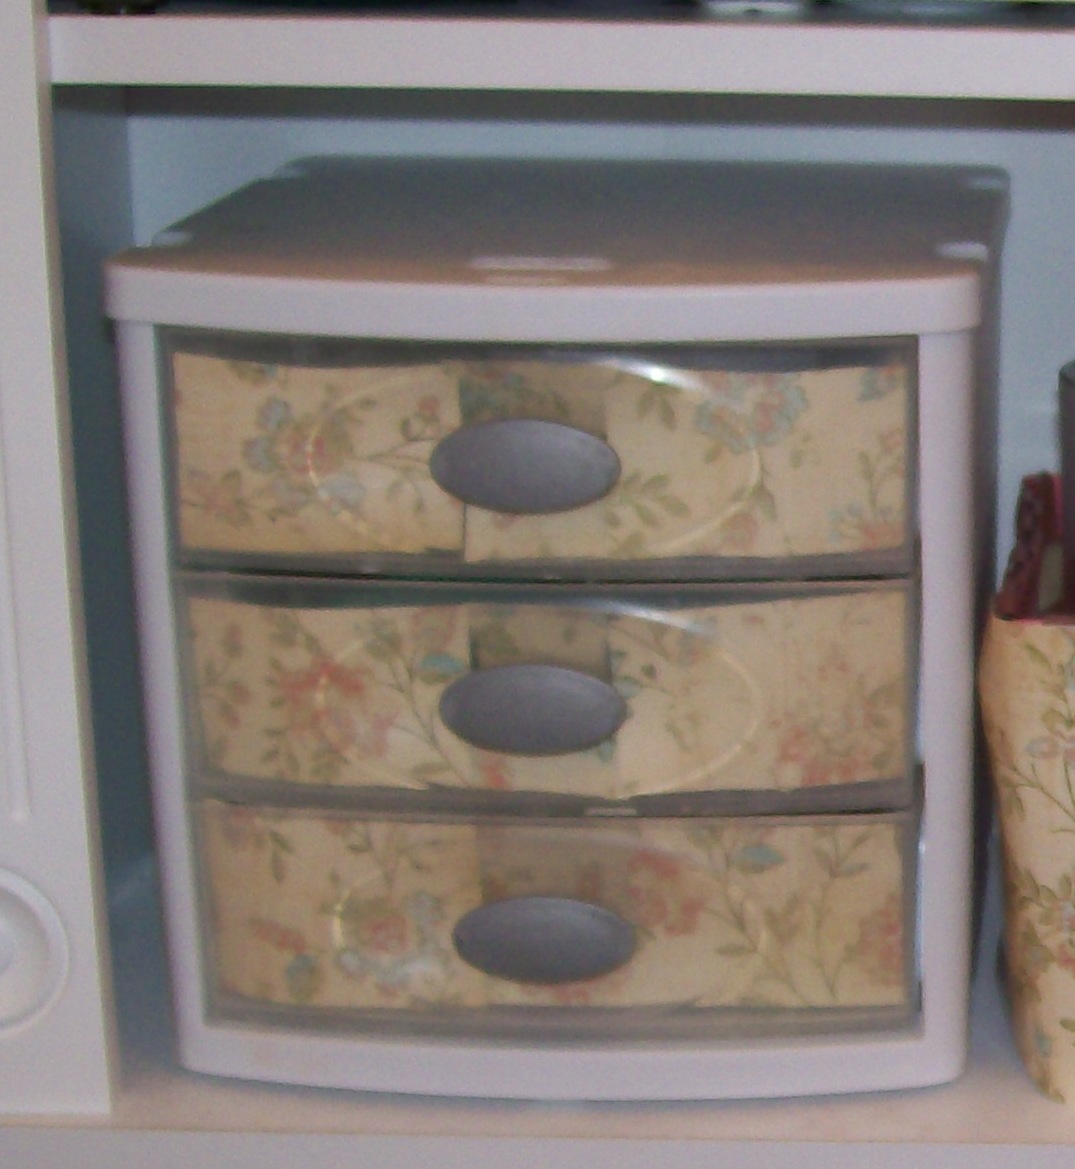
And then I also put paper on this little set of drawers!  I actually didn’t Mod Podge this, but used tape instead.  I was very happy with the way it turned out!
In an upcoming post, I’ll show you the rest of the items, which includes a soap dish & toothbrush holder that I was actually thinking of putting in a yard sale box until I decided to do this instead! And you’ll get to see the bathroom with all the elements put together!
For a list of parties I’m linking up to, please check out the buttons in my sidebar or my Party Page
Photobucket