Christmas Wreath Ideas

HollyBloggyButton1

Hope you enjoy these wreaths from last week’s events.  Wreaths are one of my favorite decor items, so it’s been a real treat to see everyone’s ideas.  They’re all so unique and creative!
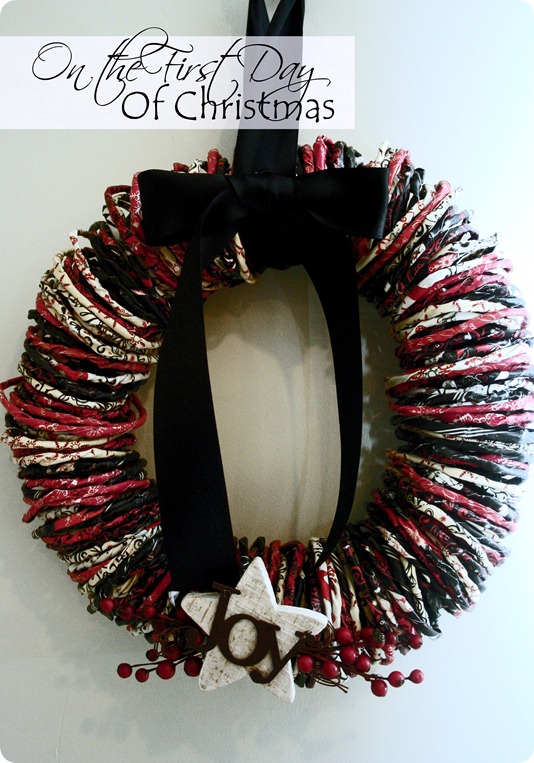
Pretty Paper Wreath from Whipper Berry
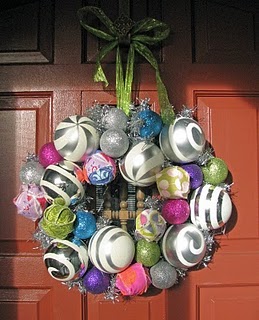
Fabric Ball Wreath from My House of L
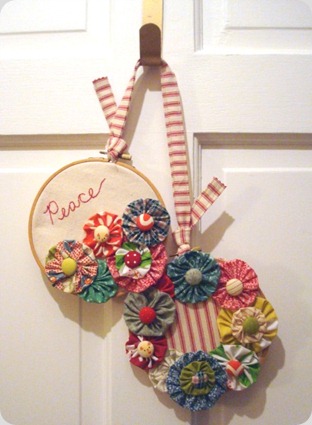
Embroidery Hoop Wreath from Silly Precious Piggies
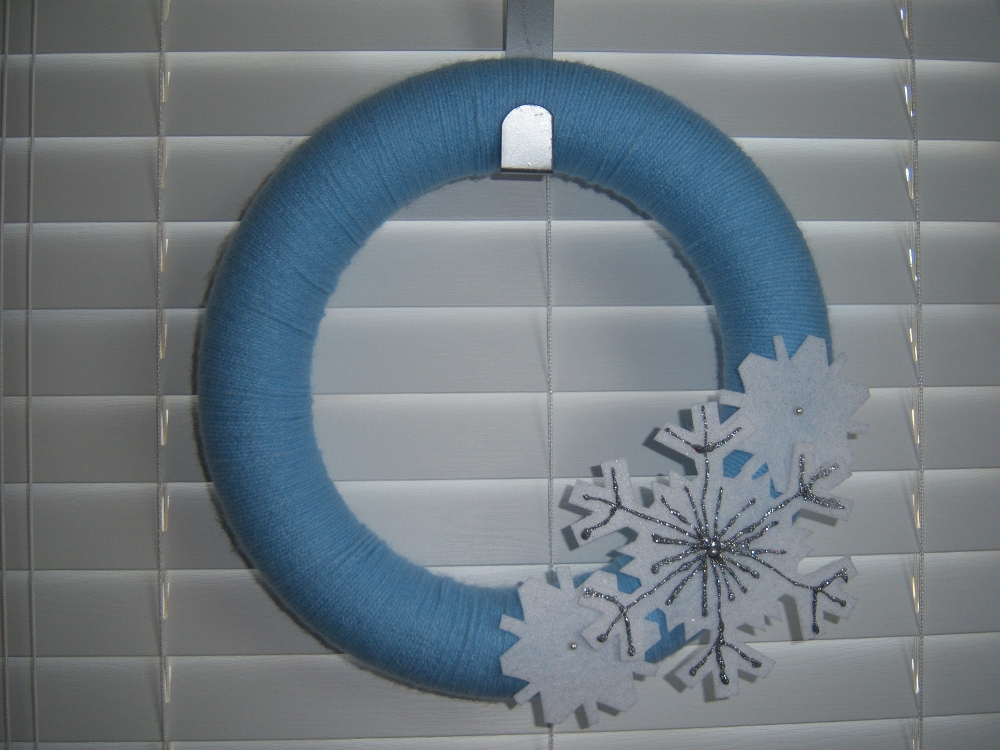
Winter Wreath from Life with Liane
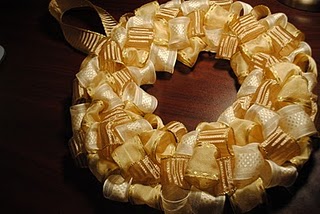
Christmas Ribbon Wreath from Calico and Cupcakes
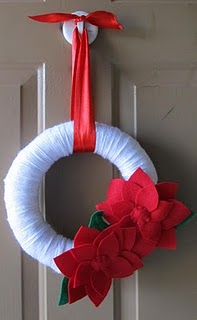
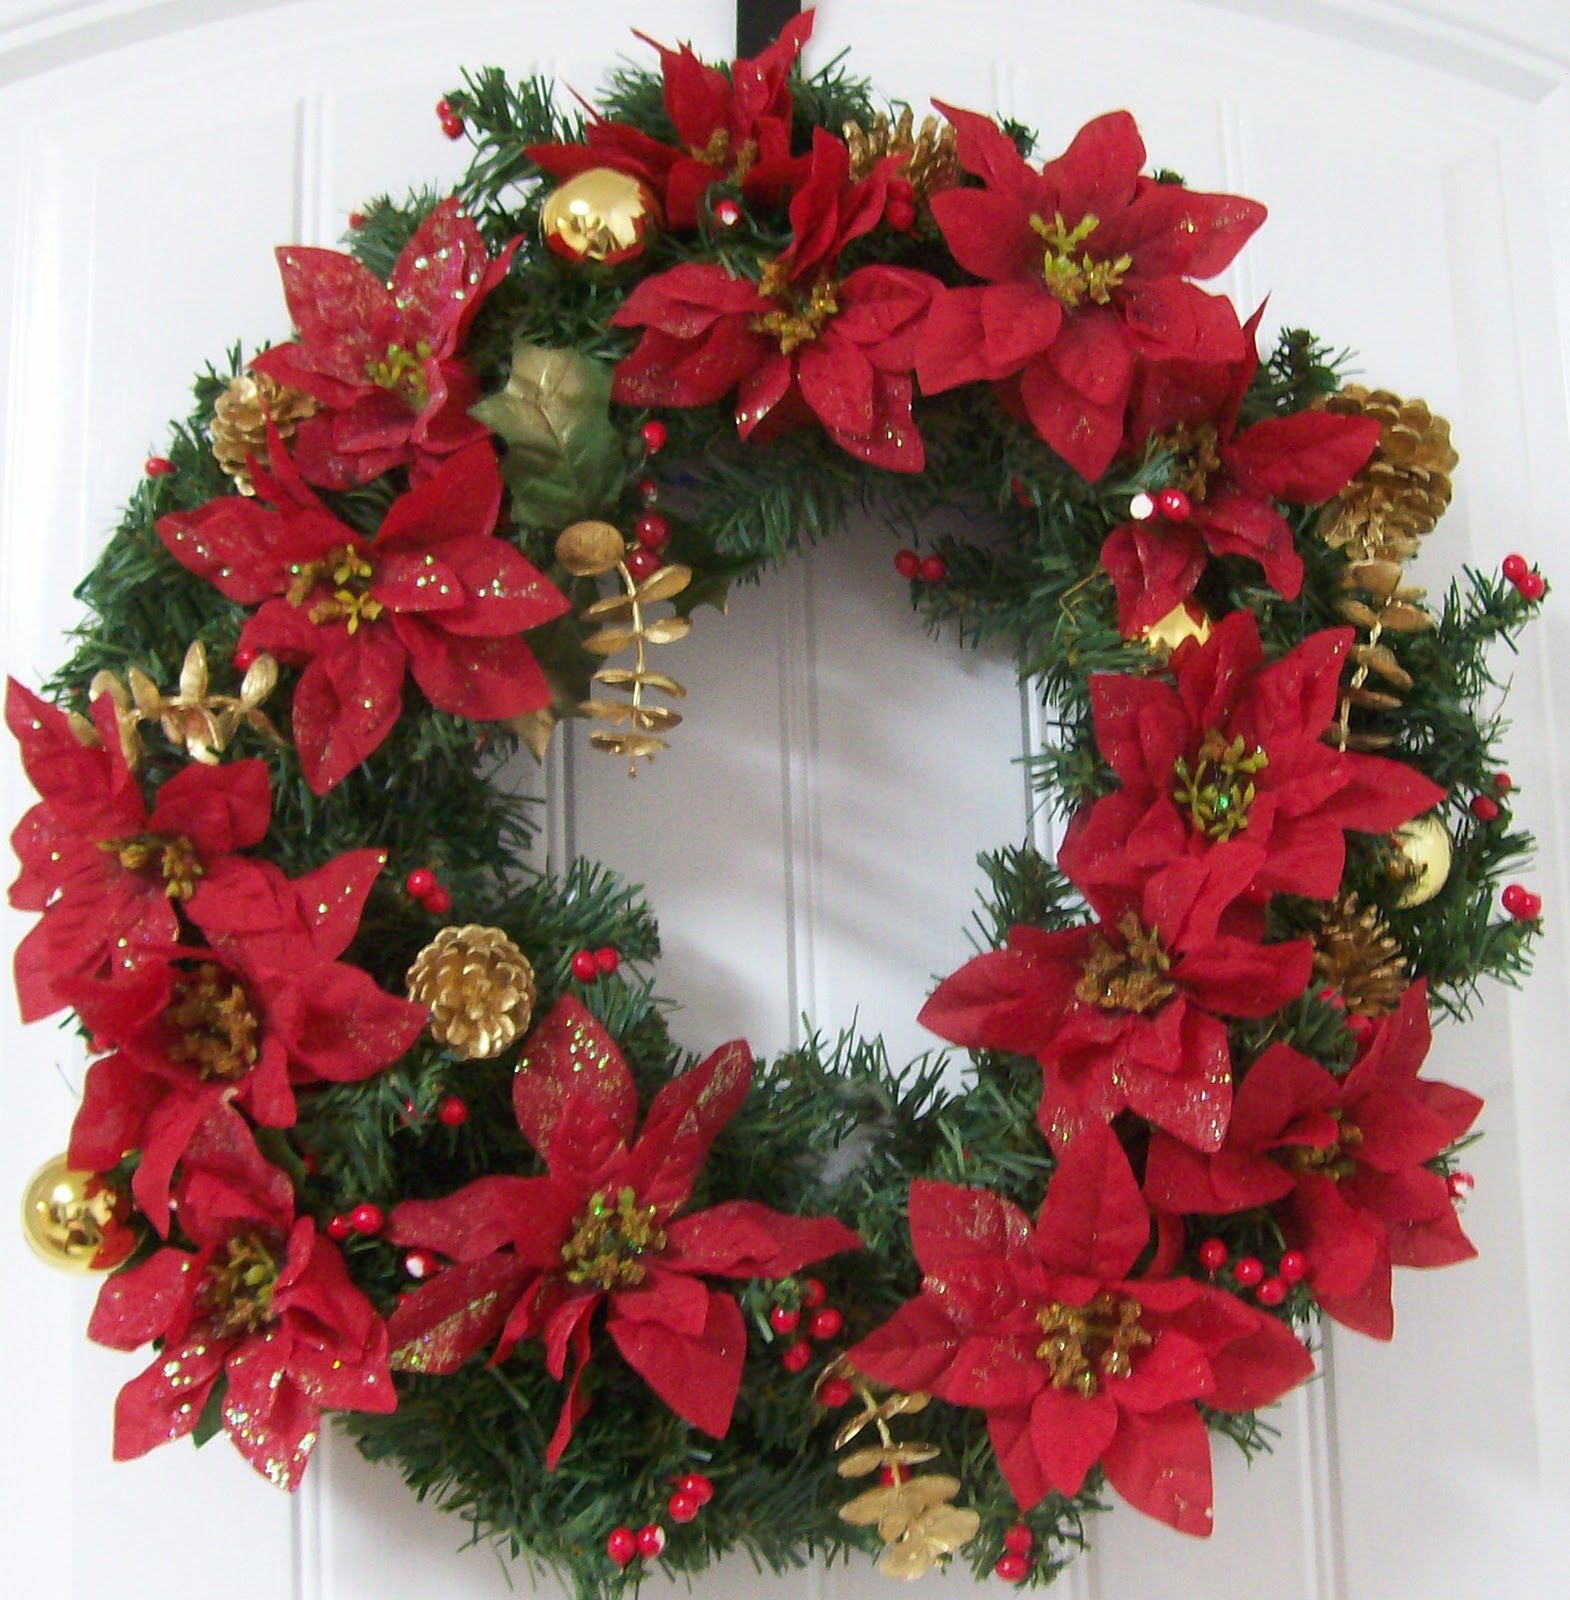
Poinsetta Wreath from Fast Daze

Photobucket

Homemade Christmas Gifts in Jars

HollyBloggyButton1

Last year when we hosted the first Holly Bloggy Christmas, I really enjoyed going through all the fun ideas linked up and featuring them on my blog for a Holly Bloggy After Party.  So I decided to keep the tradition for this year and share some of the great ideas from last week.  Today I’m presenting some really cute homemade gifts….in jars!

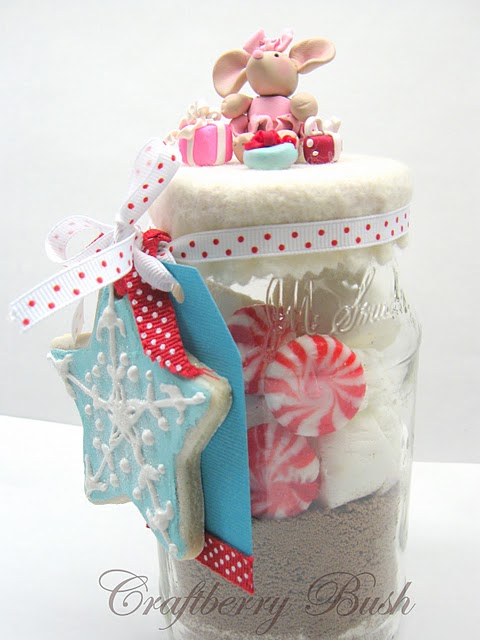
Not Just a Jar of Cocoa from Craftberry Bush

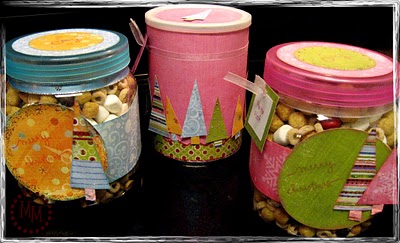
Candy Gift Containers from The Scrap Shoppe

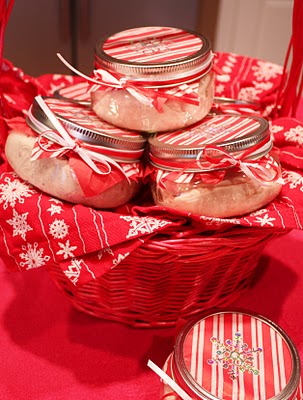
Cranberry Citrus Cream Cheese Hostess Gift from Sand & Sisal

Reindeer Food from Sweet Cheeks Tasty Treats

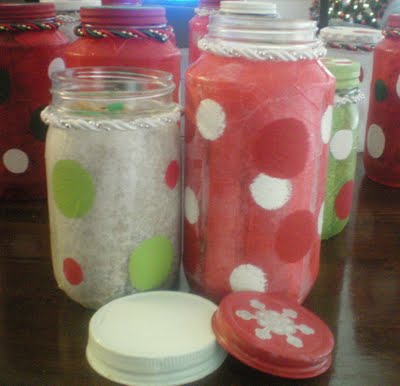
Mod Podge Jars w/ Granola from Craft-O-Maniac

Photobucket

Huggable Teddy Bear Review

Looking for the perfect teddy bear to give to your loved one this Christmas?  Huggable Teddy Bears has a wonderful assortment of bears for all occasions.  They also sell great name brand bears, as well as occupation and sports bears.

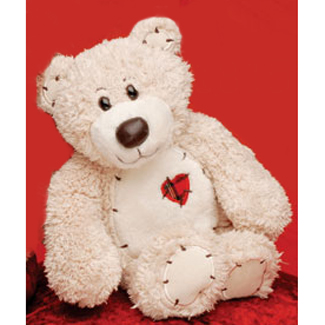
I recently got the opportunity to review a bear from the Huggable Teddy Bears site.  The bear I chose for my review is a bear named Brown Sugar by Aurora World.  I chose this bear because I absolutely love traditional brown teddy bears, and I thought this would be a great addition to my collection.  I also chose it because it’s made by Aurora World, who makes some fabulous products. 
This bear definitely did not dispapoint.  First off, he is simply beautiful, and I was very impressed by his bright, rich colors.  He definitely lives up to the name Brown Sugar.  He’s also very well made, and he features some high quality materials that not only look good but also make him feel soft, cuddly, and furry.  And like the classic teddy bears that I love he has a beautiful matching ribbon tied around his neck.  And he has an adorably sweet face.
The Brown Sugar bear also come in a great size, measuring about 16 inches tall, which makes it a great bear to set out somewhere in your home or a great toy for all ages. And he’s also available in a 24 inch size if you wanted something bigger.
Obviously I love this bear!  And I think he would make a fabulous gift!
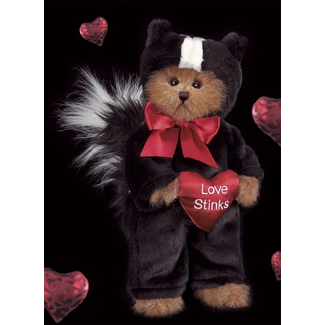
As we go into the New Year and start shopping for Valentine’s Gifts, the Huggable Teddy Bear site would also be a great place to shop.  They have a lovely line of Valentine bears, including this really cute Love Stinks Bear.

Check out Huggable Teddy Bears to see more adorable gift ideas.

Photobucket

Disclosure:  I received a free bear from Huggable Teddy Bears for this review. The opinions expressed in this post are my own.

Friday Favorites

Photobucket

I just wanted to remind everyone who may come by today that I’m not a hosting a Friday Favorites Party this week!  Instead I invite you to link up to my Christmas Recipe Party.  The party will be open through the 22nd, and when you link up you’ll qualify for some great prizes!  Old and new posts are welcome, so get to linking up!
As for Friday Favorites, it will return next week, and I’ll be featuring some of the posts that were linked up here last week at that time.  Since it will be Christmas Eve, I don’t expect to get too many visitors, but I don’t want to skip 2 weeks in a row, so it will be here for anyone who wants to come by. 
Also, just as a heads up to everyone who was sweet enough to stop by today, I’ve got a really awesome Christmas giveaway coming next week!  It should be up on Monday or Tuesday if everything goes according to plan! And you’ll have a chance to win some great Baking Supplies for your kitchen worth over $100! Very exciting! 
Hope you have a lovely weekend!

Photobucket

I’m Loving Christmas Projects! {Last Day of Holly Bloggy}

HollyBloggyButton1
 

Hey guys! If you came by today expecting to see my usual Friday Favorites Party, you won’t find it.  But it will be back next week!  Till then I invite you to link up a recipe to the Christmas Recipe Party that I hosted on Thursday for the Holly Bloggy.  (If you link up, there are some super prizes involved!)
And you can also link up your posts to the final Holly Bloggy Christmas party!  Today we are joining Cheryl at Tidy Mom for a Christmas edition of her I’m Lovin’ It Event.  At this party you can pretty much link up any kind of Christmas-related post you like.  Plus, there’s three more great giveaways, including a set of items from my very own etsy shop!
By the way, I’ve put up a special coupon code in my shop today in honor of the Holly Bloggy.  The code will be up through the weekend, and it will get you 15% off your order at my shop, Simply Sweet Creations.  Just use the code HOLLYBLOGGY15 at checkout!

Now for my post! I already bombarded my blog with posts this week, but I wanted to be sure and do a unique post for each party, so for my I’m Lovin’ It post, I’ve decided to link back to my other posts from this week and some other Christmas posts of mine, just in case you missed it!

For the Recipe Party I shared 3 of my favorite holiday treats.

I divided my home tour into 2 posts this year, one post for the Living Room Tour
And one post for the Kitchen Tour

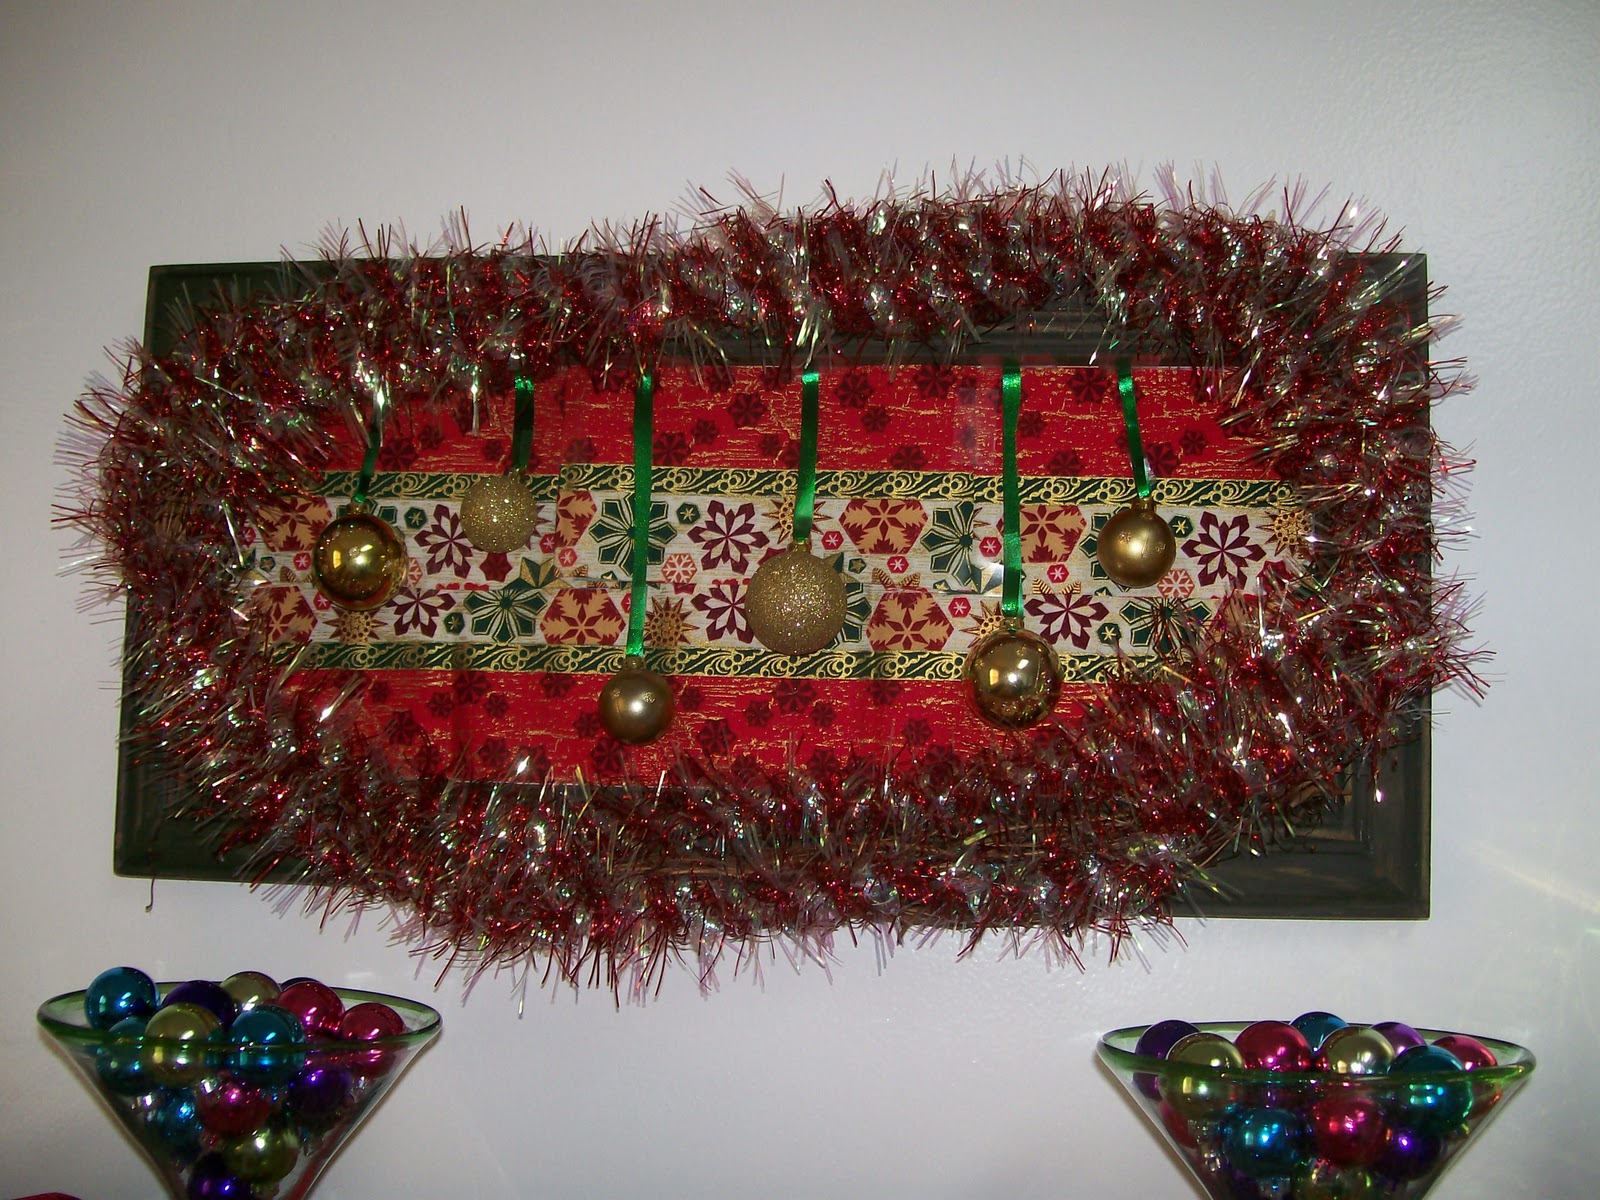
For the craft party on Tuesday, I shared a tutorial for this very easy and inexpensive Christmas Wall Art that I made.

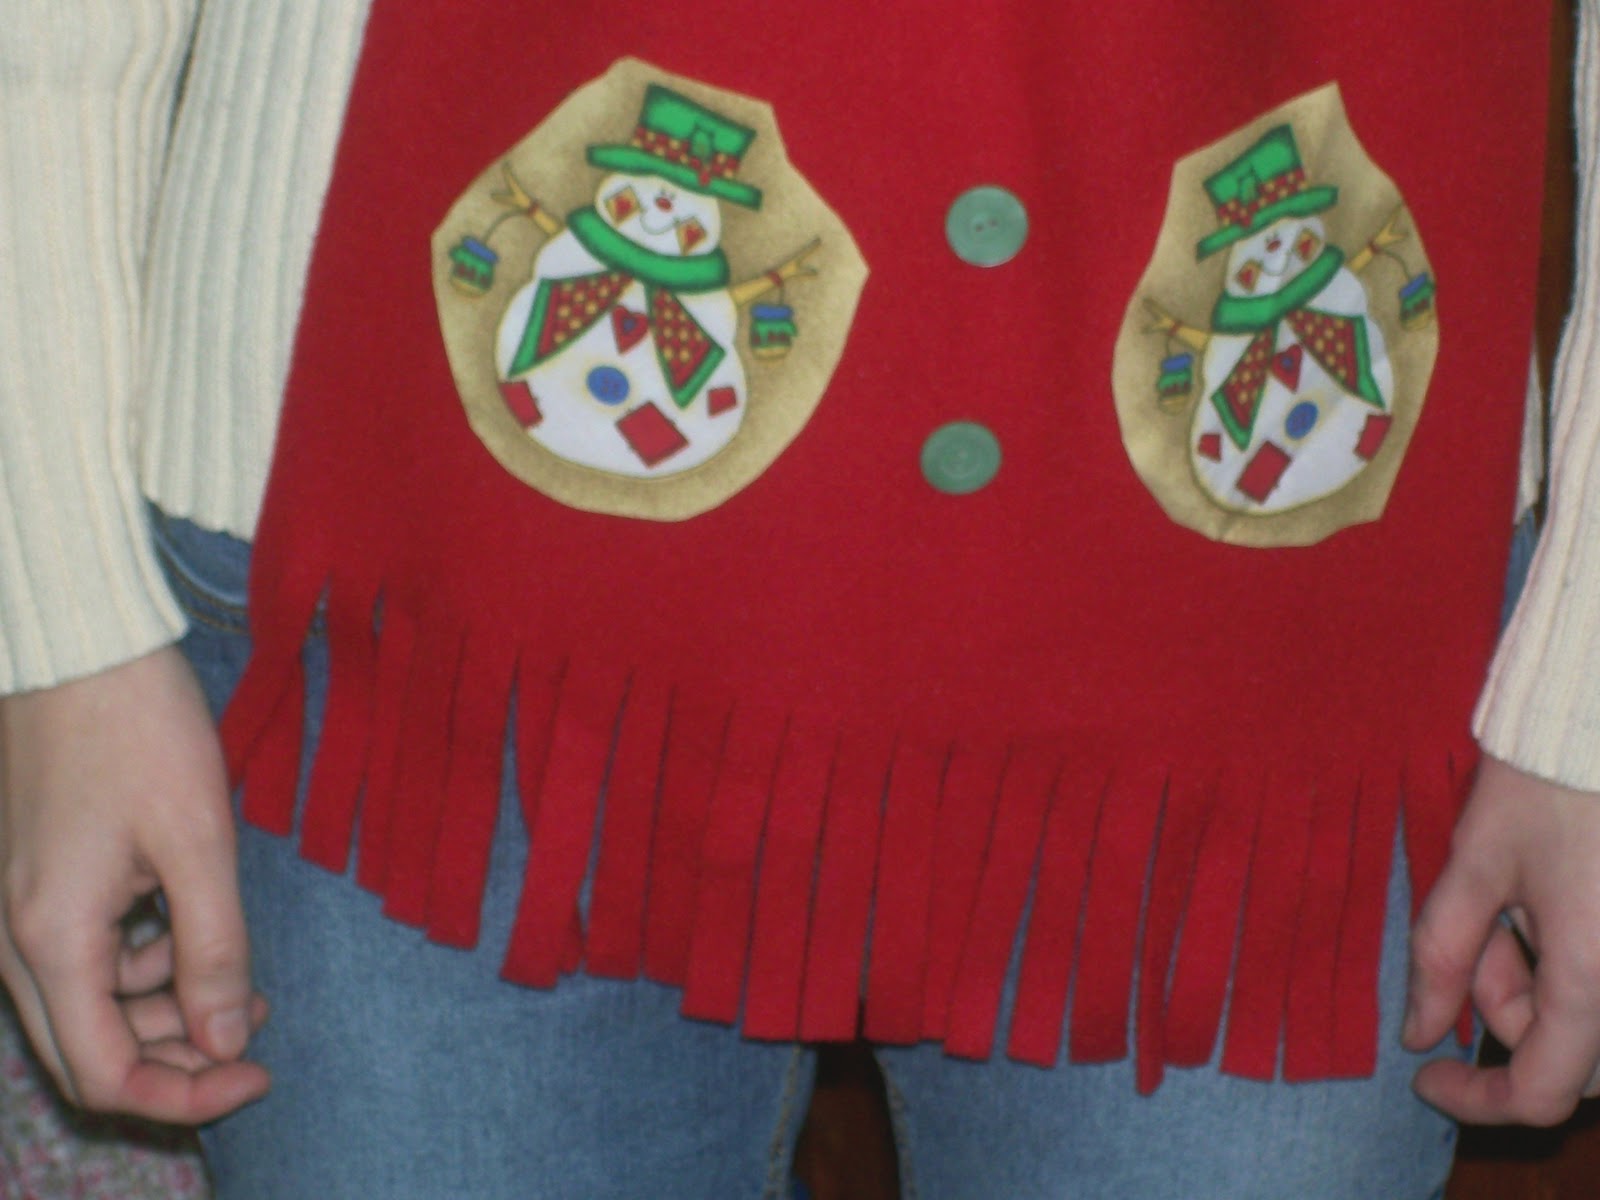
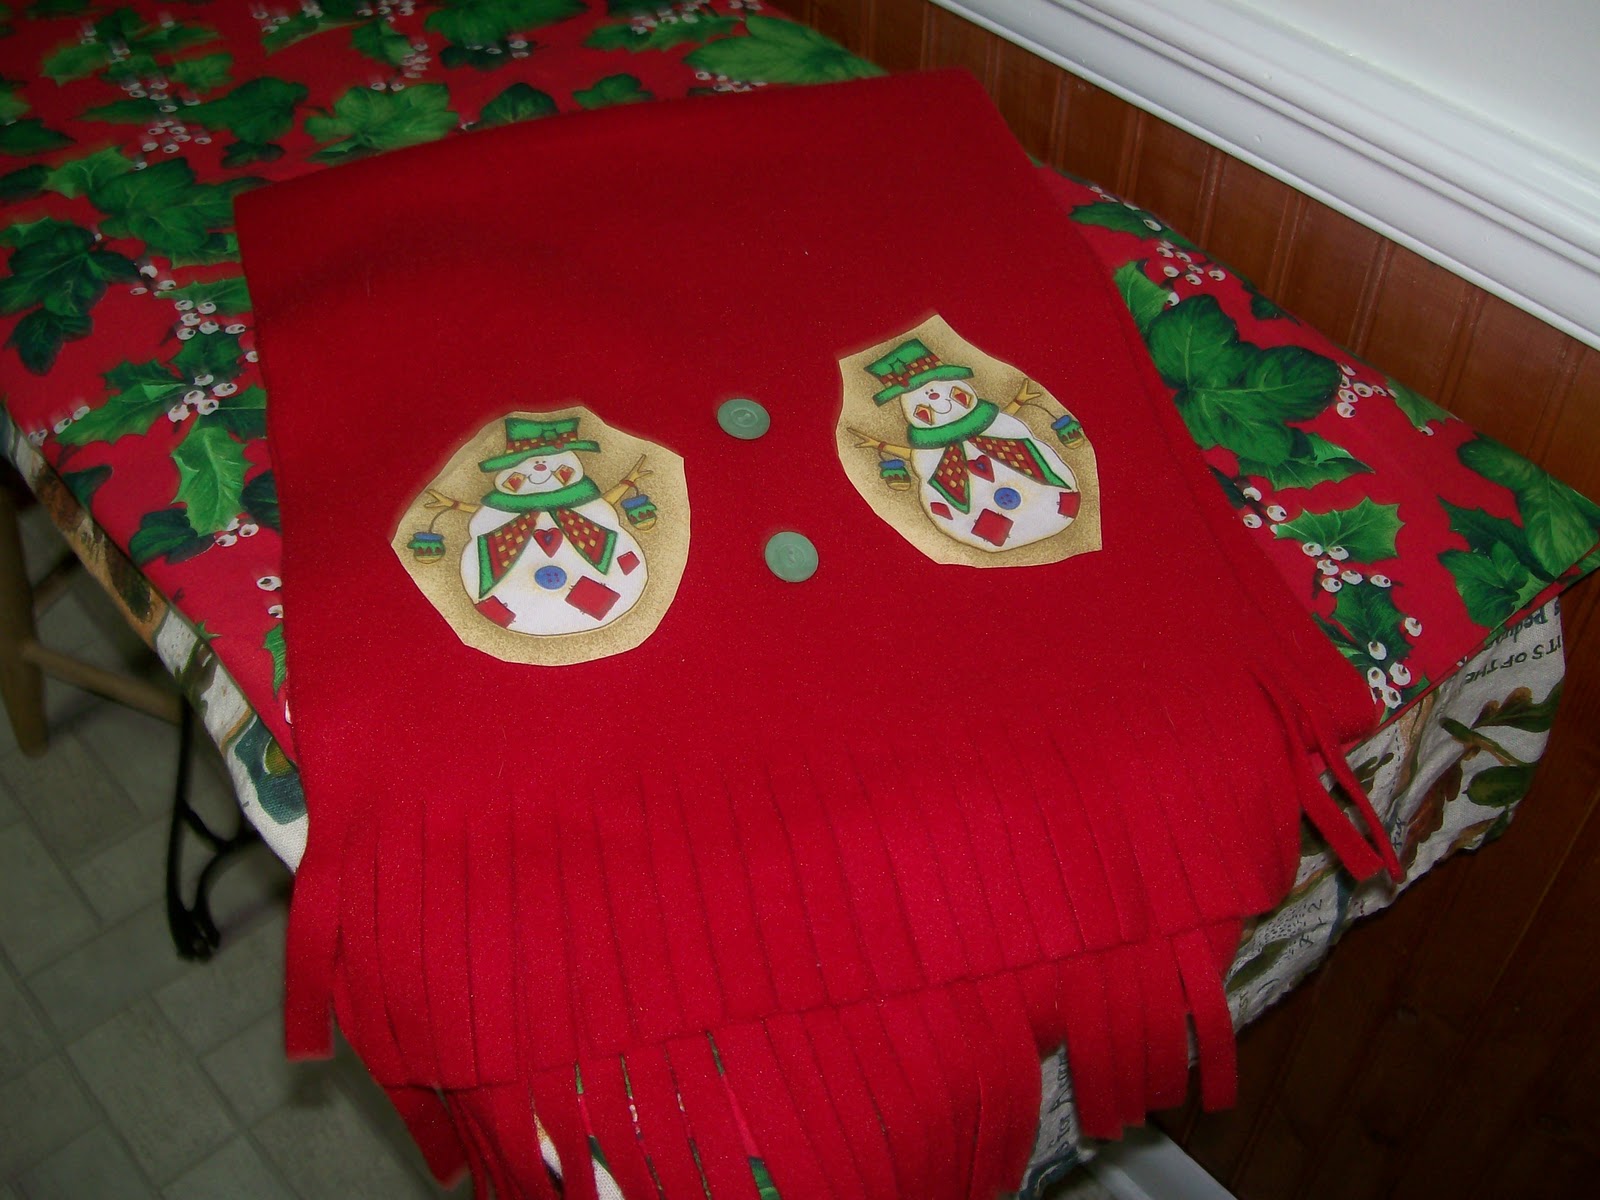
For the homemade gift party I showed how to make an easy no-sew Christmas Scarf.

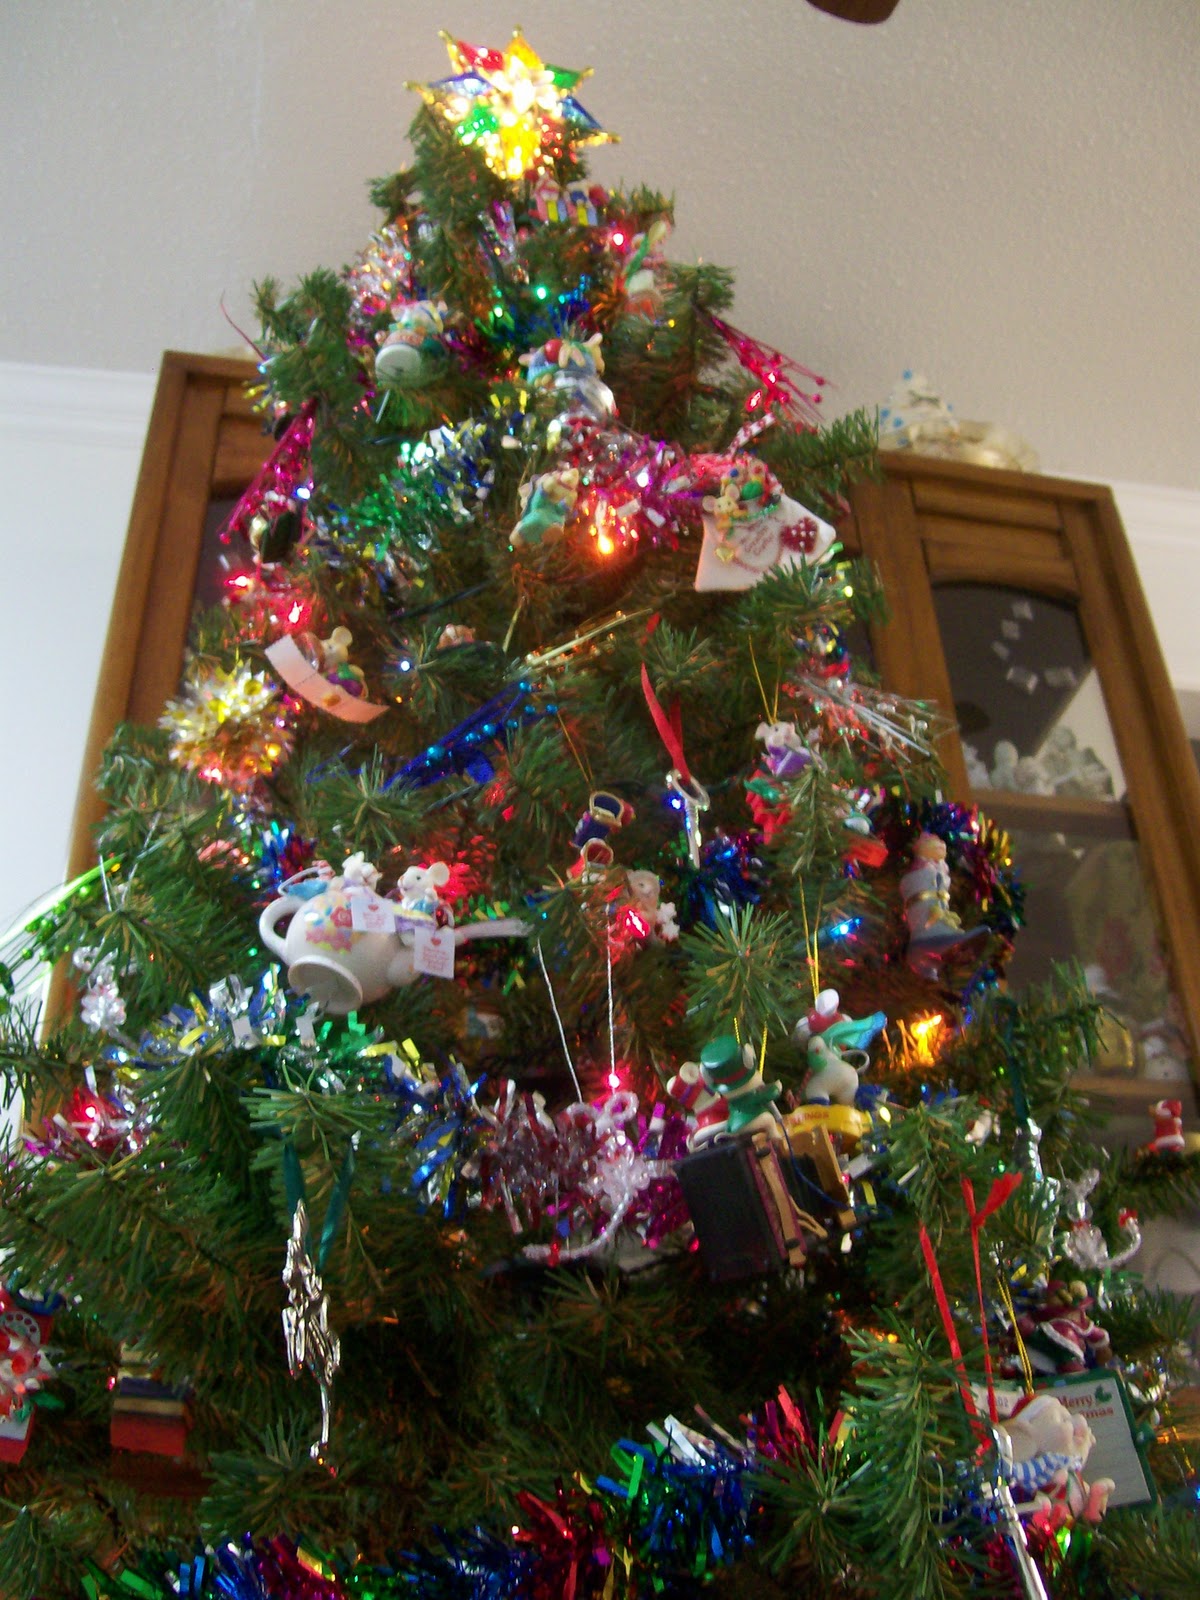
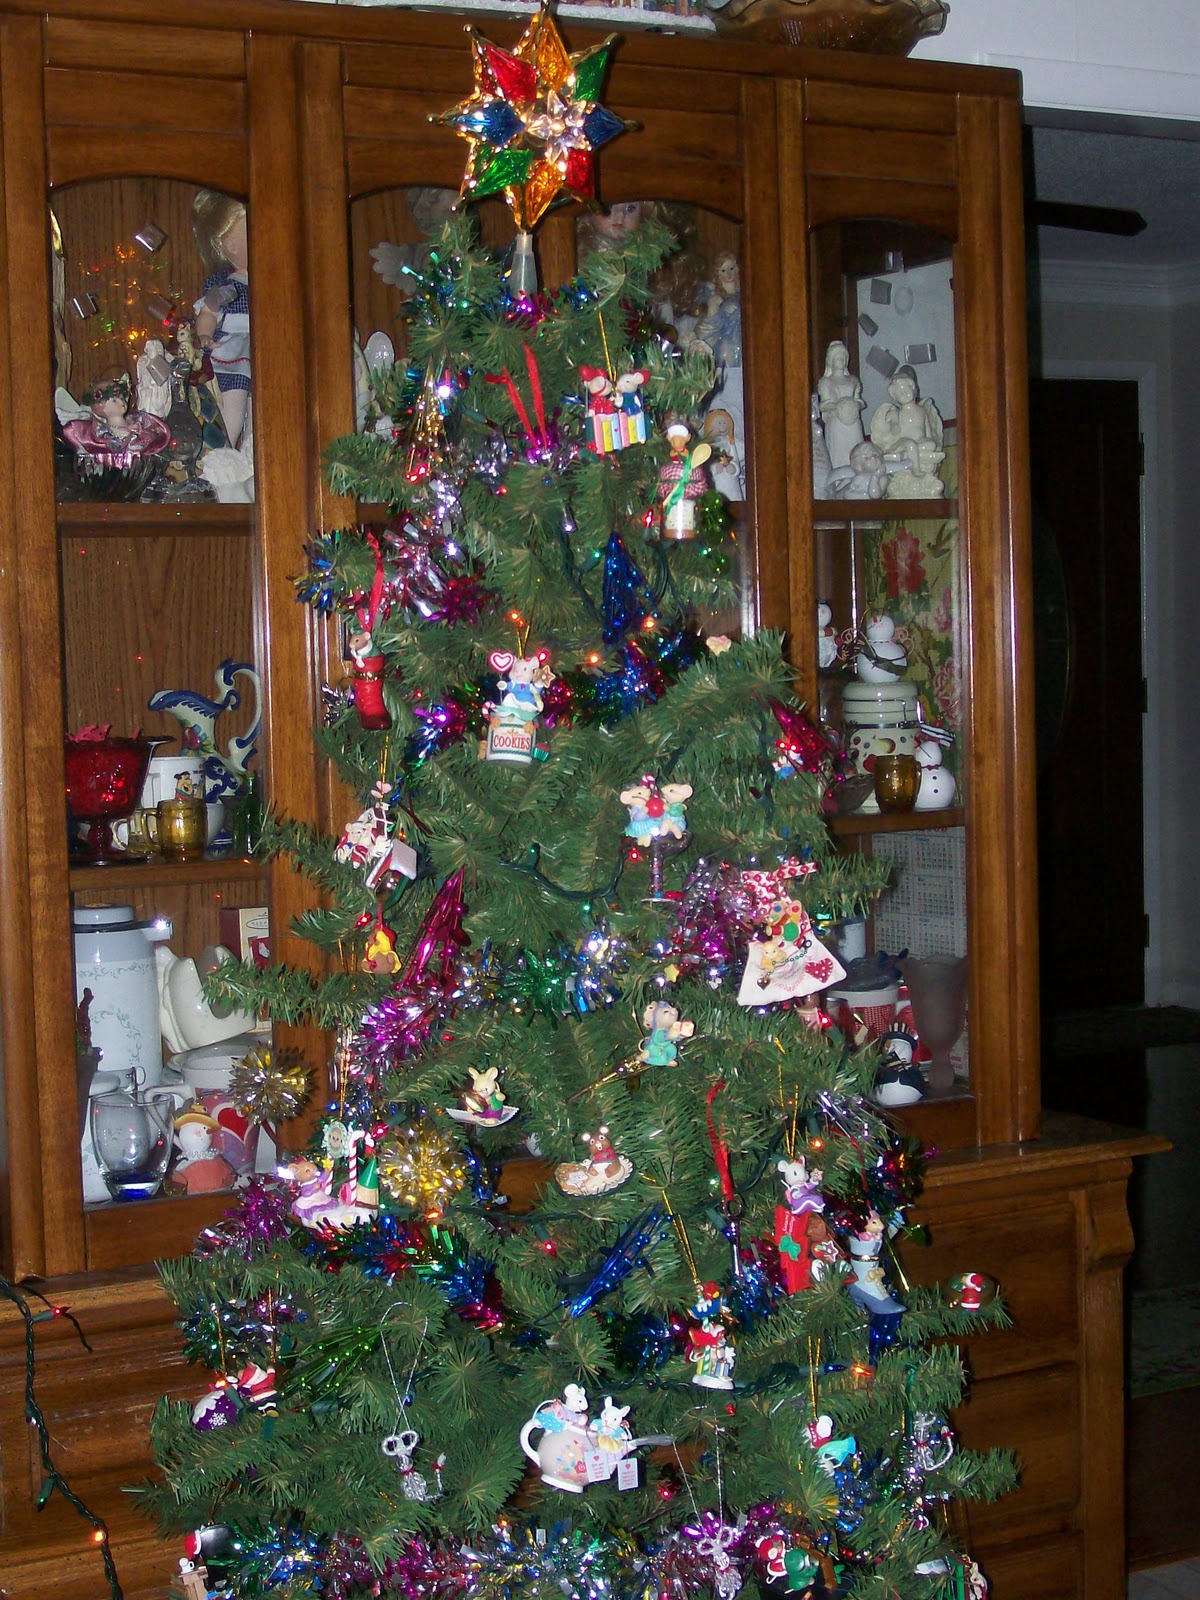
Last week I shared my Mouse Tree, highlighting some of my favorite ornaments! 

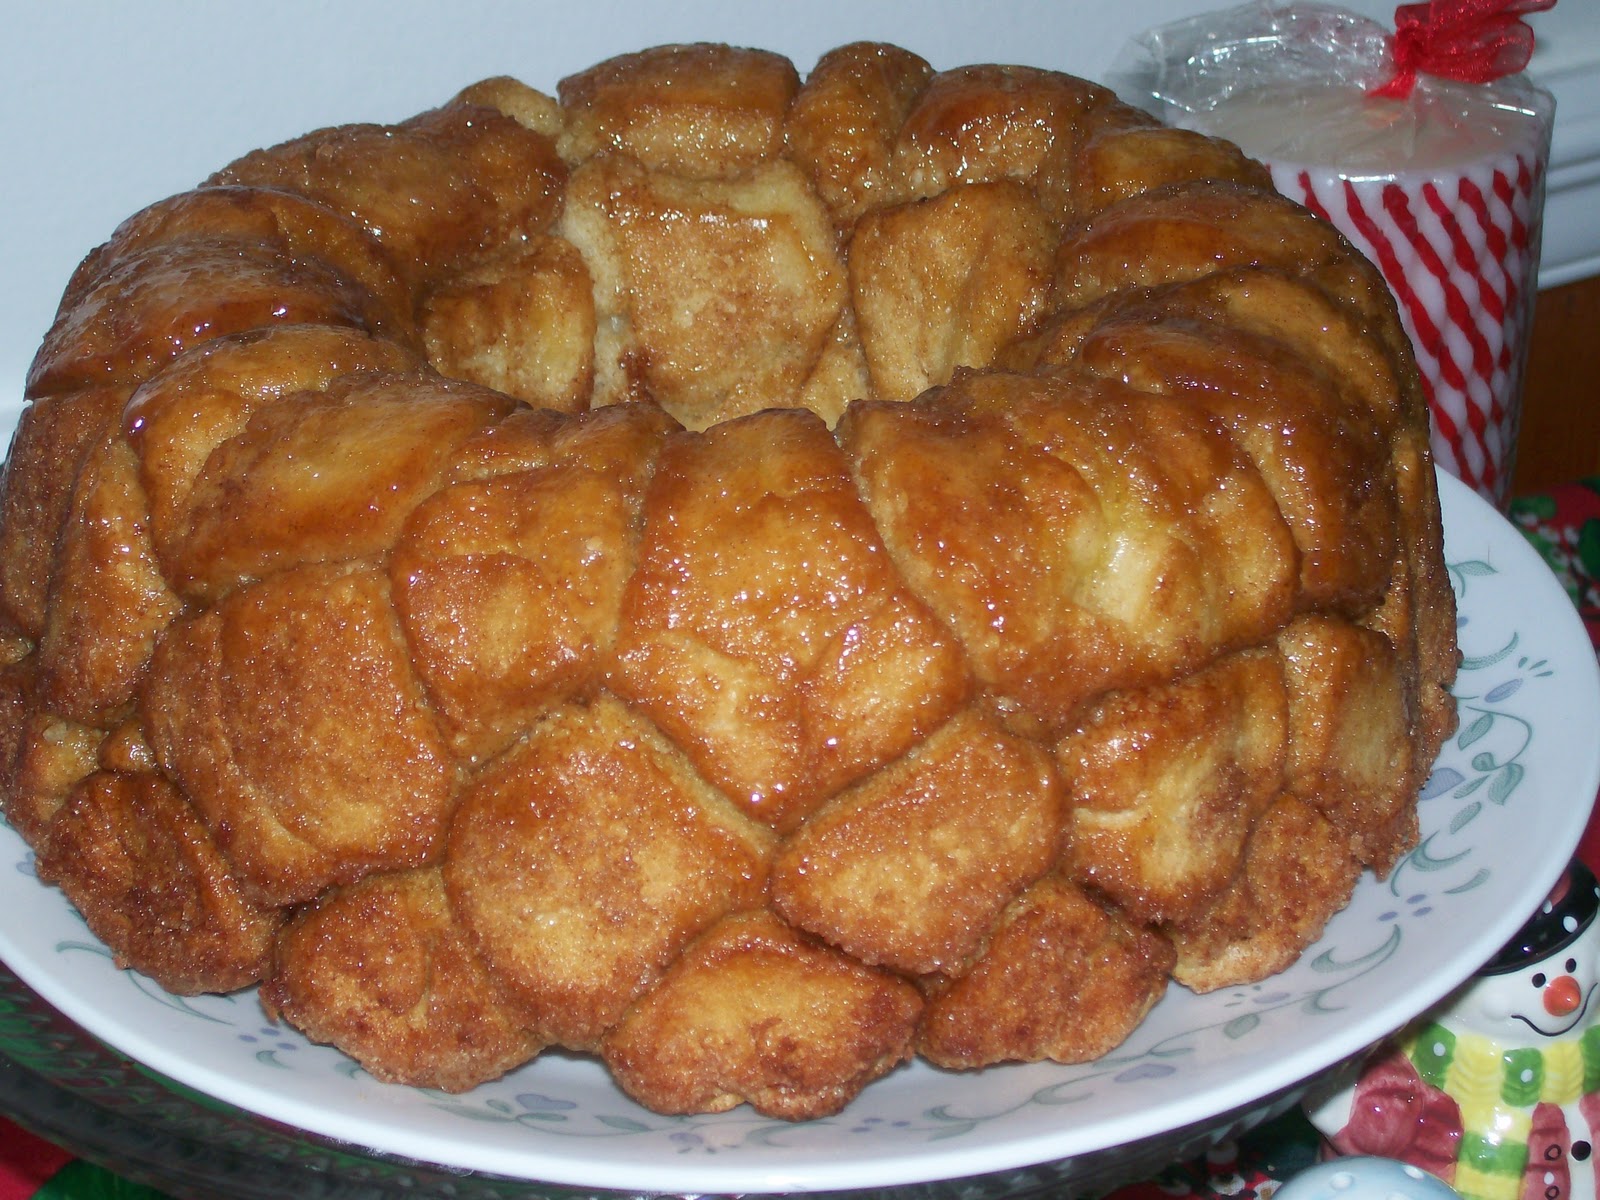
I shared a fun, new way to make Monkey Bread for your holiday breakfasts and brunches!

What’s the Christmas Season without at least one Christmas Wreath post?
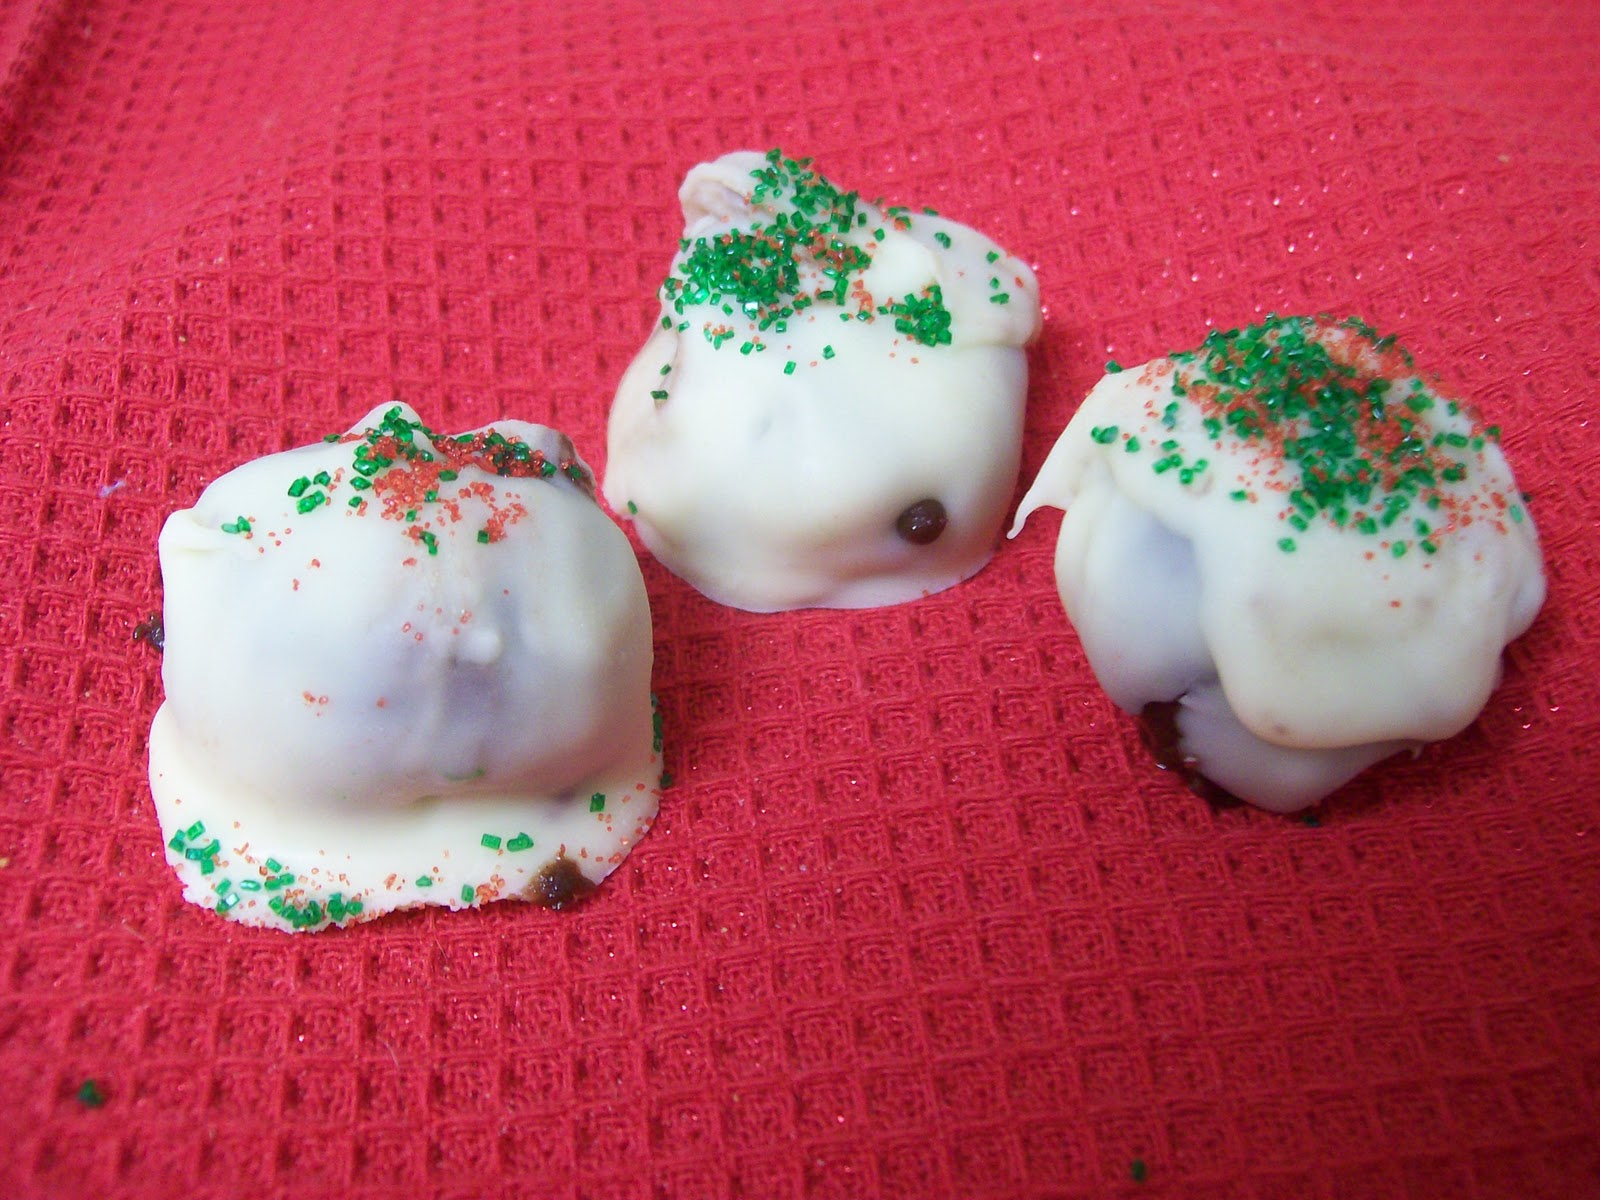
And of course, I shared this yummy (and easy) recipe that I invented for Chocolate Truffles.

Photobucket

Holly Bloggy Christmas Recipe Party

Thursday is Day 4 of Holly Bloggy Christmas, which means it’s time to share our Christmas Recipes! For me, one of the best things about the Christmas season is the food!  I always enjoy munching on my traditional favorites and finding new favorites as well!

For the last few years I’ve been making Christmas candy boxes for neighbors and close family members.  For my gift boxes, I always try to include 3 or 4 different things.  I always include my absolute favorite Chess Bars, and then I try to do some type of candy ball or cluster, and then some kind of cookie. 

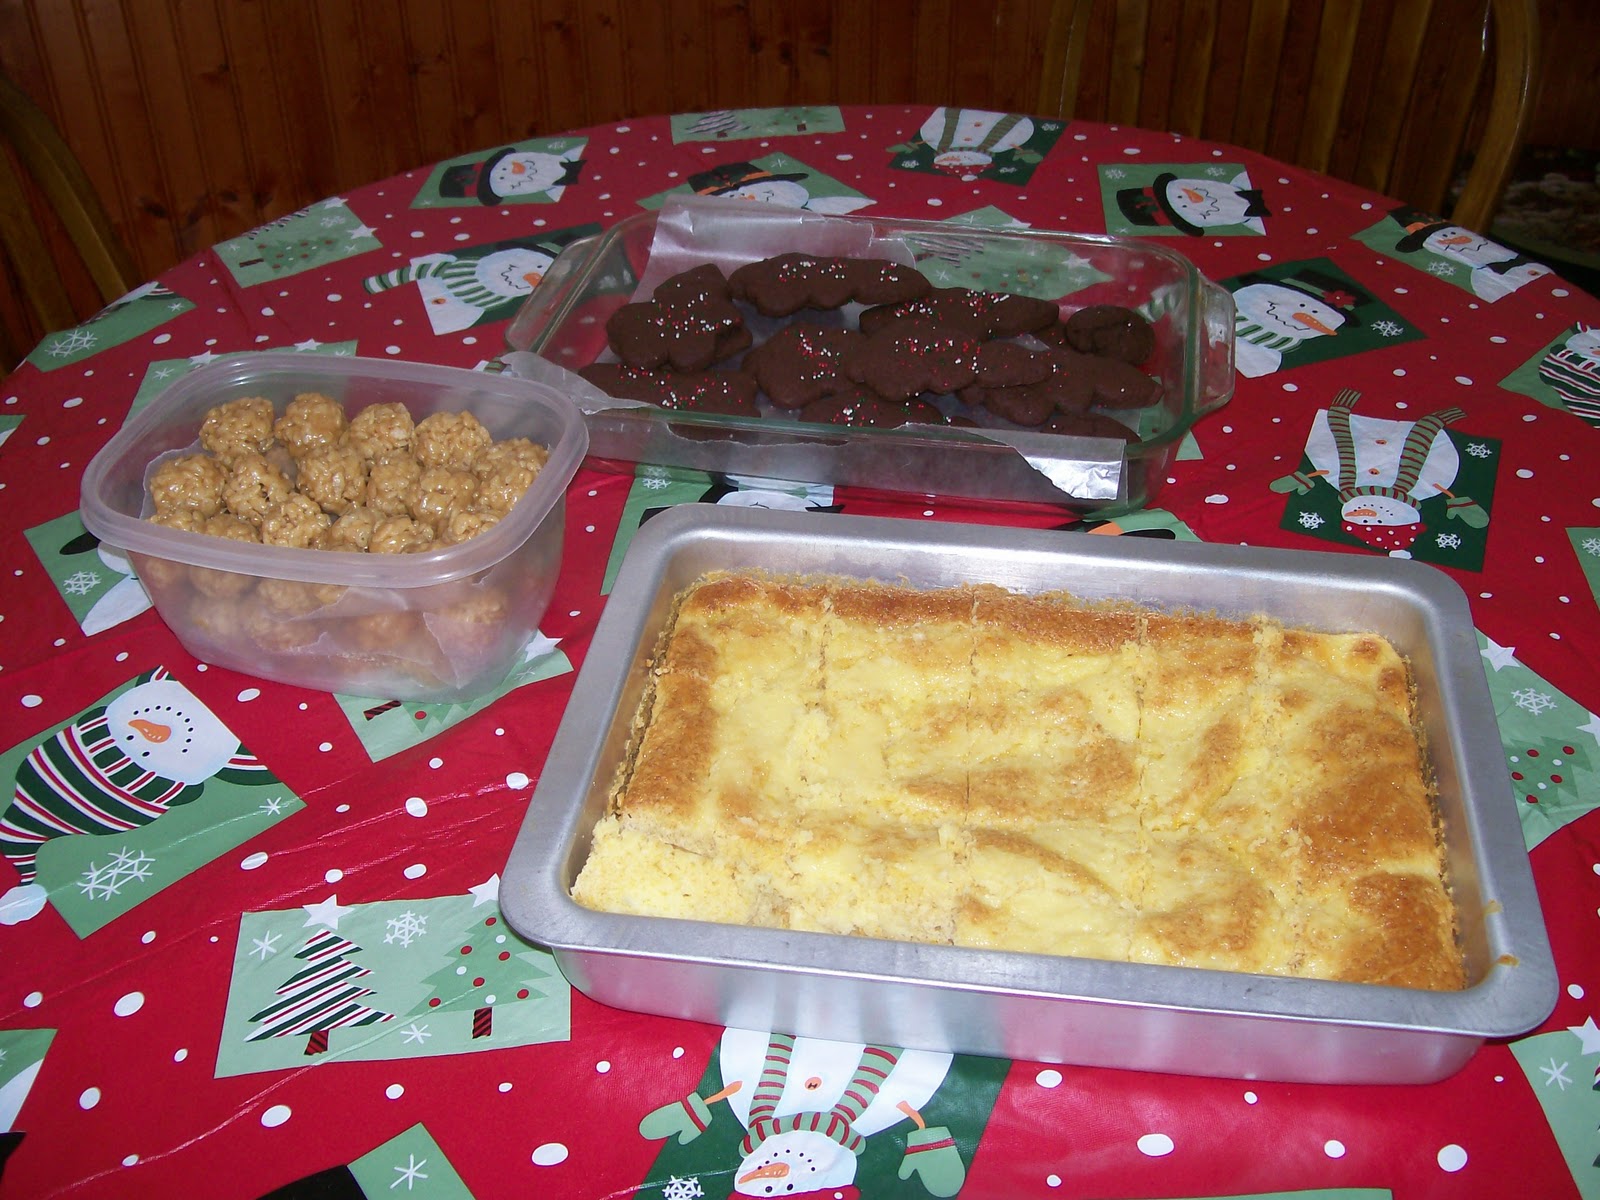
Today I’ll be sharing recipes for the 3 treats that I gave away last year: Devil’s Food Cookies, Chess Bars, and Peanut Butter Krispy Balls. Hope you enjoy them!

Recipe for Devil’s Food Cookies:

Ingredients:
1 Devil’s Food Cake Mix
1/3 cup water
1/3 cup oil
1 egg
candy sprinkles (optional)

Directions: Mix eggs, water, oil, and cake mix. Refrigerate dough for a few minutes to prevent it from sticking to your hands.  Roll into balls or cut with cookie cutter and place on greased cookie sheet or cookie a sheet lined with parchment paper. Place about 2 inches apart. Bake at 350 degrees for about 15 minutes. (Makes 2 dozen round cookies)

Recipe for Chess Cake:

Ingredients:
For Cake:
1 box yellow cake mix
2 eggs
1 stick margarine (softened or melted)

For Icing:
8 oz cream cheese
1 stick margarine (softened or melted)
2 eggs
1 box powdered sugar

Directions:  For cake – Mix together the cake mix, eggs, and margarine. Press into a 9×13 inch pan. For icing, cream together cream cheese, margarine, eggs, and sugar. Pour over cake mixture. Bake at 350 degrees for 45 minutes. (It should come out lightly browned and gooey.) Cut into squares and enjoy!

Recipe for Peanut Butter Crispy Balls:

Ingredients:
1 cup Light Karo syrup
1 1/2 cups White sugar
1 1/2 cups Peanut butter
5 cups cereal (Original recipe calls for Special K cereal, but I used a combination of Rice Krispies and Corn Flakes.)

Directions: Bring Karo syrup and sugar to a boil. Remove from heat and stir in peanut butter until dissolved. Slowly mix in cereal. Drop by rounded teaspoon onto waxed paper. Then mold into balls.
Tip – You can also spoon the mixture into a 9×13 dish if you prefer to serve these as bars.

And if you’d like to know what’s going in the boxes this year, check these out!

Easy Chocolate Truffles

Place these treats in cute box or bag, and you’ve got a yummy Christmas gift!

HOLLY BLOGGY GIVEAWAYS!
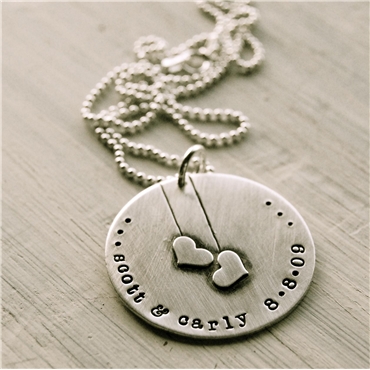
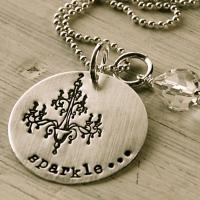
Lisa Leonard is known throughout the blogosphere for her beautiful, one-of-kind jewelry. You can choose something cute that fits your style from her inspired necklaces. Or you can create a custom piece of jewelry! Each piece is hand-cut, hammered, antiqued and is polished sterling silver. Beautiful!
Connect with Lisa Leonard on Facebook and Twitter.
Prize: $50 gift certificate

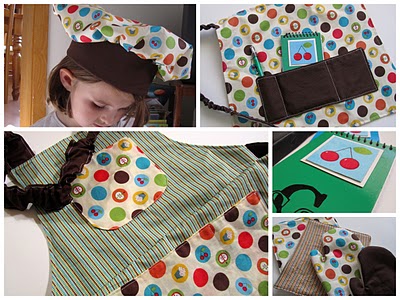
Twelve Crafts offers cute jewelry, flower pins, sachet pillows, and other fun gifts and accessories.  They come in bold, beautiful colors and designs that you just have to see! The owner of this shop, Elizabeth, also has a great blog where she shares her latest projects and tutorials.
Connect Twelve Crafts on Facebook and Twitter.
Prize:  Pretend and Play Chef Set
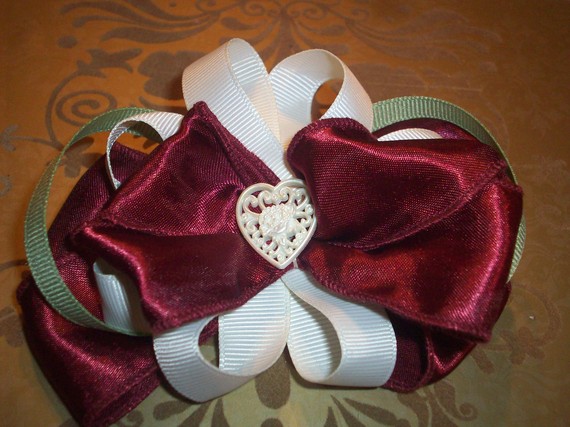
Another cute etsy boutique!  If you like bows, you should definitely visit this shop.  Hope Abound offers lovely accessories from bows and clippies to brooches and pins.  These come in a variety of styles, colors, and materials, so you’re sure to find something you like! 
Connect with Hope Abound Facebook and Twitter
Prize: A Set Christmas Bows
How To Enter:
Bloggers: If you link up a project, you will automatically be entered for all the giveaways.  (For an additional entry, you may leave a comment saying that you linked up.)
Non-bloggers: If you DO NOT have a blog, you may still enter. Just visit one of the sponsors and leave a comment telling me something you like.
Additional Entries:
1 entry for EACH sponsor you follow on Facebook or Twitter. (Links provided above)
1 entry if you subscribe to my blog by email.
1 entry if you follow my blog.
1 entry if you follow SimplySweetHome on twitter.
1 entry if you like Simply Sweet Home on facebook.


HollyBloggyButton1

Linky Party! I can’t wait to see what kind of goodies your cooking up this holiday season! Please link up the url to your Christmas Recipes below! The linky and giveaway will be open for entries through December 22. And winners will be announced the week after Christmas.
Photobucket

Christmas Kitchen Tour {Holly Bloggy Decor Party}

Here’s the continuation of my home tour for the Decor Party at Shabby Chic Cottage

By the way, don’t forget to stop back by my blog tomorrow for a Christmas Recipe Party!

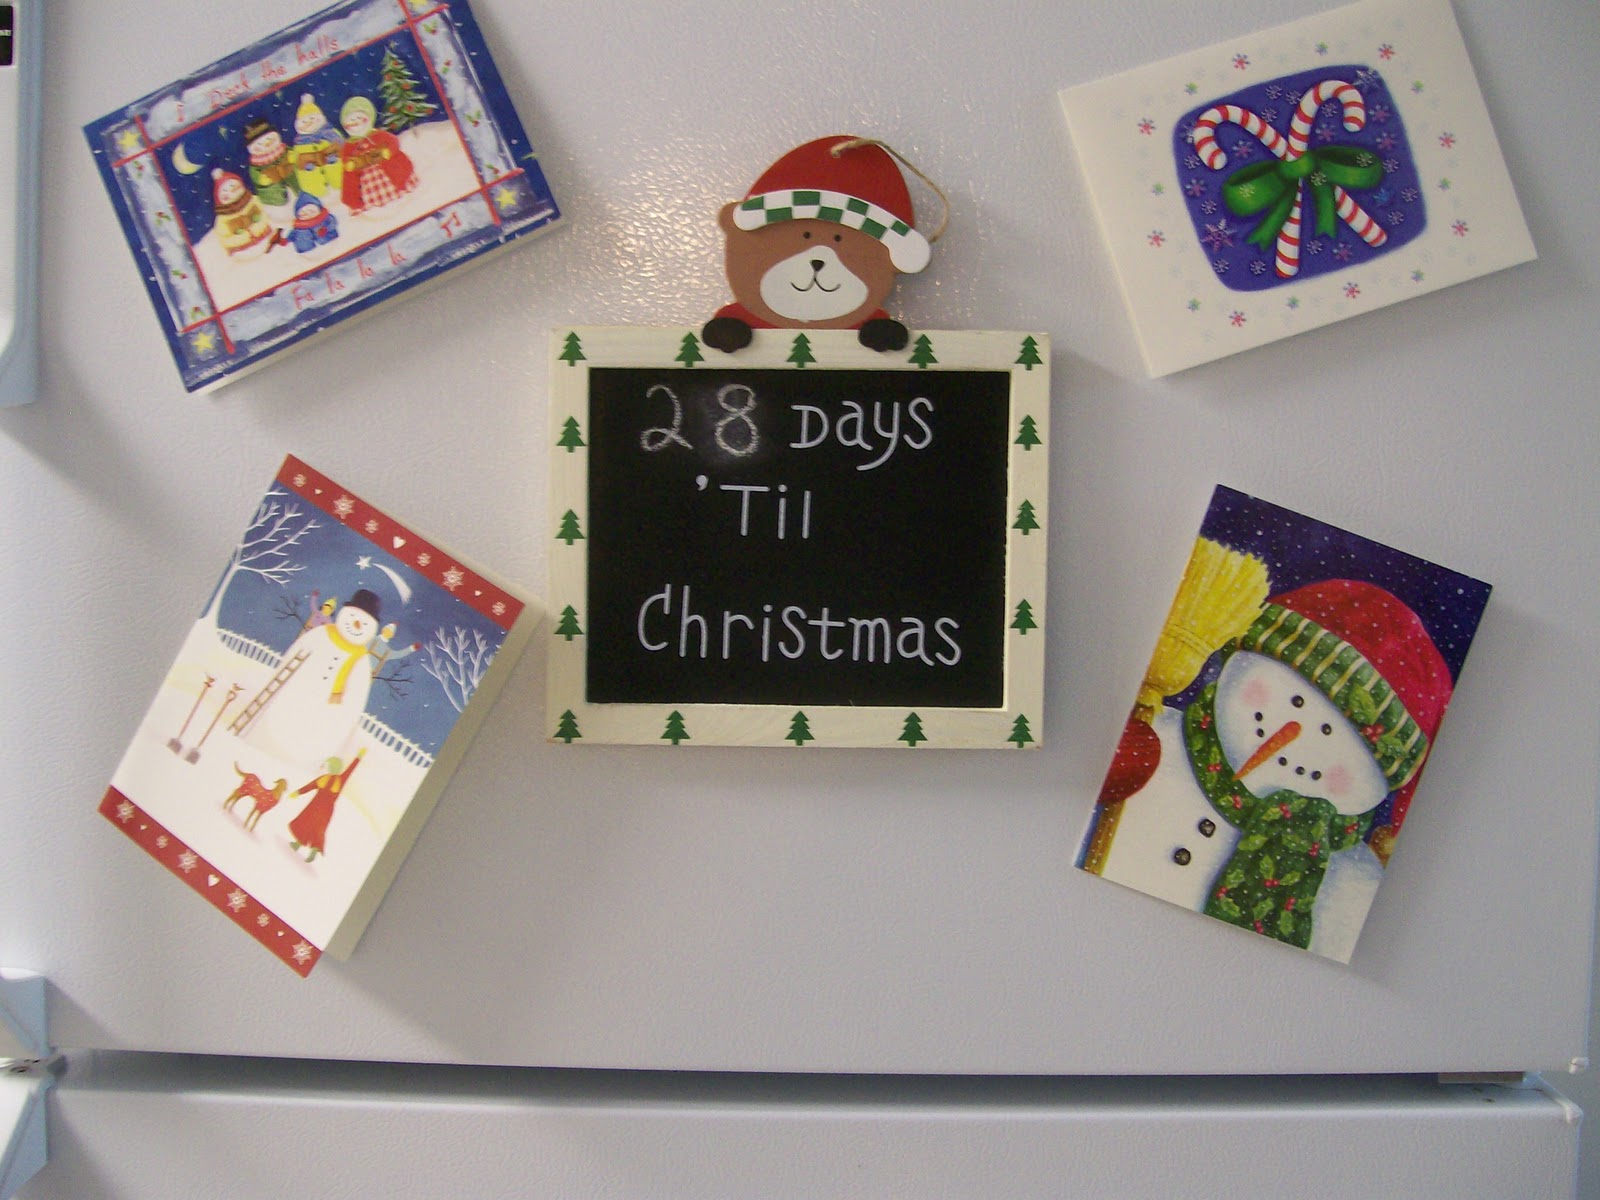
For this part of the tour, we start with the fridge, which is topped off by my little kitchen tree. Last year it seemed to be everyone’s favorite thing in my home tour (and my fave too), so it makes a return this year!

I added some cards to the fridge just to give it some color.  And I bought the Christmas Countdown Sign at the Dollar Tree last year for 50% off.  I added some magnets with a little hot glue, and it was perfect for the fridge.

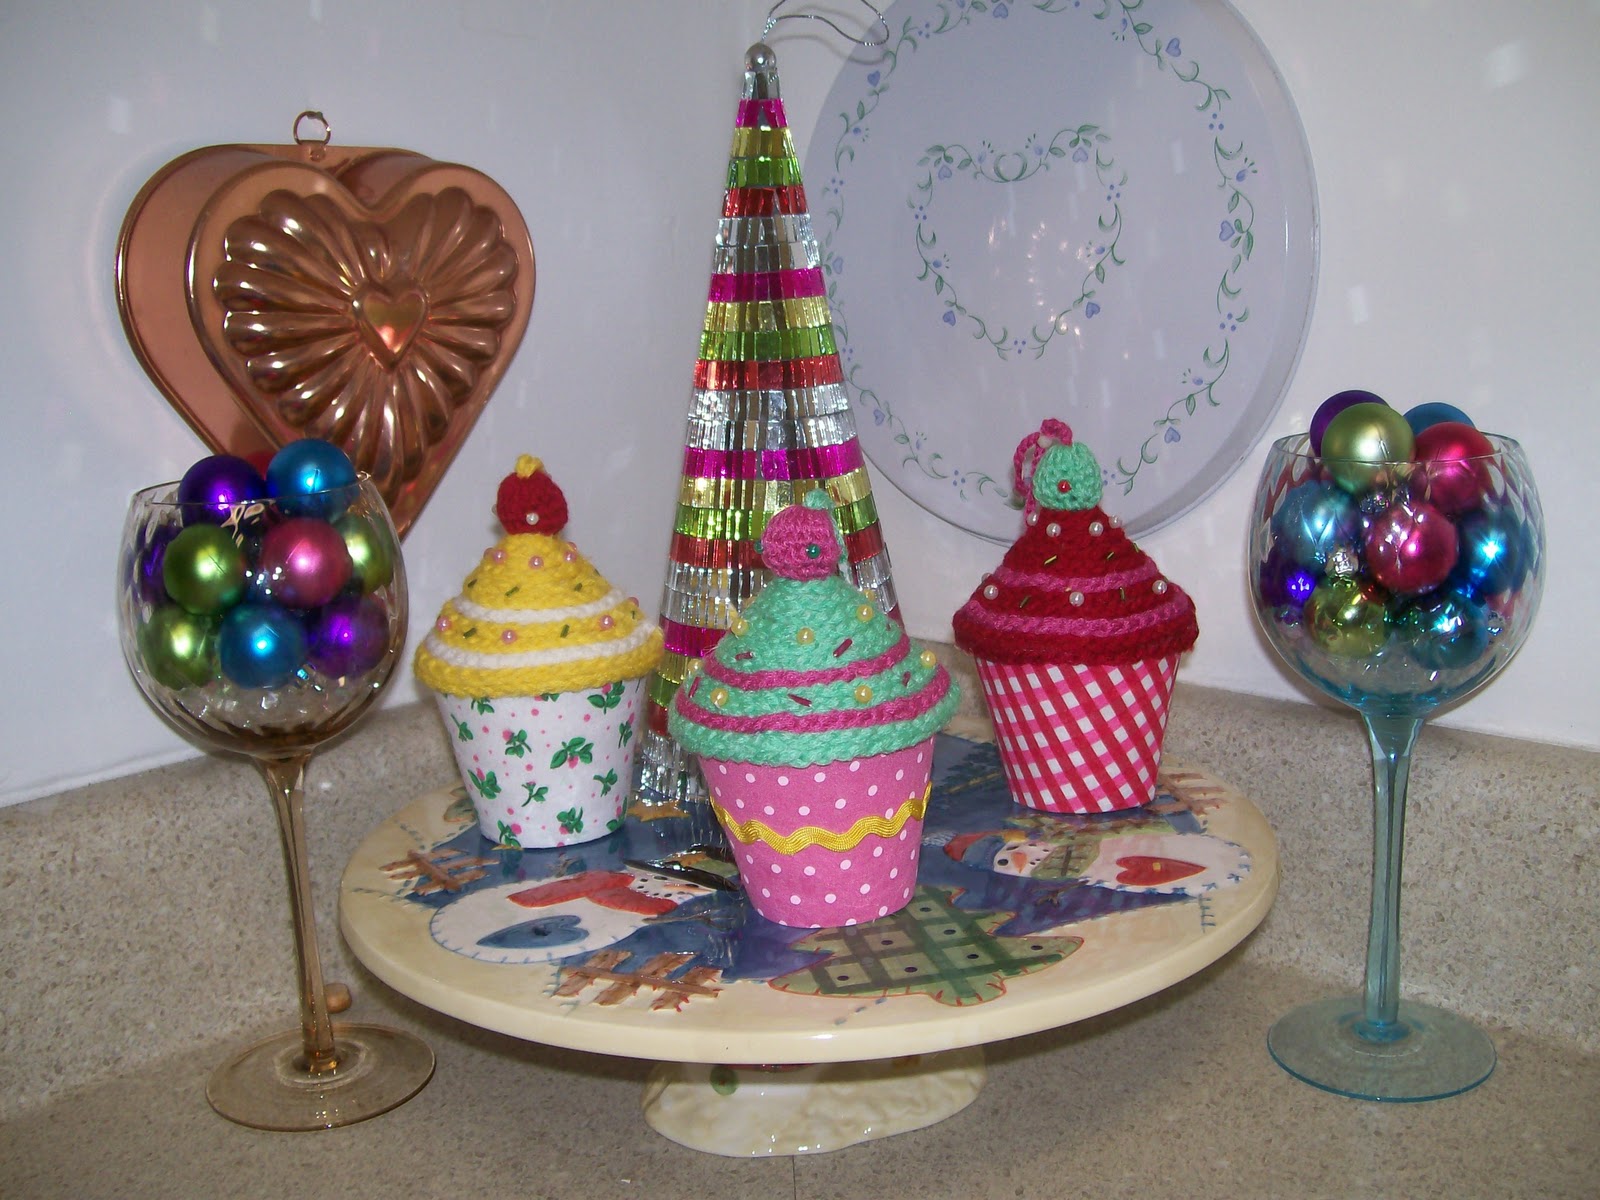
This is one of my favorite displays for this year.  I had the cake place and the balls in cups last year.  Then I got the rainbow at the Dollar Tree (again for 50% off).  I had no idea what I’d do with the rainbow tree, until I found these adorable cupcake ornaments at K-Mart a couple of weeks ago.
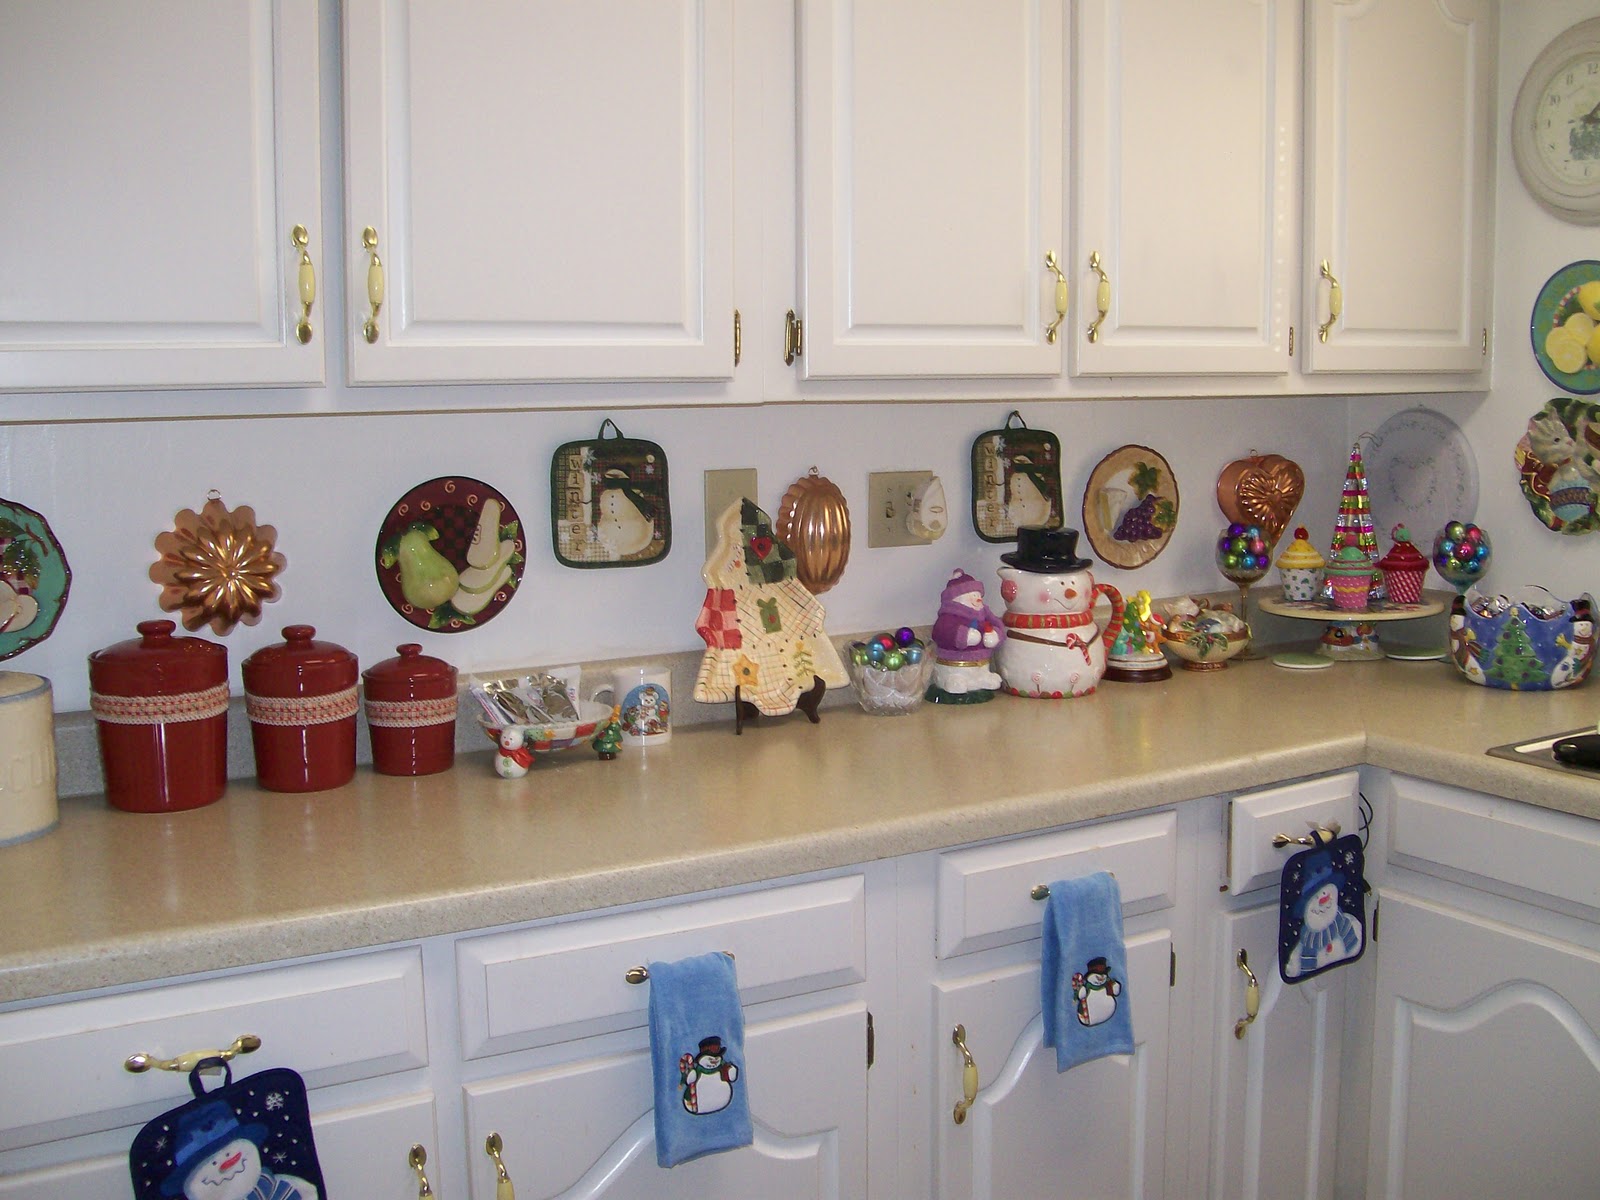
 I used this rainbow garland above all the cabinets in the kitchen.

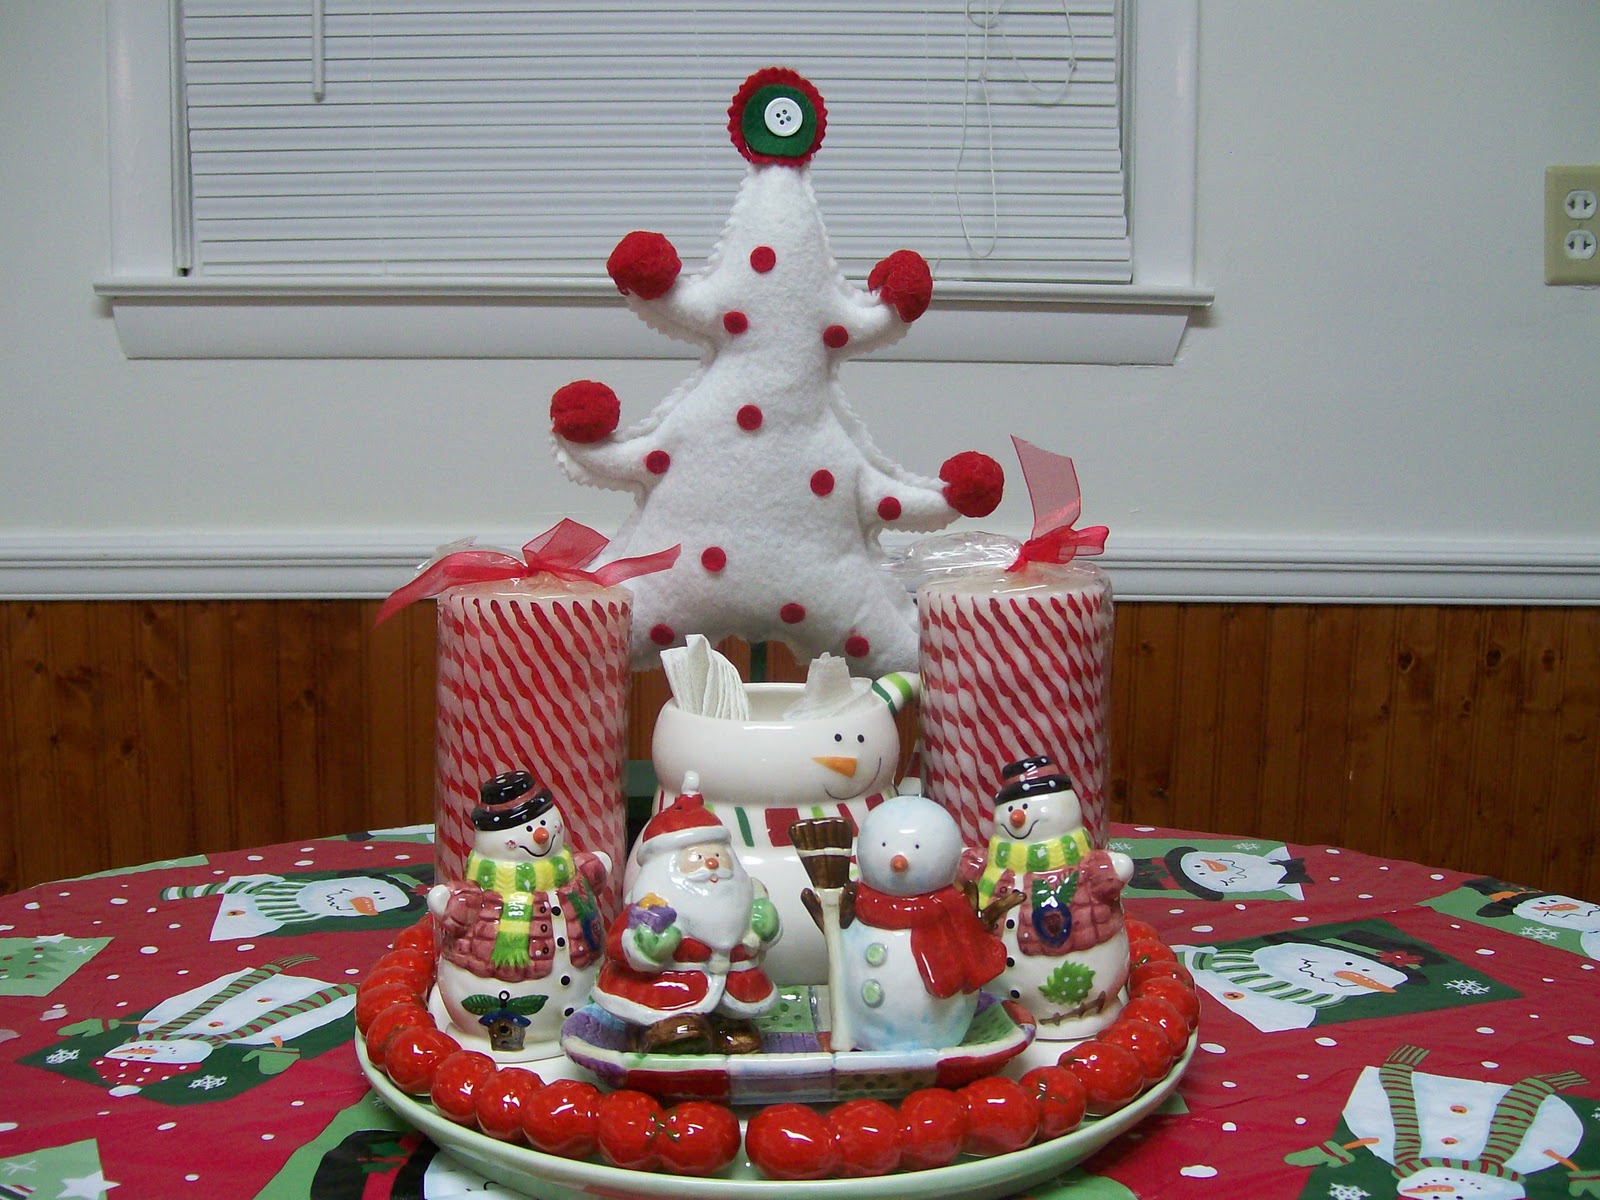
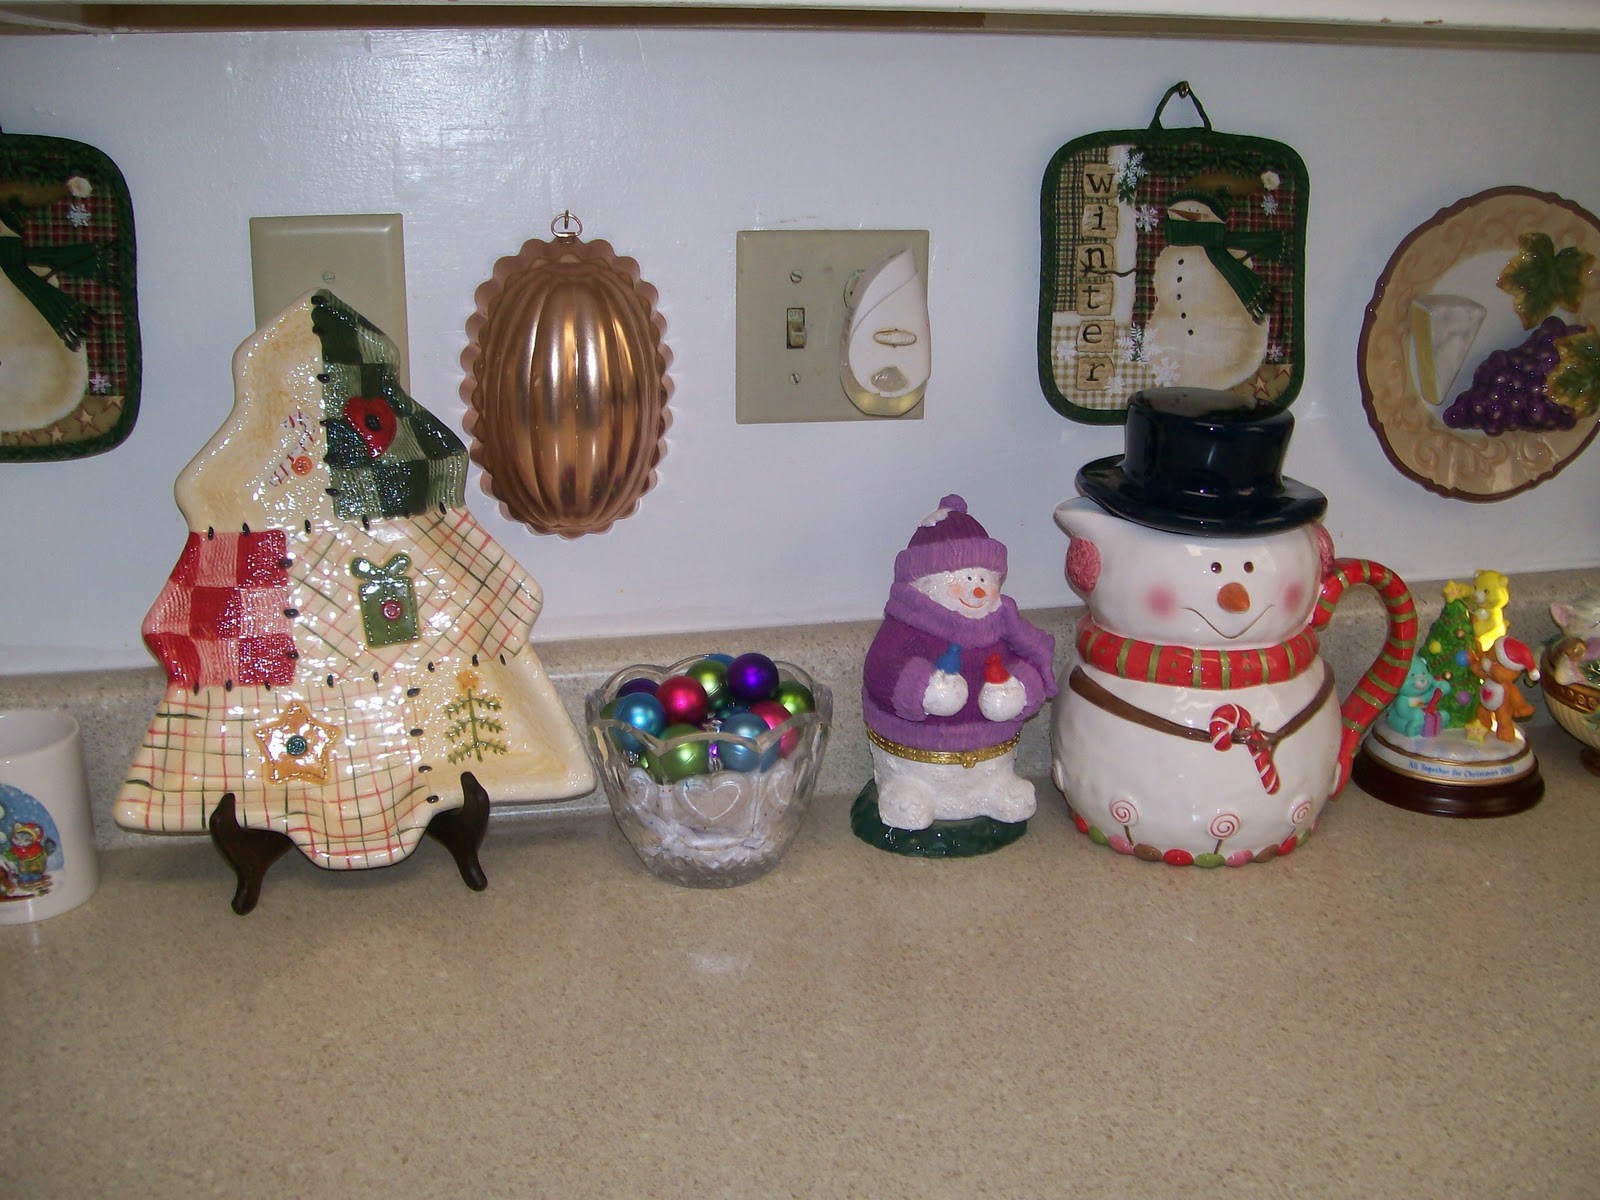
A bunch of different plates, figurines, etc. always seem to find there way on the counter this time of year.

The Christmas Tree Plate is one of my favorite pieces.  Hubby bought it for me from Cracker Barrel. 

The tour wouldn’t be complete without a picture of my Mouse Tree! 

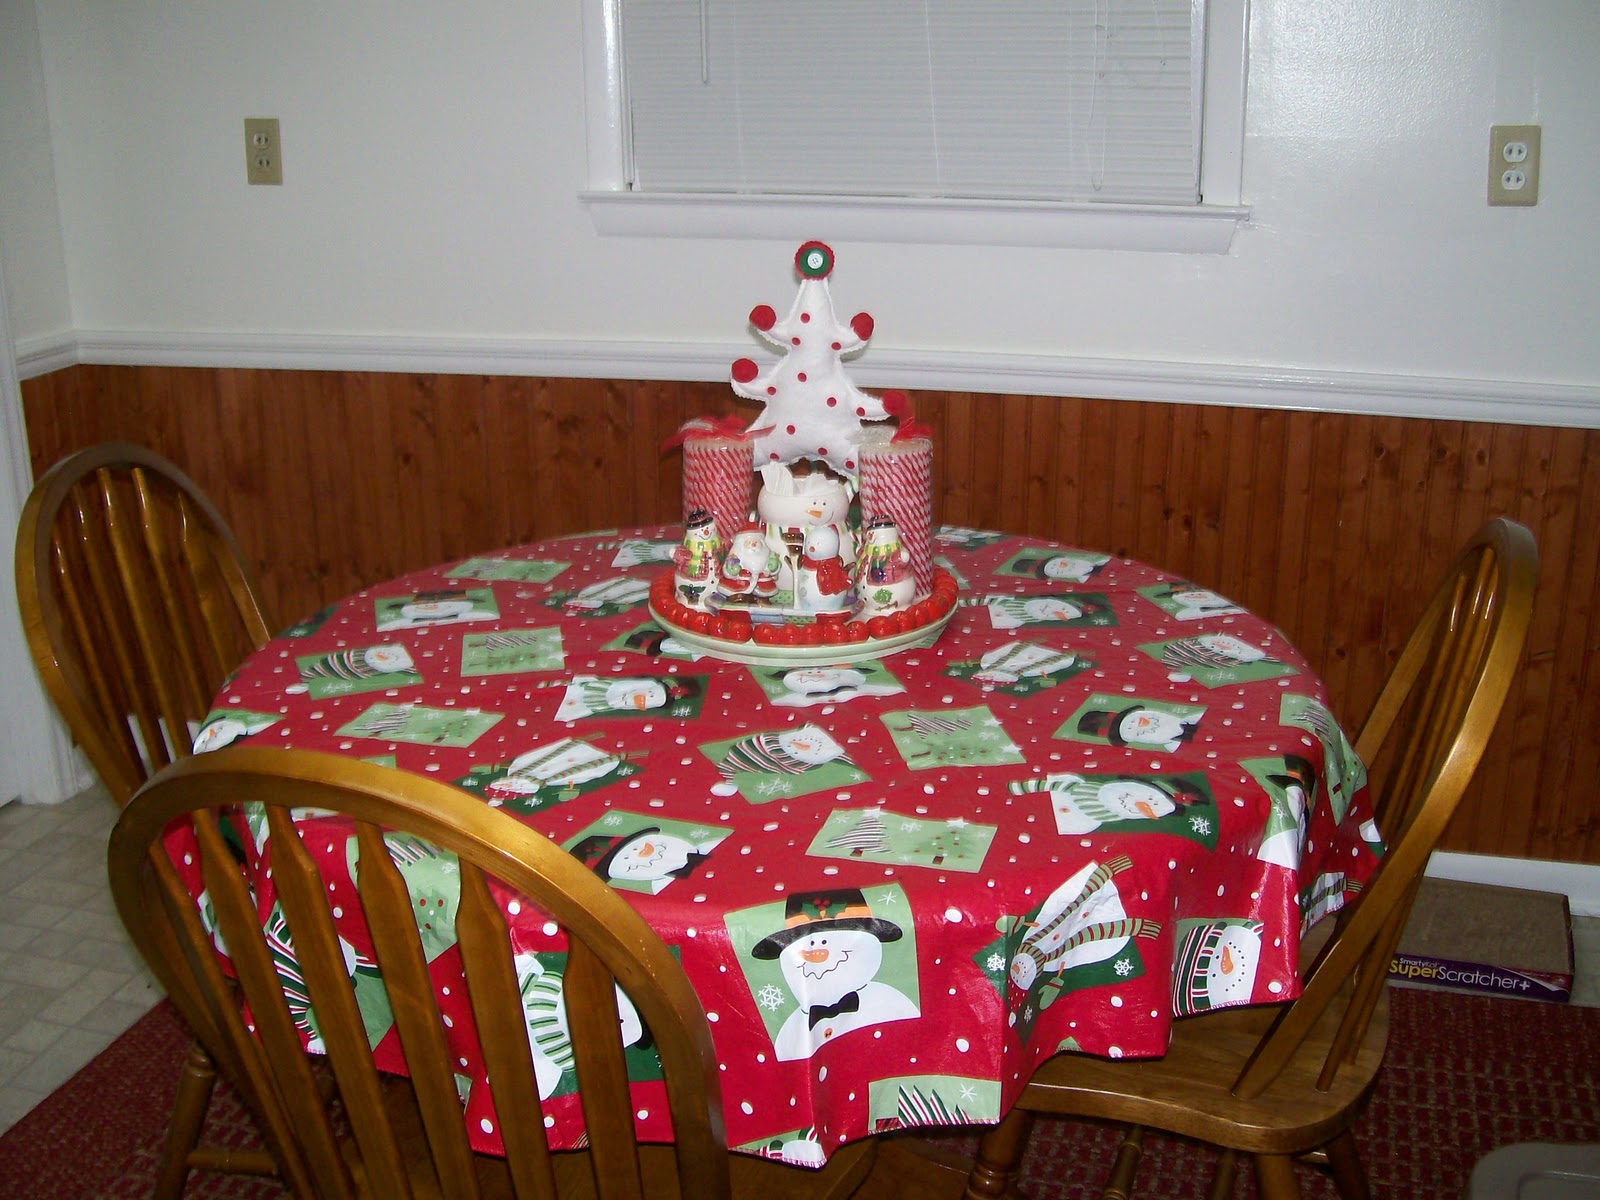
And here’s the dining rom table.  It’s the same tablecloth from last year, but the I added a bunch of stuff to the center.

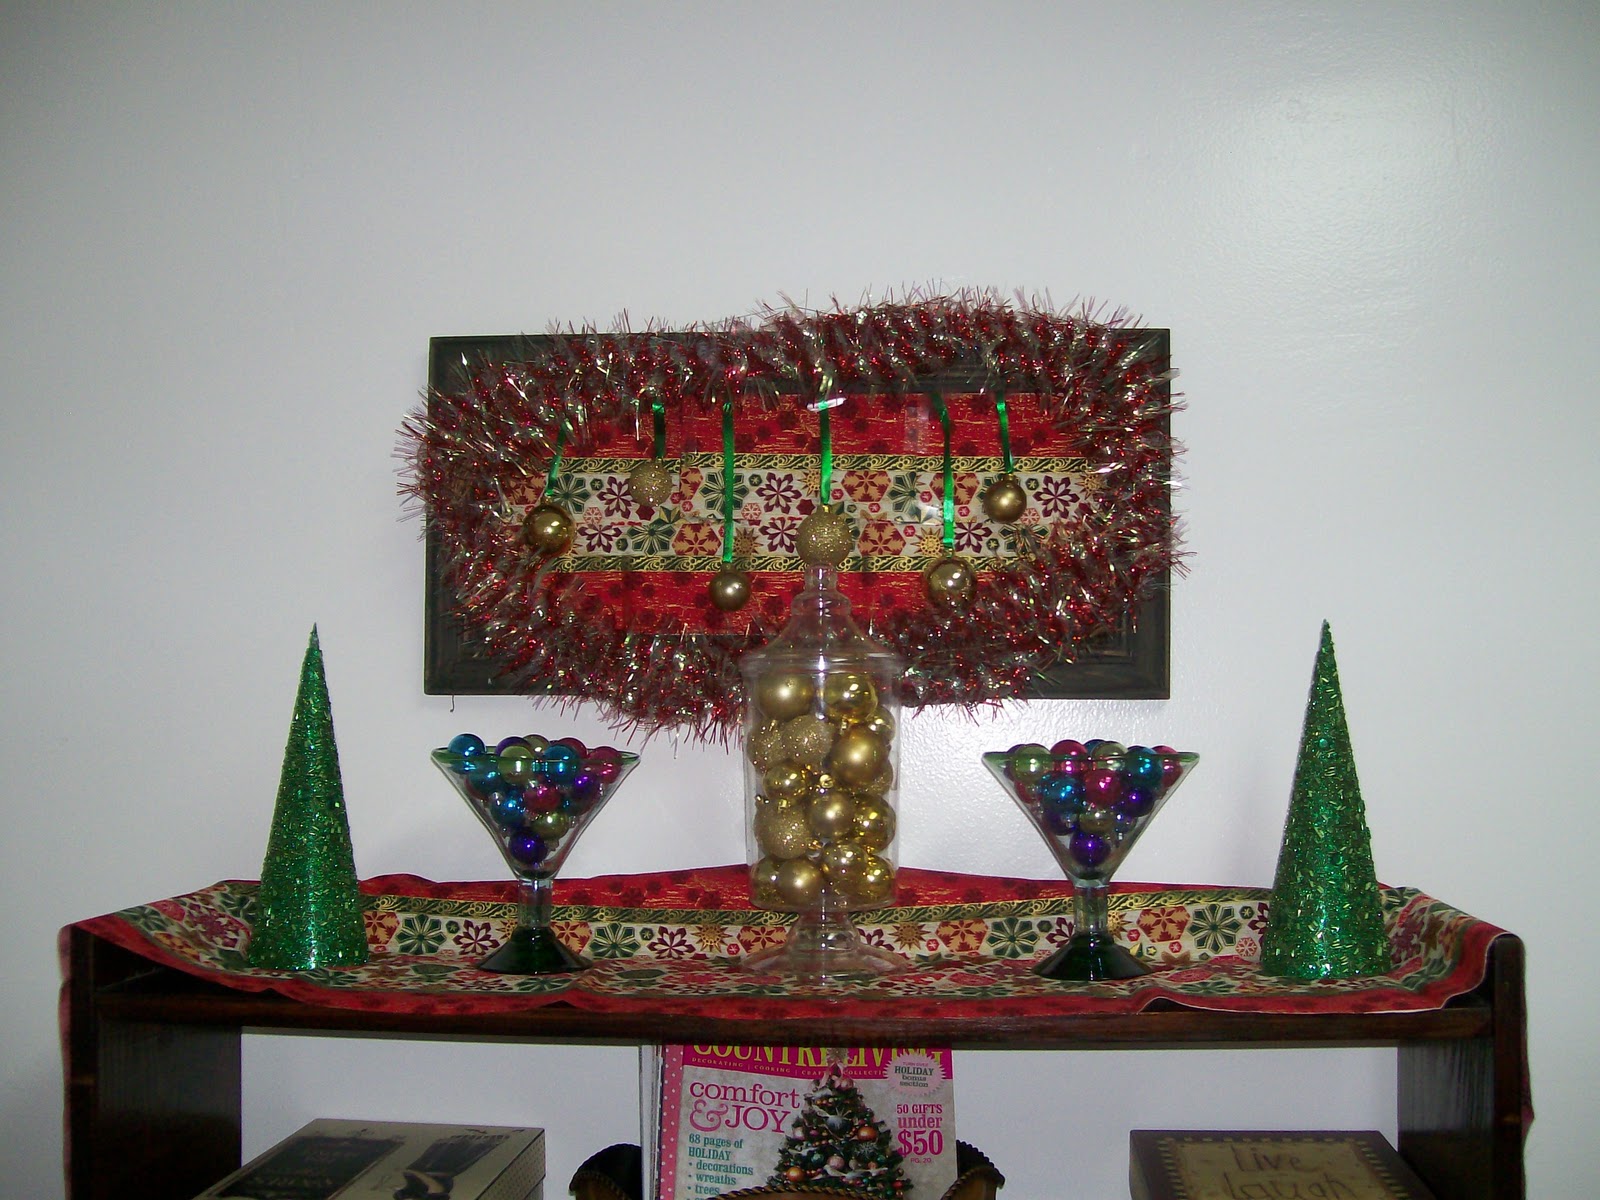
More balls in cups and cone trees!  And if you check out my Christmas Craft post from yesterday you can see how I created the sign.

And that’s it for the kitchen.  If you haven’t seen the living room tour, please check that out too.  And don’t forget to come back here tomorrow for the Christmas Recipe Party!

Also, linking up at these parties.

Photobucket

Christmas Living Room Tour {Holly Bloggy Decor Party}


Wednesday is Day 3 of the Holly Bloggy Event, and we’re sharing decorations and Home Tours.  Be sure to go over to The Shabby Chic Cottage to share yours!  Also, come back here to Simply Sweet Home tomorrow for a Christmas Recipe Party!

I had a lot of stuff I wanted to share for this year, so I’ve actually decided to divide my tour up into two posts.  There will be one for the living room and one for the kitchen/dining room.

First I wanted to share this cute Teddy Bear set.  I got these at Hallmark a few years ago but I’ve never actually gotten them out till now. They were made to commemorate the100th birthday of the teddy bear.  
These are more Hallmark creations.  I put these near our front door so they can give our guests a warm welcome.

Cone trees and a Christmas Flower Arrangement! (Try to ignore the stereo.  It doesn’t really go with anything in the room, let alone with the Christmas stuff, but it’s kind of hard to hide. lol.)

If you visit regularly, you’ve already seen this wreath.  I have it hanging on the door of our coat closet. 

I always hang our stockings on my “treasure cabinet.”
Happily I got 2 new cat stockings on sale last year after Christmas at Cracker Barrel. I also got the candy canes for half price at Dollar Tree!

One of my favorite things as of late is the fabric I used to cover the coffee table.

Back to the “treasure cabinet.”   I decided to share my Rudolph figurines.  This is my third year to do a home tour on my blog, and I don’t think I’ve ever shared them.  My best friend from elementary to high school bought me these several years ago because it was always one of my favorite movies!

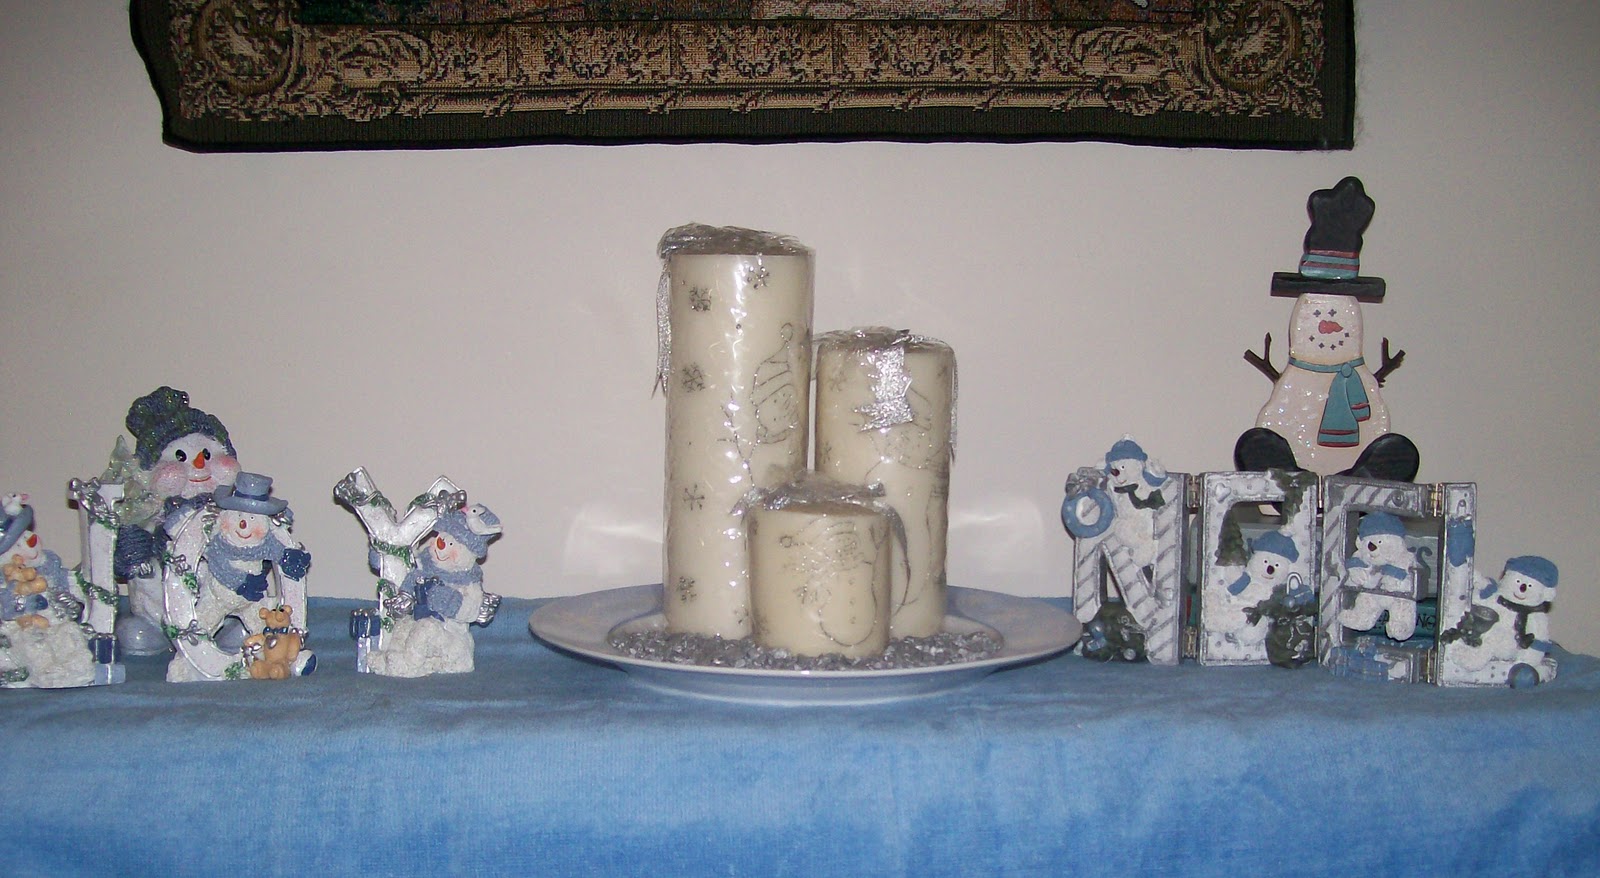
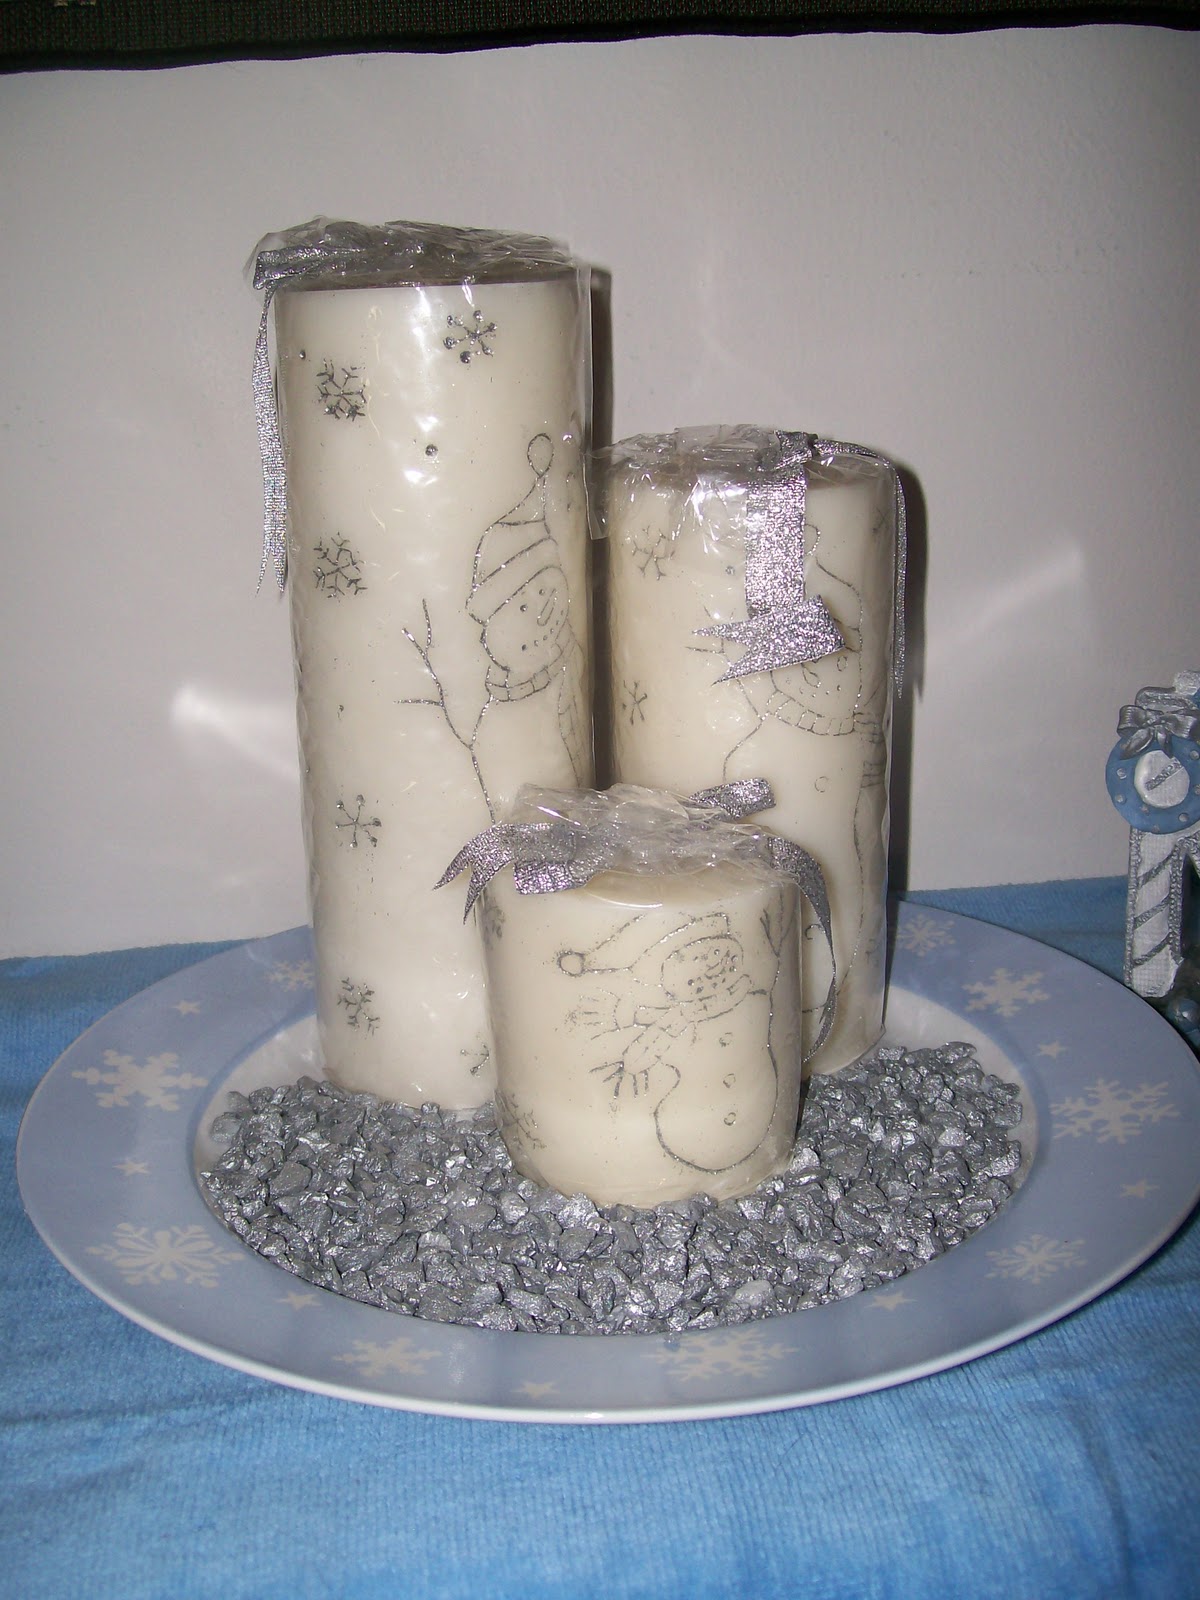
Last in this room is the snow buddies and snowman candle set. 

I especially love this candle set. I always love blue and silver together!

Please check out my Kitchen Tour—coming up next!

Don’t forget to link up your decor at The Shabby Chic Cottage. I’m also linking up at parties.

Photobucket

Christmas Wall Art {Holly Bloggy Christmas Crafts}

Today we are sharing Christmas Crafts for the Holly Bloggy Christmas. You can link up your project with Nicholette and Vanessa at Craft Envy.

I think you’ll find my project very interesting. I had created this really cute Christmas display in my kitchen, but unfortunately it was set right in front of this apple sign, which as cute as it is, has nothing to do with Christmas. I didn’t really want to take it down, and I didn’t have anything I could replace it with either. So I got to thinking of ways that I could cover it up temporarily during the Christmas season. (After all, how can I share my cute Christmas display with my bloggy friends if there’s a picture behind it that doesn’t even match. Haha!)
So after going through a few ideas in my head, I came up with this idea that resulted in the piece of art that you see here. In my tutorial, you’ll see how I created this temporary piece of art with my favorite office supply (tape), but I’ll also give you some instructions to help you create a more permanent (and I would also say, a bit more conventional) piece of Christmas art!

What You Need:
Wall Art, Sign, or Picture Frame
Fabric or scrapbook paper
Ribbon
Christmas Balls
Garland
Scissors
Glue, tape, and/or hot glue
Wire & wire cutters (optional)
Step 1 – Find a piece of art to cover. This may be something that’s already in your house, which you will cover temporarily. Or you can find something to cover permanently. A picture frame or old piece of art that you don’t want would be great. And you can always find something cheap to use from the thrift store. It doesn’t matter what it looks like because you are going to cover it anyway.

Step 2 – Measure your fabric or scrapbook paper to fit the center of your frame or piece of art. Then attach it to the piece of art. Use mod podge or glue stick to create a permanent piece of art or use tape to create something temporary.

Step 3 – Next add your garland. For my particular piece, I put the garland around the brown vine on my sign. To attach it to the vine, it used little pieces of wire and tied it around the garland and the vine. But more than likely you’re piece will not have this vine. So your best option would be to use hot glue to bond the garland to the frame itself. (But if you’re like me and don’t want to permanently alter your piece of art, I’d suggest skipping this)

Step 4 – Cut out some ribbon. This will be used to hang the balls on your piece of art. You’ll need to cut them in varying lengths. You’ll want some of the balls to hang near the middle, while some will be higher, and others will be lower. Use your piece of art to get a good idea of what sizes you need.
Step 5 – Now loop the ribbons through the balls. To attach them you can either tie a small knot or you can use hot glue or tape to affix the ribbon to itself once it is looped through.

Step 6 – Attach the balls to your piece of art. Again for my temporary piece, I simply used tape to attach the ribbon to the frame. And I was able to place it in such a way that you can’t even tell that it’s taped. But if you want something permanent, you should attach the ribbons with hot glue.

Now you should have a fun piece of Christmas wall art that you can use year after year (or just for this year)!
I’m also linking up to these weekly parties.

Photobucket

Christmas Scarf Project {Holly Bloggy Homemade Gifts}

Monday is the first day of the Holly Bloggy Christmas. The first event is the Homemade Gifts party being hosted by Jen at tater tots and jello

For my homemade gift, I decided to share a fun scarf-upcyle project!  I just happened to have 3 red scarves in my possession, and I decided to transform one of them into a Christmas themed scarf.  Of course, I don’t recommend that you give your old scarves away to your friends!  But if you like to make homemade gifts you could easily buy a plain scarf or some fabric and do this project!

(By the way, if you came by to see my weekly recipe, it’s been postponed this week. Please come back on Thursday to see it and link up for the Christmas Recipe party.)

What you’ll need:
Scarf (or scarf-like fabric)
A piece of Christmas Themed Fabric
Scissors
Mod Podge and/or Hot Glue Gun
Buttons (or other embellishments)

Directions:

Step 1 – Get your scarf ready.  If you don’t have a scarf, I’d suggest getting one from a store like Ross, Marshall’s, or Burkes.  They usually have nice clothes and accessories for cheap!  You may also try Walmart or perhaps even the dollar store. 
Alternatively you could buy a piece of fabric from Walmart or the craft store.  (The scarf in these pictures measures 12 inches by 63 inches, but if you were making it for a small child, you make it about half that length.)  After cutting your fabric just cut some fringe on each end.  The fringe on my scarf is 3 inches.
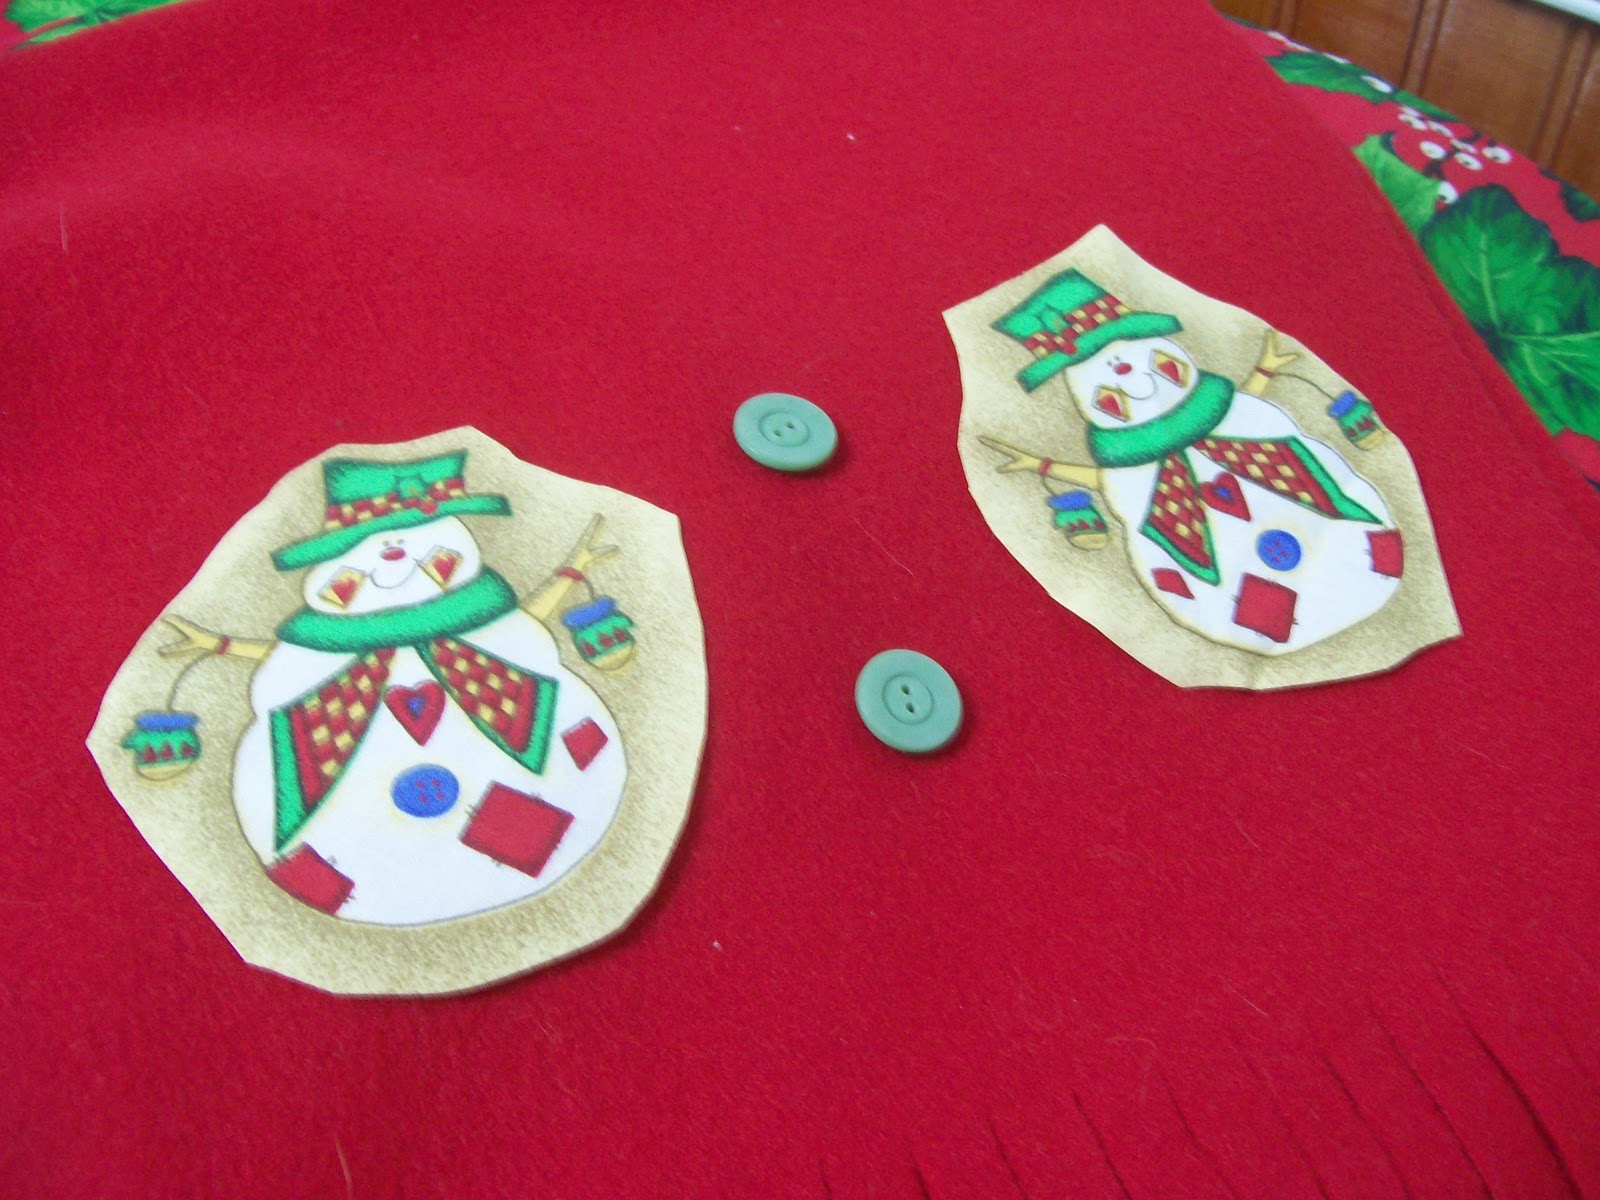
Step 2 – Take your Christmas themed fabric and cut out the shapes that you’d like to have on your scarf.  This will be the dominating image for the scarf.  In order for the shapes to show up good from a distance you need to cut out shapes that are 3 inches tall or more.  Depending on the size of the images, I would cut anywhere from one to four images out for each side of your scarf (2 to 8 images total). 
As you can see I didn’t cut the images out so they’d be absolutely identical.  For one thing, I’m a terrible cutter, and I knew I’d drive myself crazy trying to get them exactly the same.  And secondly I thought it would give the scarf a little more character if they were a little different.
After you’ve cut out the big images arrange them on your scarf.  Then attach them using either mod podge or some hot glue.

Step 3 – Add Embellisments.  I love buttons, so I added 4 coordinating buttons to the scarf, two for each side.  And I just added these with hot glue, no sewing needed!  You could also glue on beads, jewels, or pom poms.  Or if you’re fabric has some smaller images on it, you could cut these out and add them as well.
Step 4 – Finally just wear it and enjoy.  Or wrap it up and place it under the tree!

HollyBloggyButton1

I’m also linking up at these parties.

Photobucket